
I’ve been loving Facebook Marketplace recently. In fact, both Arthur’s cot and his rocking horse I bought from Facebook Marketplace for a third of what they’re selling for in the shops!
Out of pure luck, one Sunday morning I logged on and this oak console table was featured on the homepage, listed for only £50!

The table is the perfect size for a vanity unit and genuinely, when the seller said it was still available I couldn’t believe our luck.
We’d been looking at vanity units for a few weeks unsure of which one to purchase. We went back and forth on the design, the colour, and the price we’d be willing to pay (we found some beautiful ones online but anything made of solid wood, or anything over 1000mm, ends up being an awful lot of money).
When I spotted the console table, however, despite it not having a centre drawer, I was instantly reminded of this one from Neptune which is absolutely beautiful but a bit out of our budget at £1,550 for the same size unit:
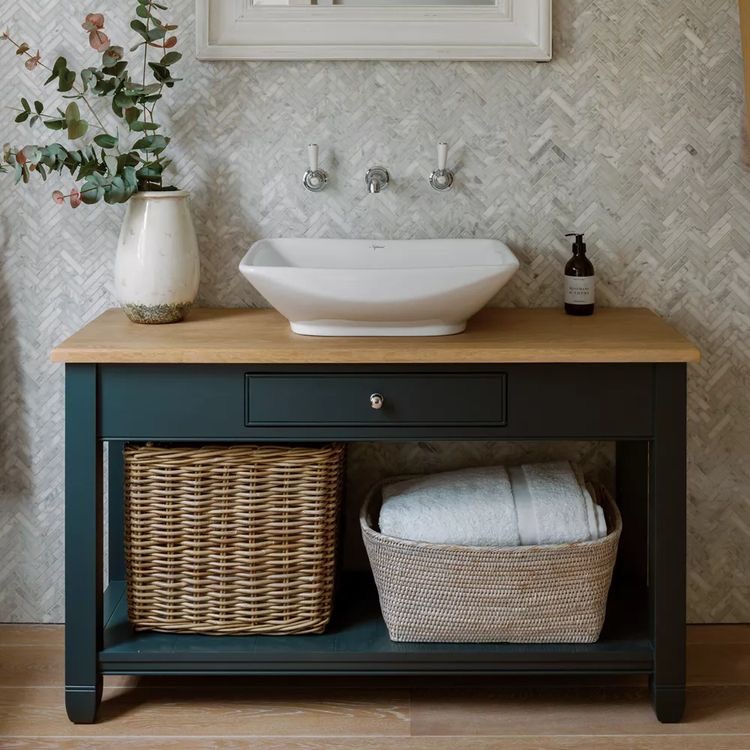
This photo ended up being a huge inspiration to us as we got to work on trying to transform our slightly orange oak console table into a beautiful freestanding vanity unit.
What we did
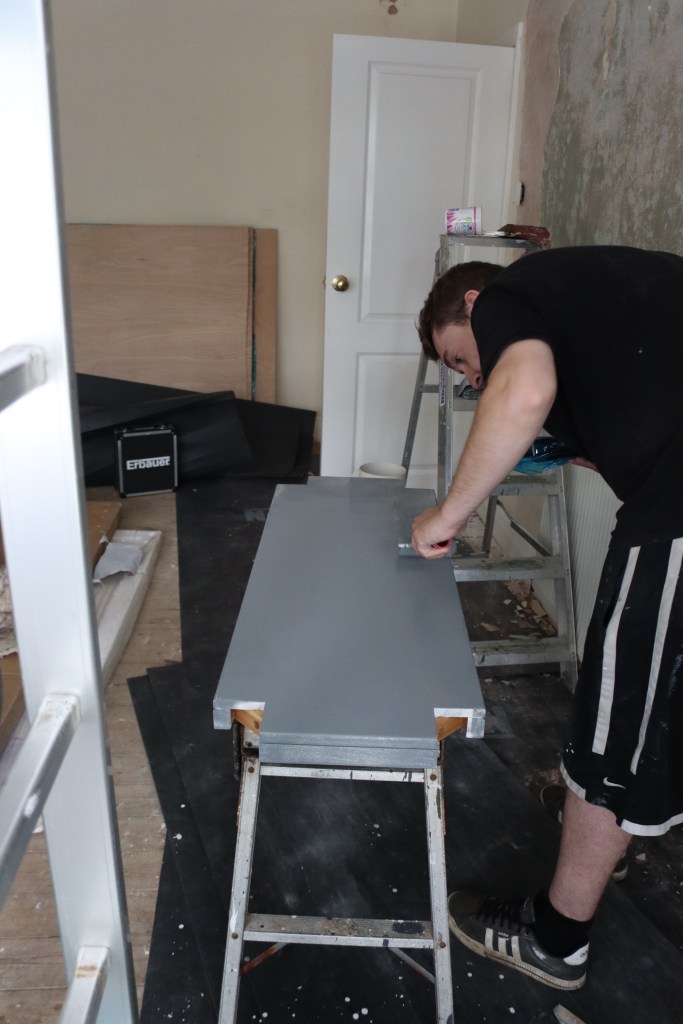
To start off with, we used a varnish and paint remover on the top section and scraped the varnish off. Despite leaving this for five hours or so to work, it didn’t really make much difference so we decided to sand it back with a coarse grit sandpaper before moving into the finer finishing paper.

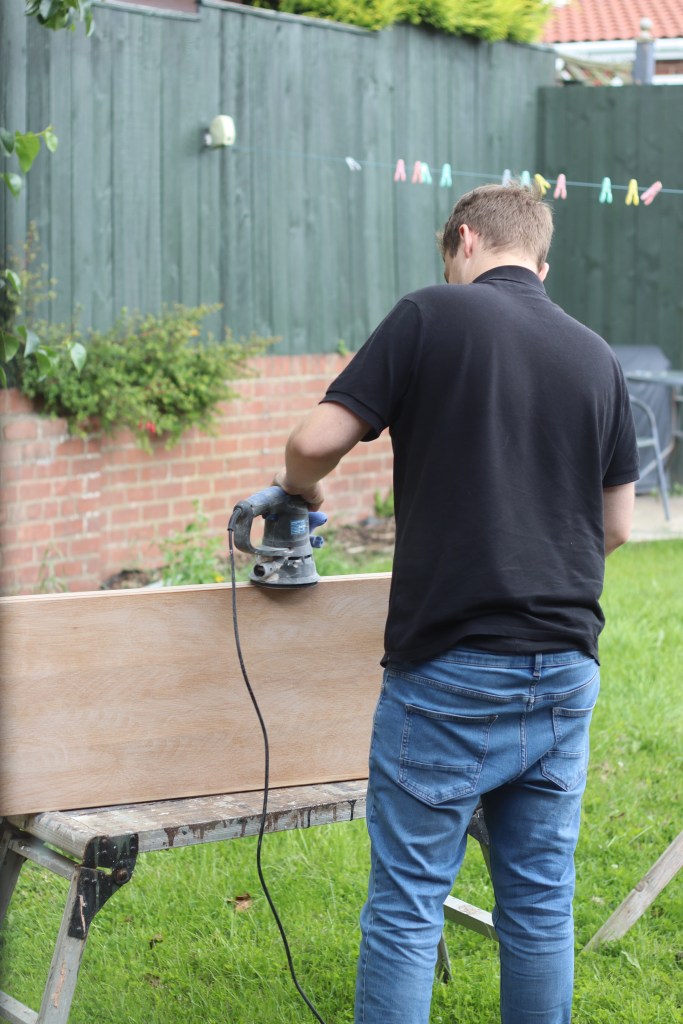
Once we got the top section to a shade we were happy with we decided to move onto the base. The top was by no means finished, but we wanted to see how the new wood would look with our desired paint colour before potentially whitewashing it and sealing it.
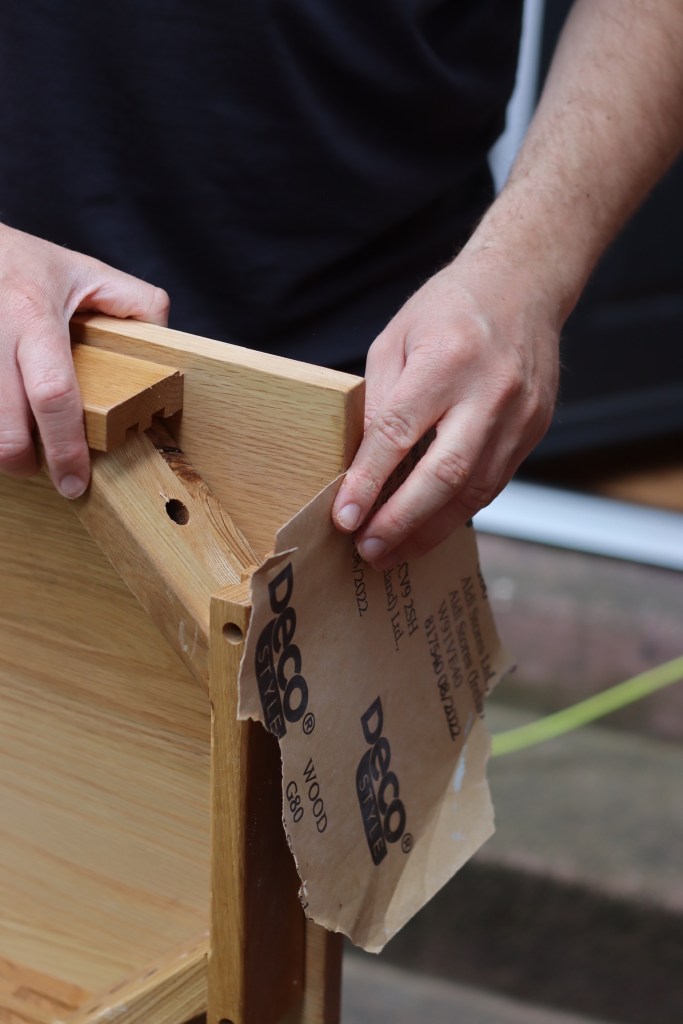
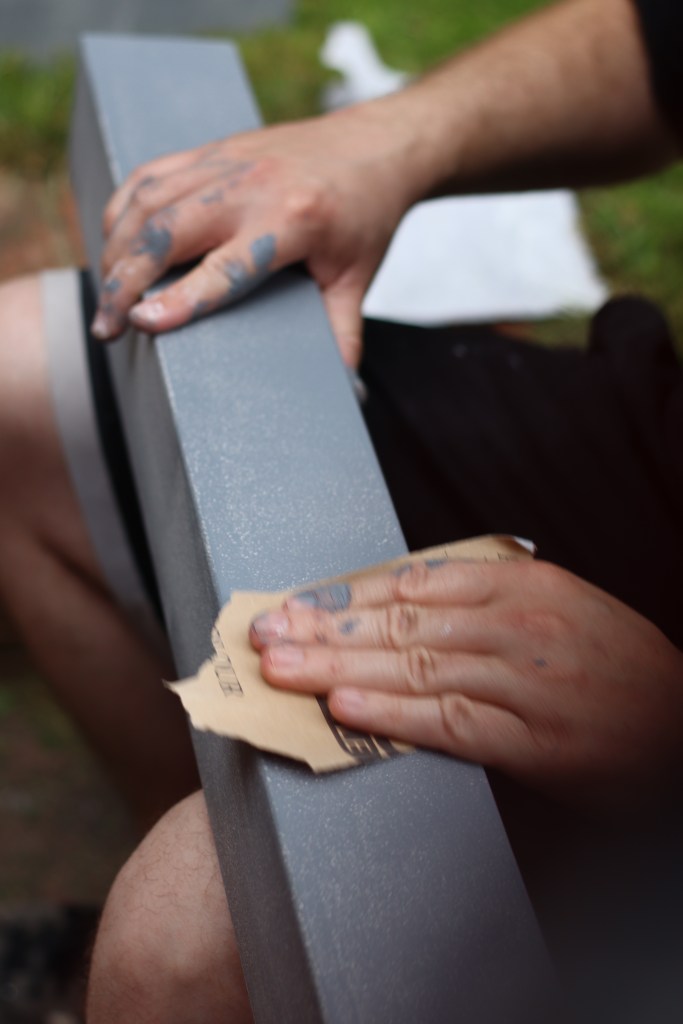
For the base, we sanded everywhere with a coarse sandpaper to rough up the surface and give the primer something to really bond to.
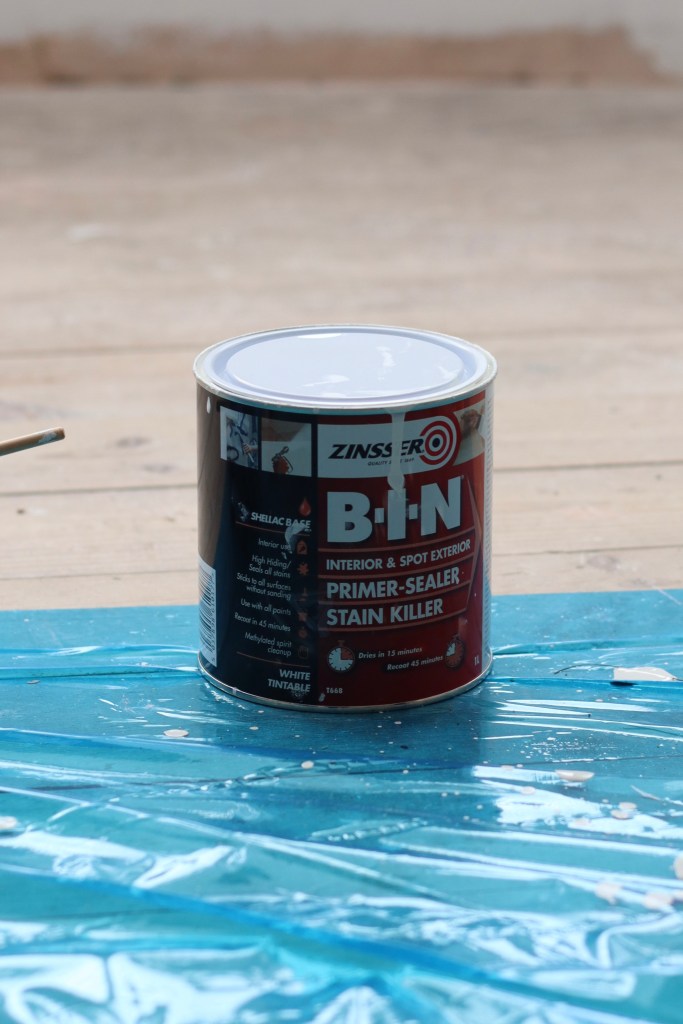
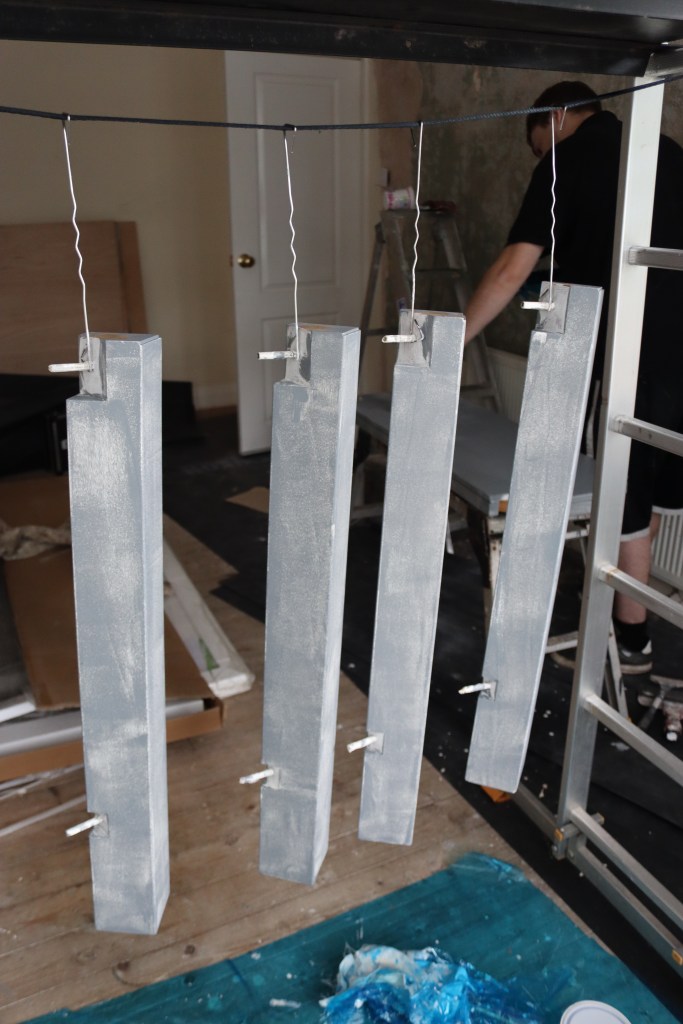
We decided to use Zinsser’s B-I-N primer and applied it using a foam roller. We allowed this to set for 45 minutes, sanded then reapplied, sanded again then reapplied. By applying three coats we hoped to really smooth out the surface and remove the wood grain.
We then applied the first layer of paint – the best part! After a bit of research we decided on Frenchic Greyhound, a mid-grey shade with blue undertones which is designed for indoor and outdoor use. We applied our first coat with foam rollers, left to dry for two hours, sanded and wiped down, then did this another two times. In total, we applied three coats of primer and another three coats of paint.
After leaving the parts to dry, our excitement got the better of us and we assembled the unit that evening to see it all together. The lighting really wasn’t in our favour, so in the morning, we had a good look at it and found some places to touch up. Then, happy we hadn’t made a complete and utter mess of it, we decided to progress onto the next step and ordered the sink from Victorian Plumbing.
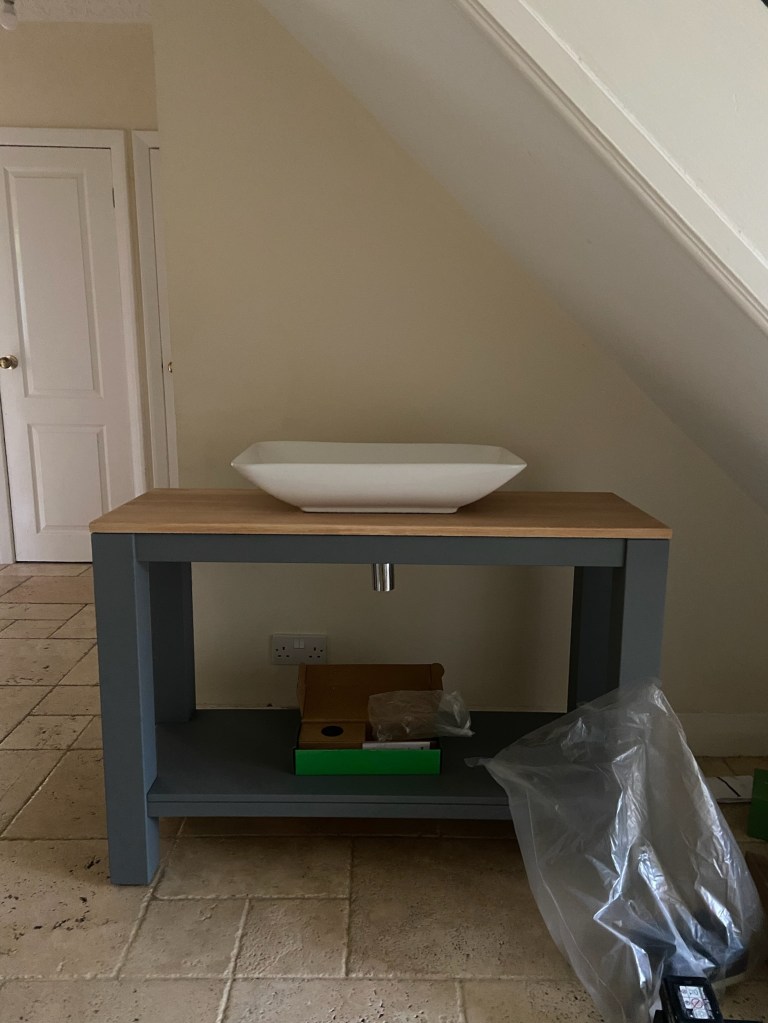
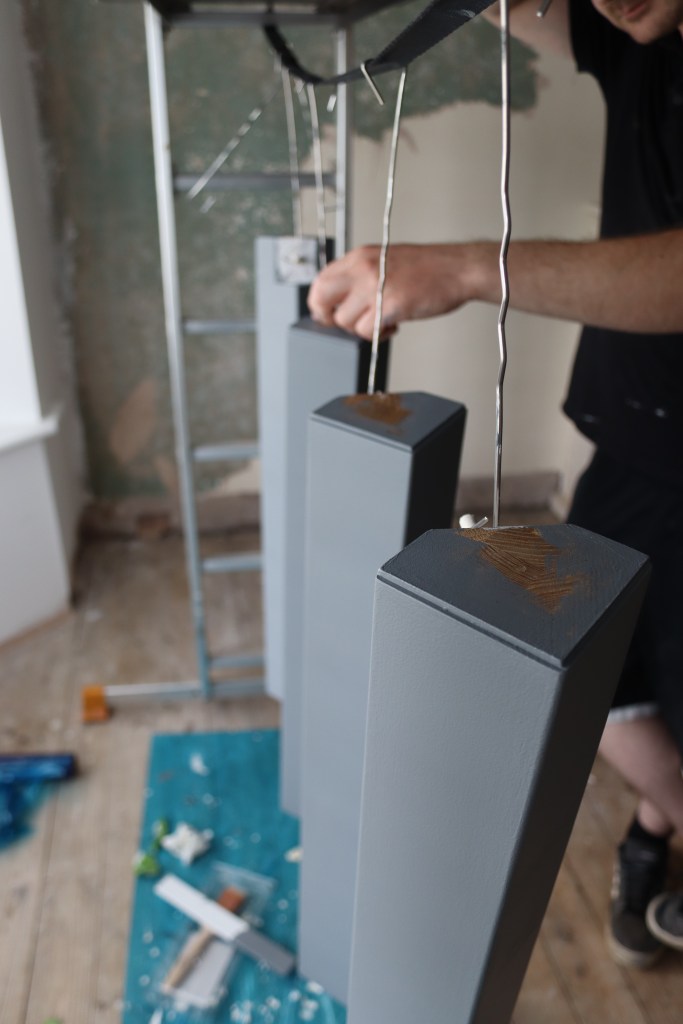
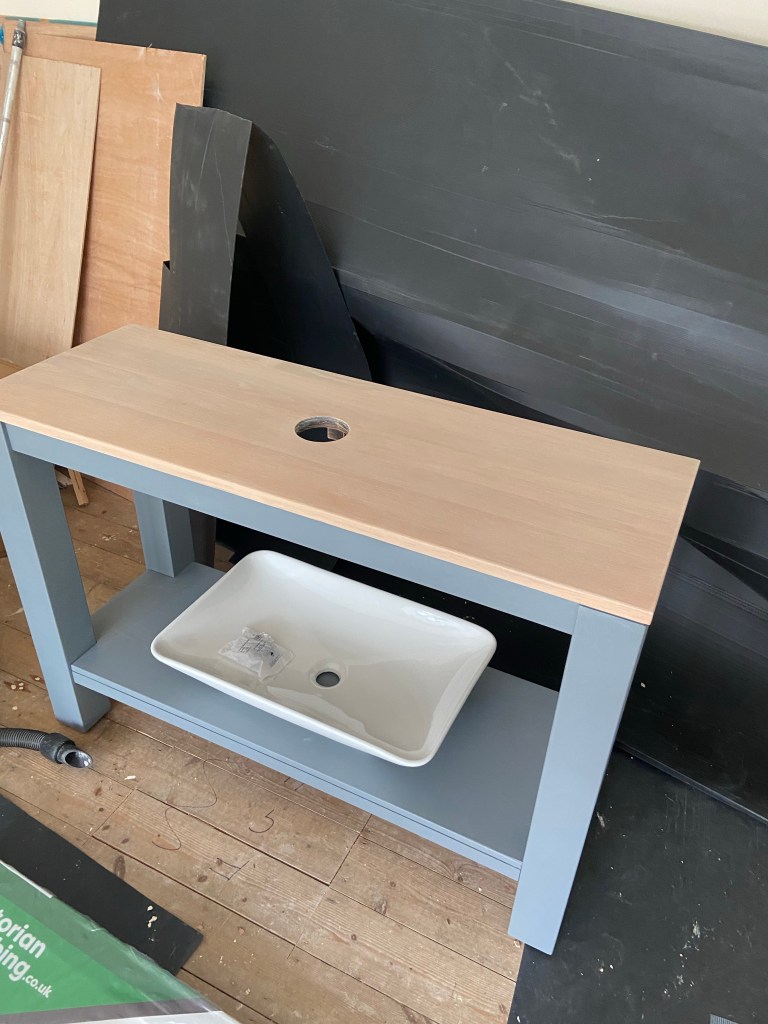
The sink arrived, and we loved how it looked, but to really transform this console table into a vanity, we cored out a hole for the plug, sanded it to make it smooth again, then finished it all off with Neptune’s IsoGuard oil in the finish Natural Oak. By doing this, we toned down the remaining orange hue in the wood and also sealed it, making it waterproof.
I don’t have any images of this process unfortunately as David did most of it while Arthur and I were out for the day but this is how the hole looked before the sink was added:
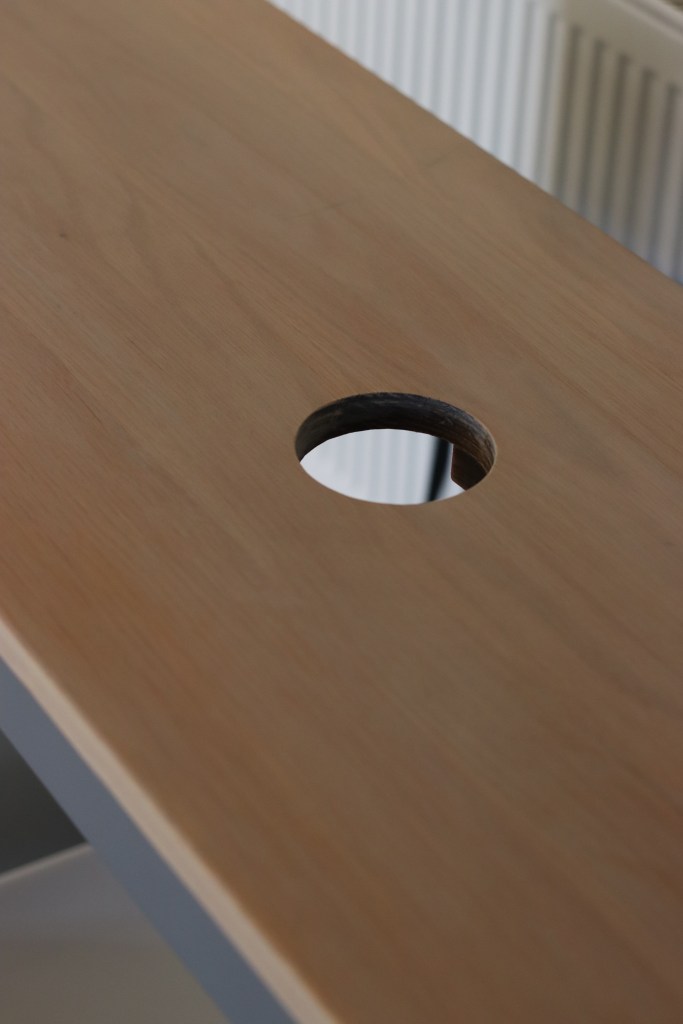
And while it was drying:
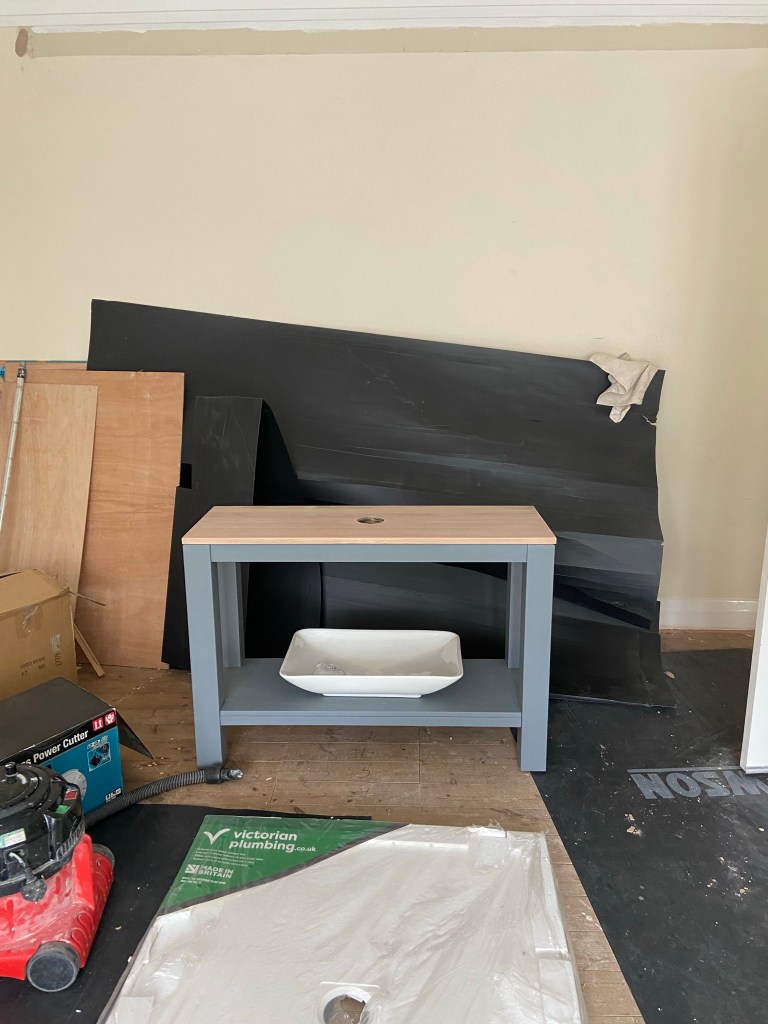
We were originally planning on purchasing Neptune’s IsoGuard oil in the colour Seasoned Oak, which leaves a silver-ish hue to wood, but I’m so glad we went with Natural Oak instead – it’s the perfect white oak shade.
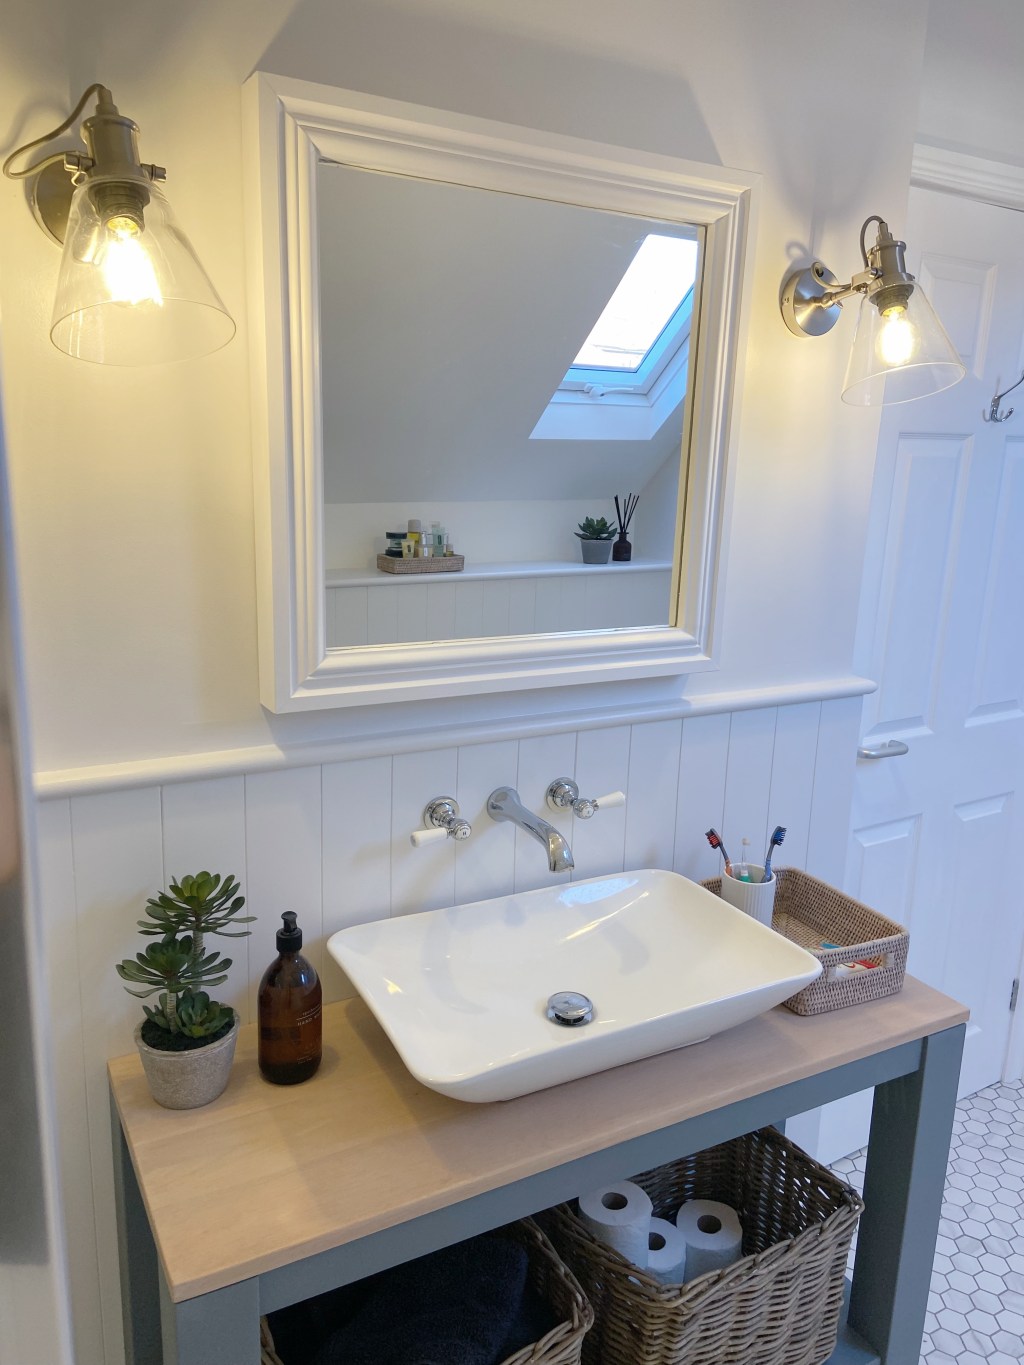
Then, after admiring it for some time (wish I was joking), all that was left to do was to put it together in our new bathroom and style it!
Cost breakdown
With all materials and tools, the vanity unit cost us…
• Oak console table, £50, Facebook marketplace
• Varnish and paint stripper, free, borrowed from my dad
• Sandpaper and orbital sander, free, already owned
• Frenchic Greyhound paint, £24.95, eBay
• New paint brushes and rollers, £17.17, Toolstation
• Microfibre cloths, free, already owned
• Zinsser BIN primer, £22.99, Screwfix
• Countertop sink, £89.95, Victorian Plumbing
• Hudson Reed wall taps, £125.90, Bathroom House
• Frog tape, free, already owned
• 75mm hole saw and cordless drill, free, already owned
• Round modern basin bottle trap, £37.95, Victorian Plumbing
• Cruze unslotted click clack basin waste in chrome, £15.95, Victorian Plumbing
• IsoGuard Natural Oak oil, £22, Neptune
• Basin mate, £1.58, Toolstation
Total cost: £408.44
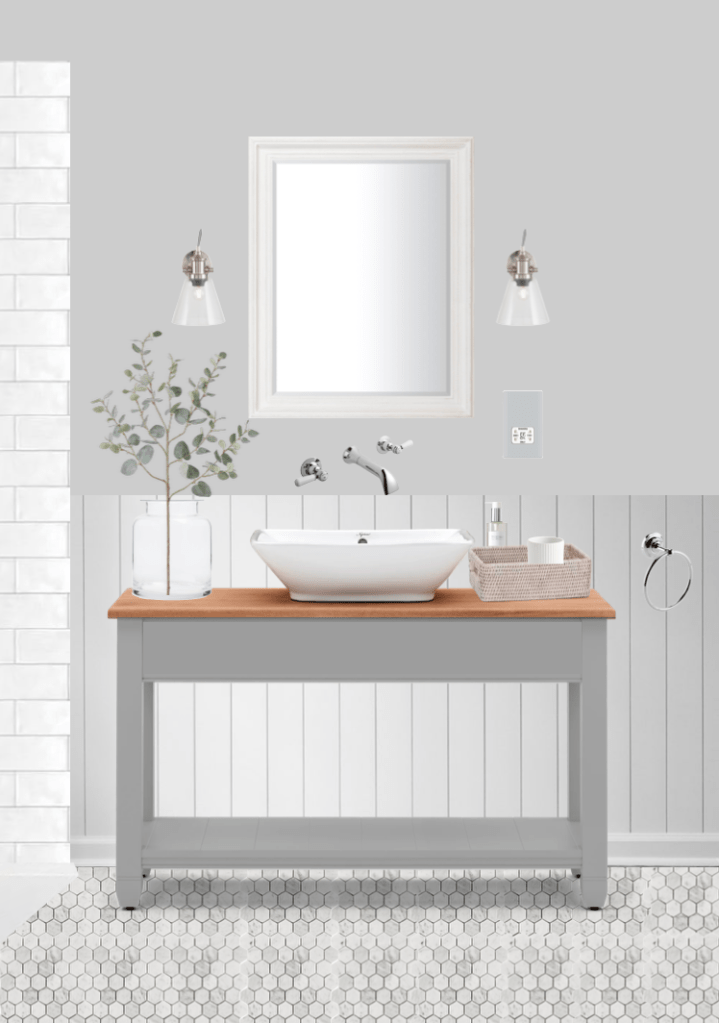
I honestly can’t believe we managed to create this beautiful solid wood vanity for £408! I’m over the moon with how it turned out in the end. As a reminder, here is the quick mock-up I did when we first started designing the space:
For a comparison on cost, the closest vanity unit I’ve found to what we’ve created is the Chichester Countertop one from Neptune (our inspiration for the project to begin with). I added everything we’d need, plus the custom colour charge on the Neptune unit, and we would’ve paid £1860 for their vanity unit, plus an additional £163.85 for the waste and taps, so that’s a £2023.85 saving from us doing this makeover.
It did take a few evenings and a weekend to do but would we do it again? Absolutely. David even fancied taking on a coffee table project after finishing this one!
And, in case you missed it, you can view all the photos of our new bathroom in this post or over on Instagram. Or you can view the progress of our house so far via the ‘home tour’ category on this site.
Until next time!
