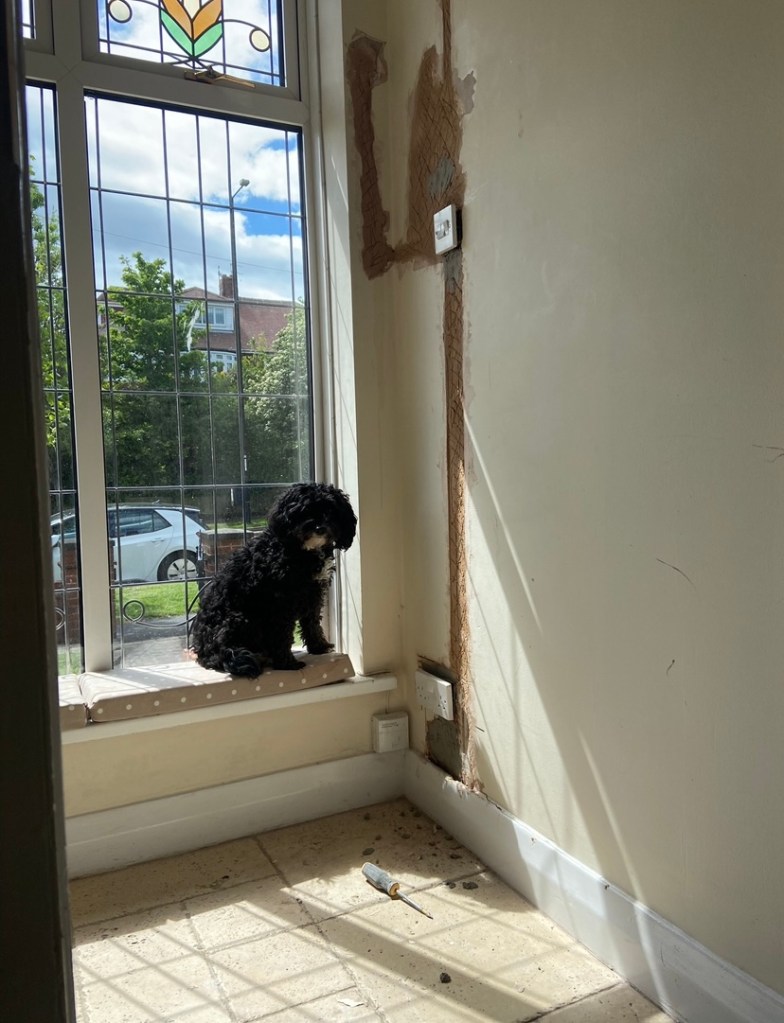
The porch began as a way for me to get involved with the house renovation again post pregnancy. While my dad and David installed windows and started fitting out the upstairs bathroom, I got to work on stripping back the paint on the partition wall and gosh this took a while!
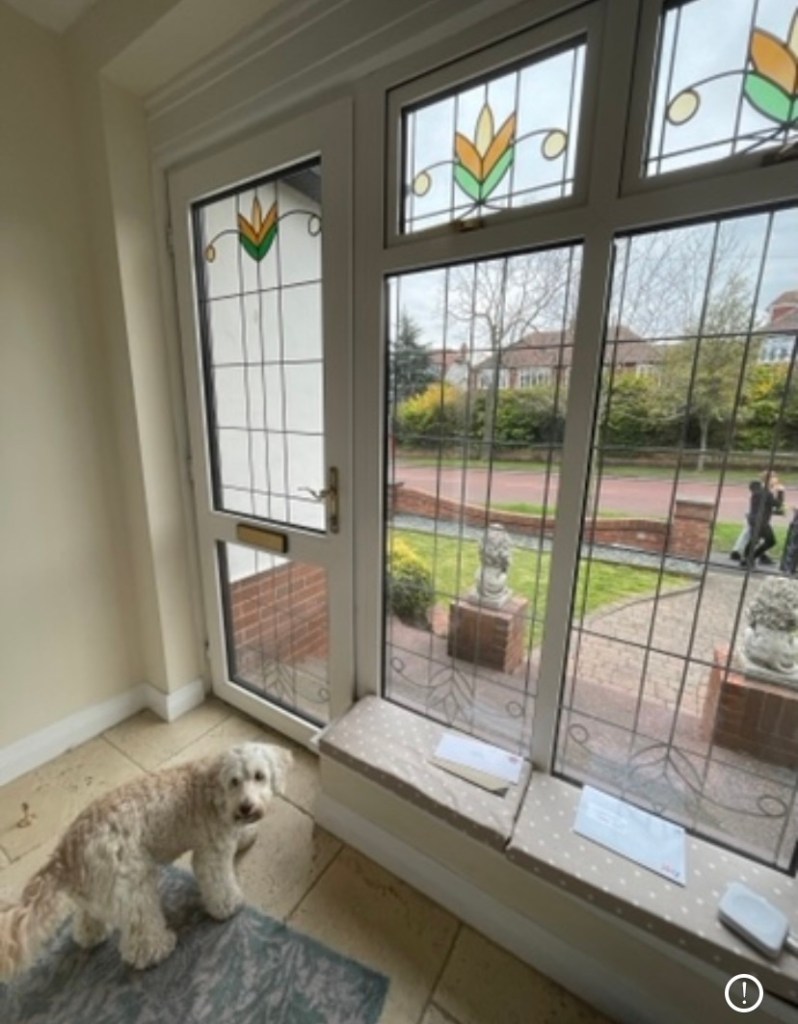
I didn’t take loads of photos of the ‘before’ – in fact I don’t think I have any of the paintwork on the partition wall – but this needed a good strip back as it had acquired years and years of gloss work.
And so began the beginning on a lot of work in one teeny tiny room!
What we did
The porch has had some updates over the year and a half we’ve been in the house.
First of all, when we moved in, we soon replaced the front door and windows. We also took out the plastic trim above the door, build a wooden frame and insulated it before then plastering it again.
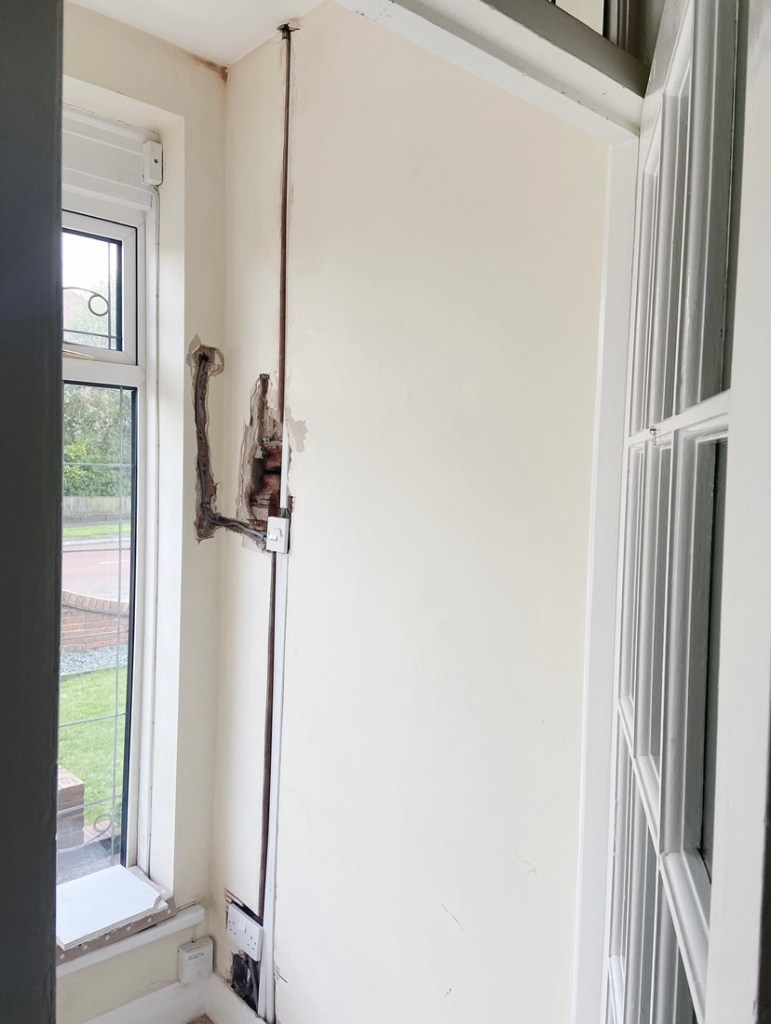

My dad also replaced the window cill and we removed all the lead detailing from the windows.
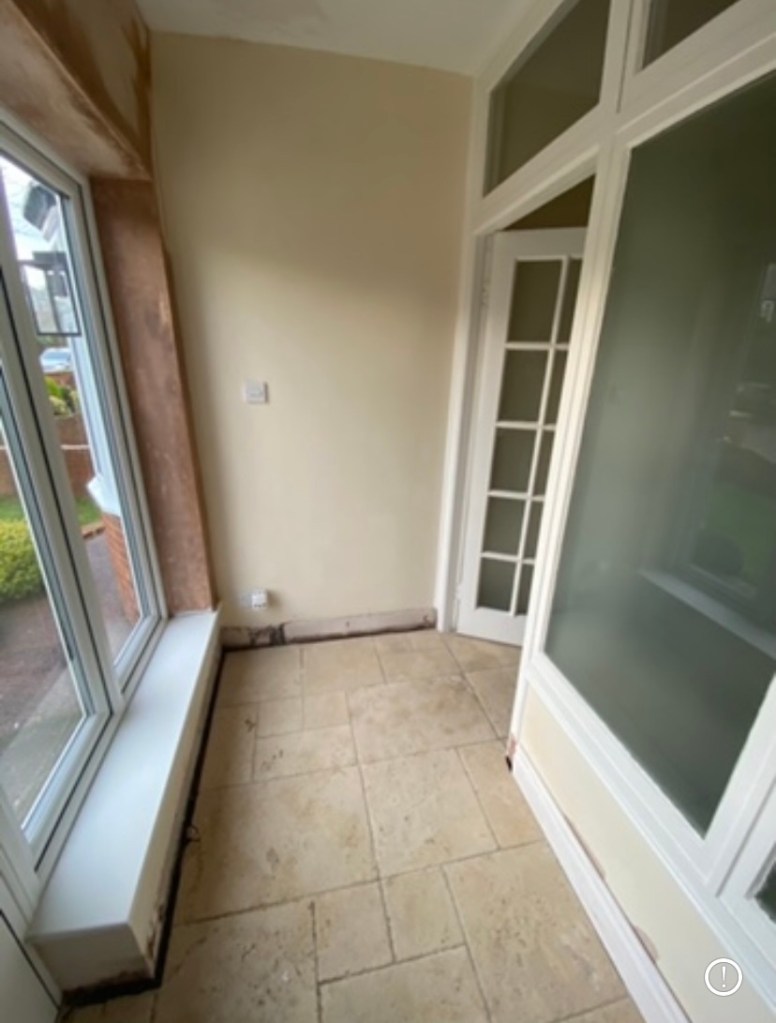
While I was in the hospital in labour, my dad mist coated the plaster and painted it white to make it a bit more presentable!
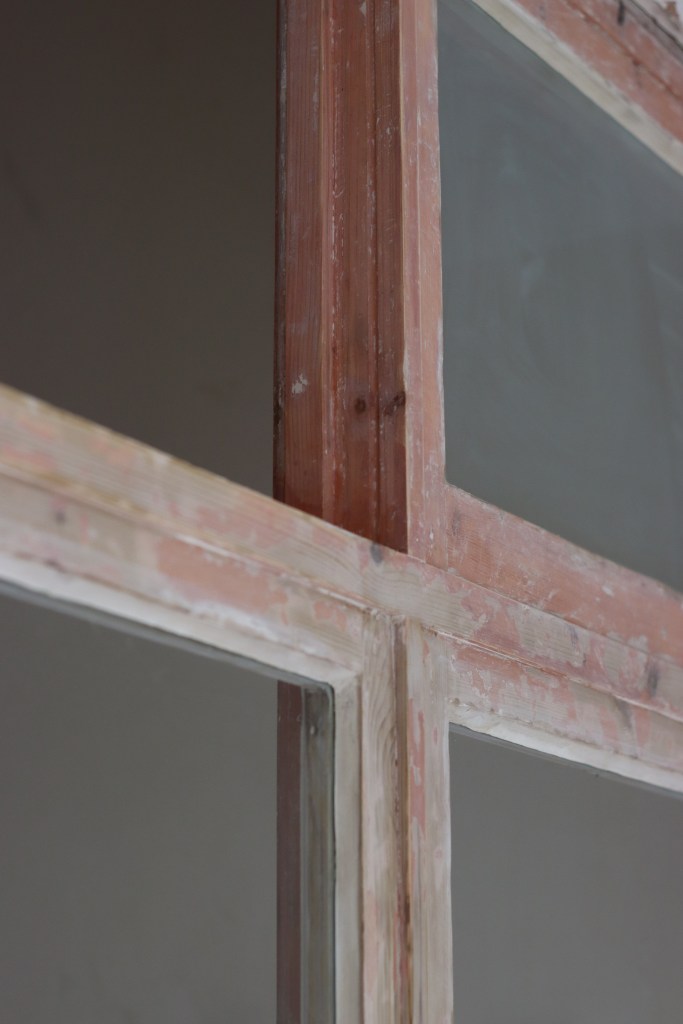
Then, one weekend in August, I started to strip the frame back, using paint remover and a heat gun to take it back to raw wood.
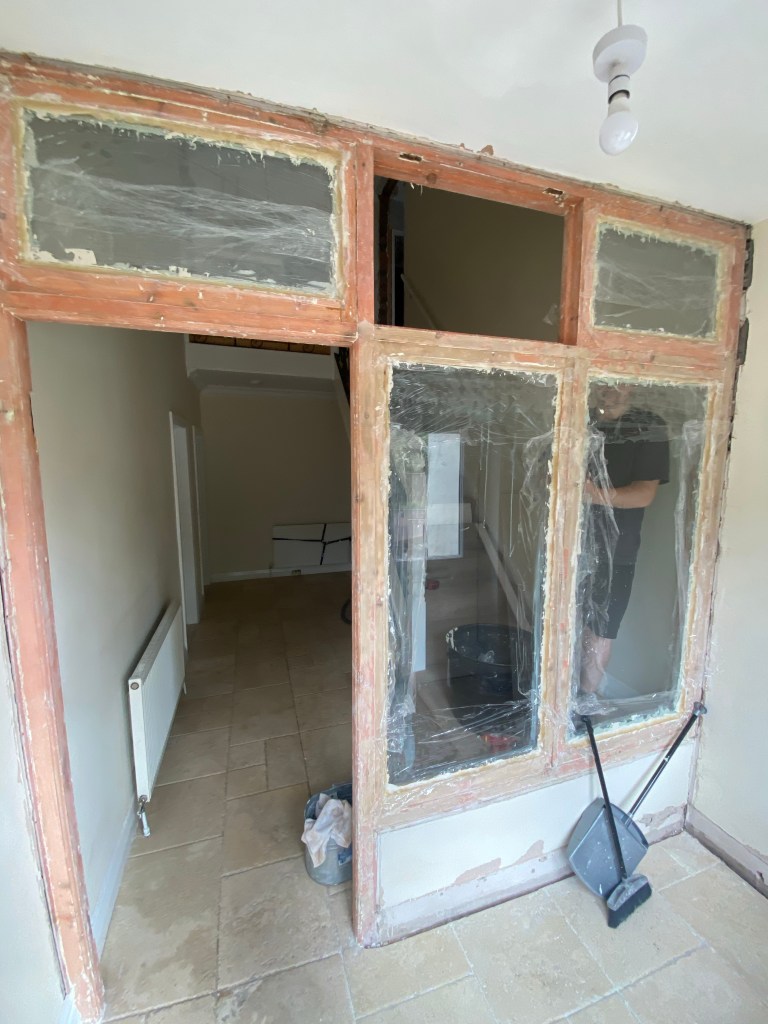
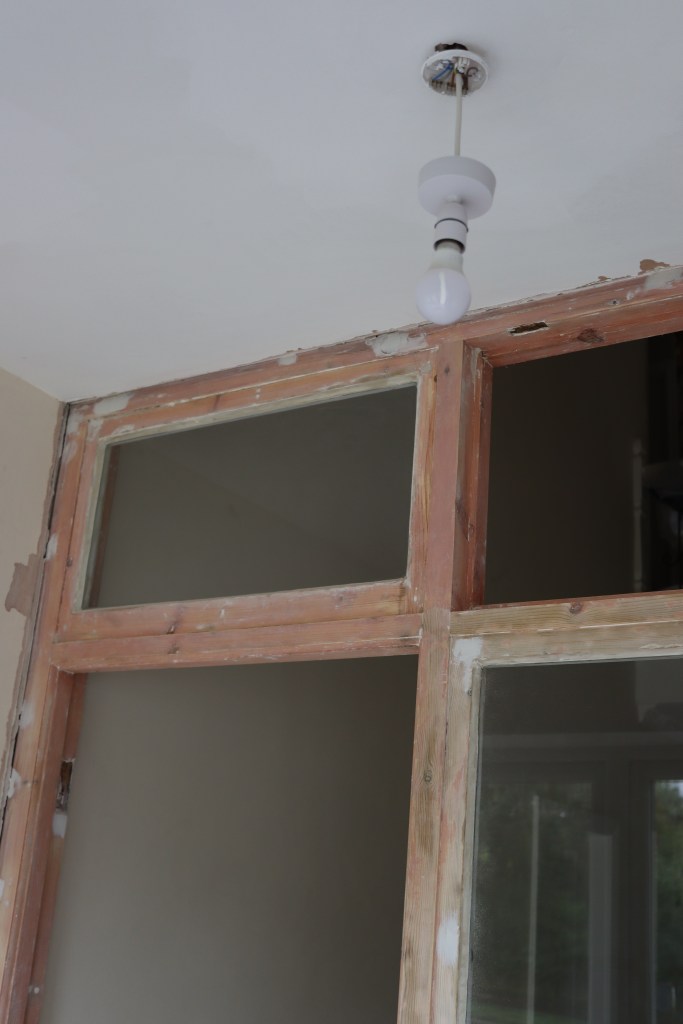
We also took off the half round wood trim which was stuck on where the frame meets the wall and filled the gap instead.
David also removed the plaster from underneath the frame, insulated it and applied plywood to make it look as if the frame had 1/4 panelling underneath.
We did SO MUCH sanding and filling at this point, I can’t count how many hours I spent doing this. I also learned that I hate the smell of wood filler. That stuff is so strong!
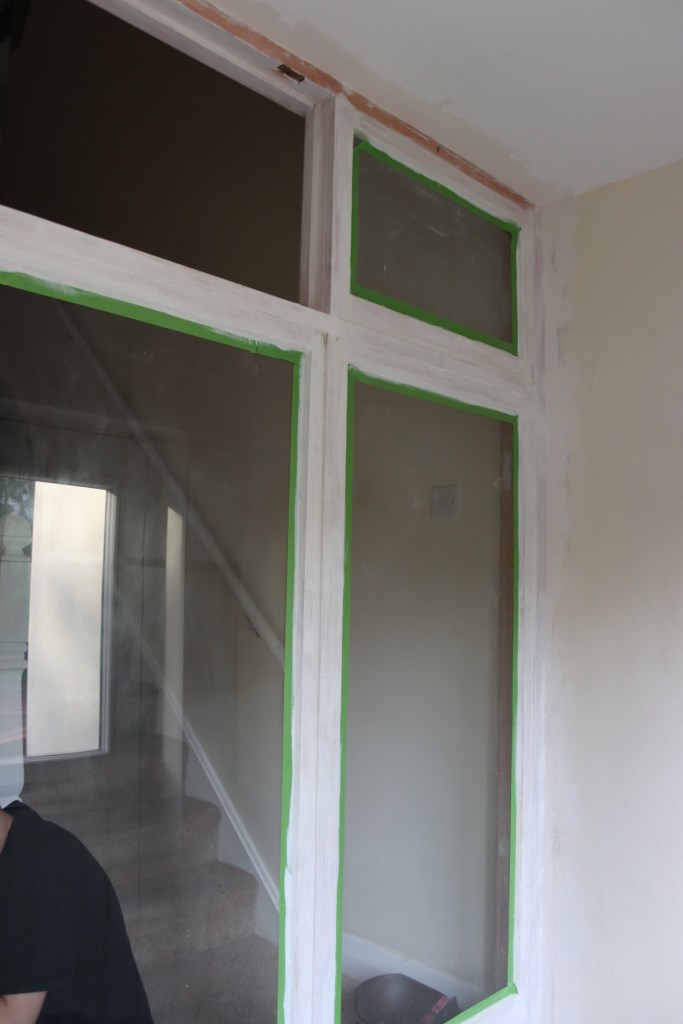
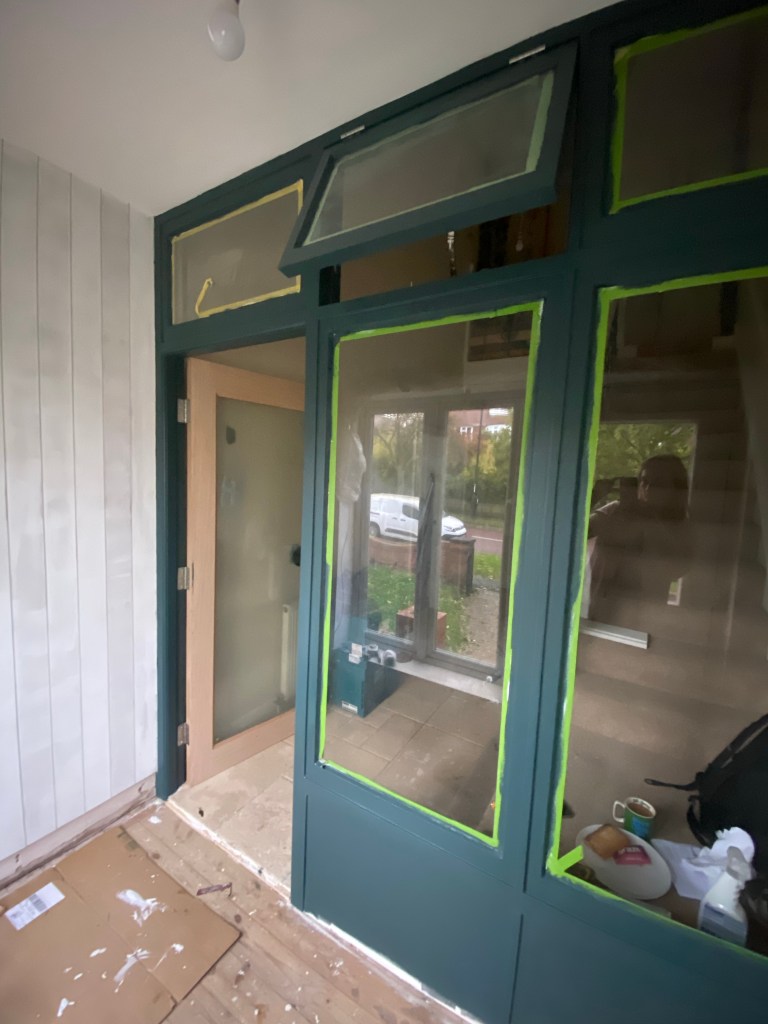
We primed the frame using a white primer, lightly sanded, then applied a charcoal grey undercoat.
We sanded it back again and filled where needed.
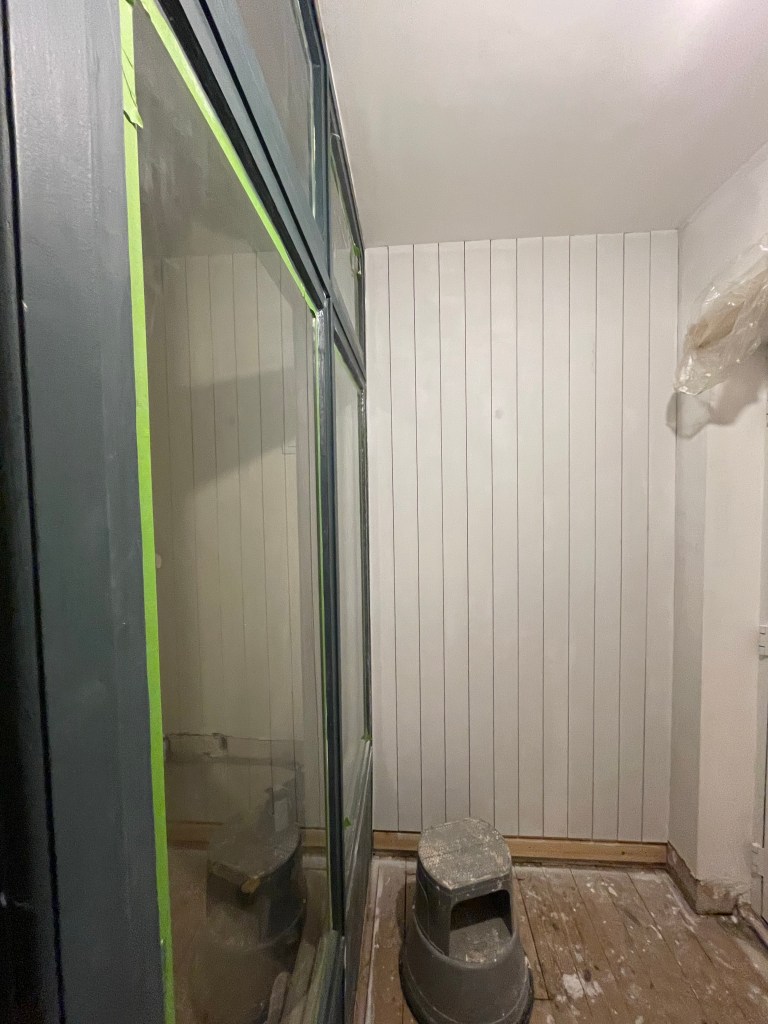
On the main walls we measured out for panelling which proved to be very difficult!

We then had our MDF cut, sealed the raw edges and primed it. Then we started pinning it to the wall.
We realised at this point that the MDF boards were slightly too big, by a few millimetres! We cut 2mm off each board, resealed and reprimed them.
We also realised that the partition wall was way out. This didn’t really matter for the panelling as we were able to fill it but it proved to be a pain when it came to fitting the new door later.

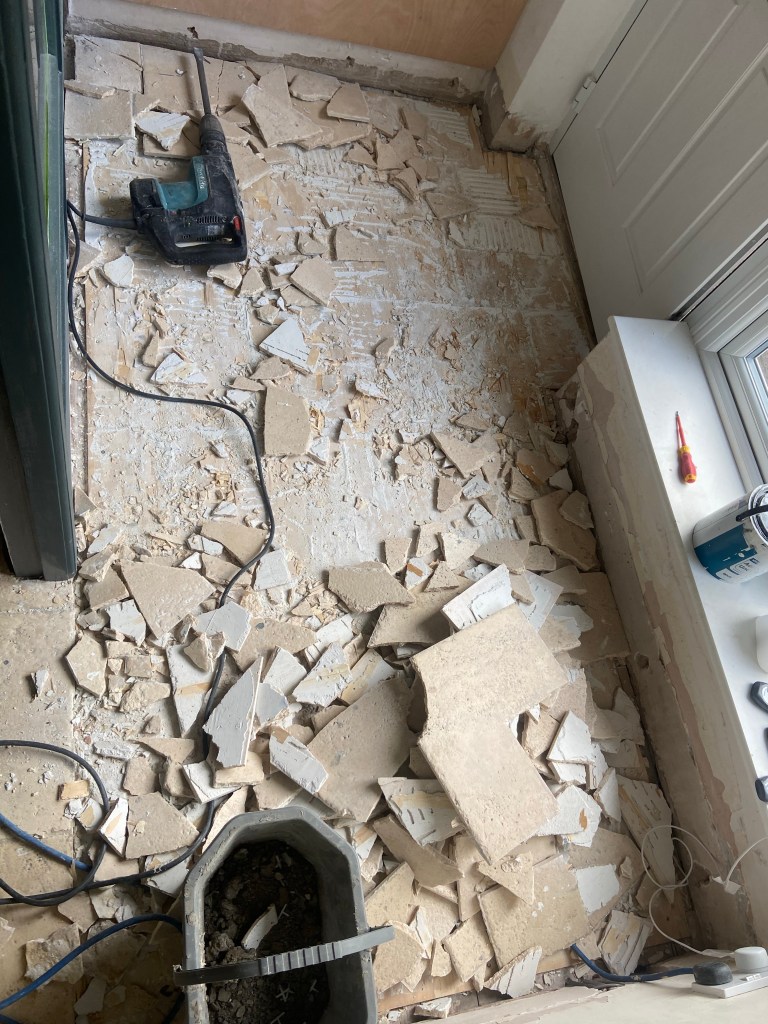
We took the tiles up.

Then we filled, sanded and primed the panelling. We sanded the ceiling then ended up giving it three coats of paint, lightly sanding between each coat.
We added five coats of paint to the panelling, lightly sanding in between each coat again.
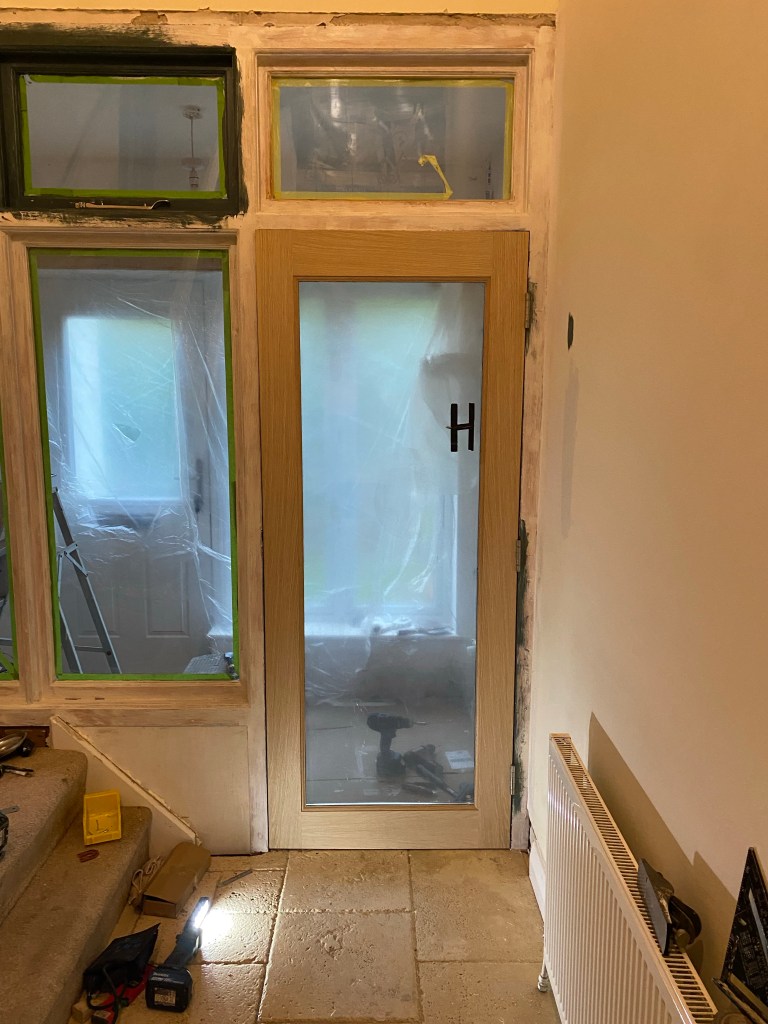
We then fitted the door but realised we had to fix the partition wall and make it straight to make the door fit.
Moving the partition wall meant the plywood at the bottom was now wonky. We repaired and refitted it on both sides.
Once this was in position we did one coat on the partition wall.
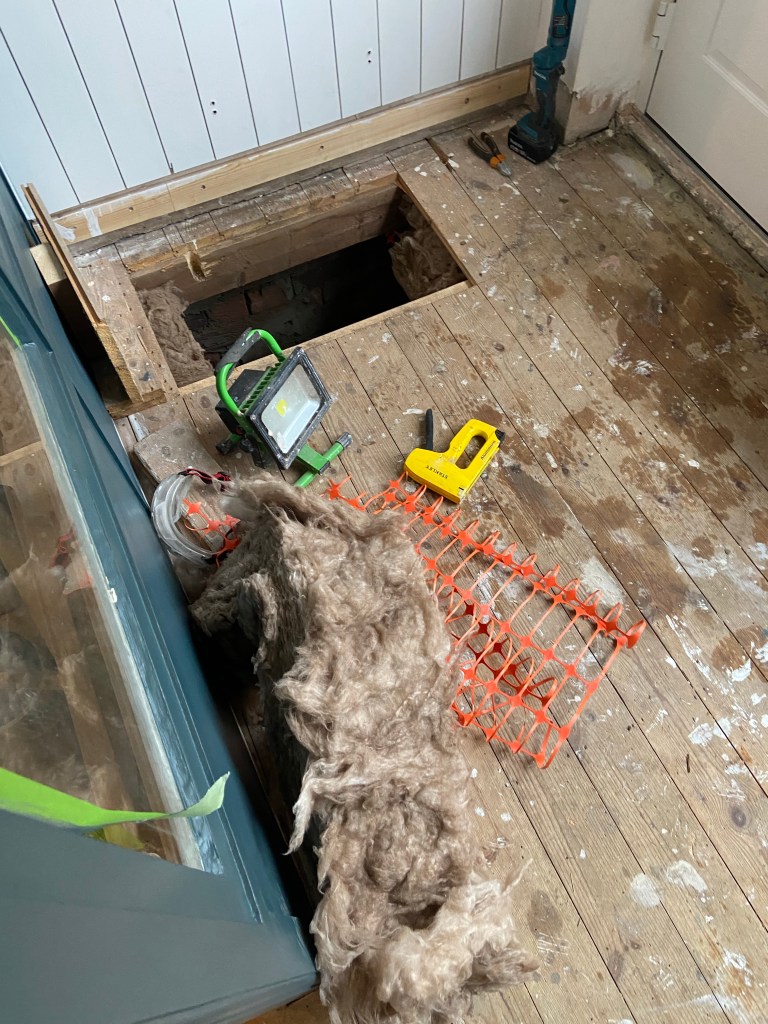
We then insulated under the floorboards.
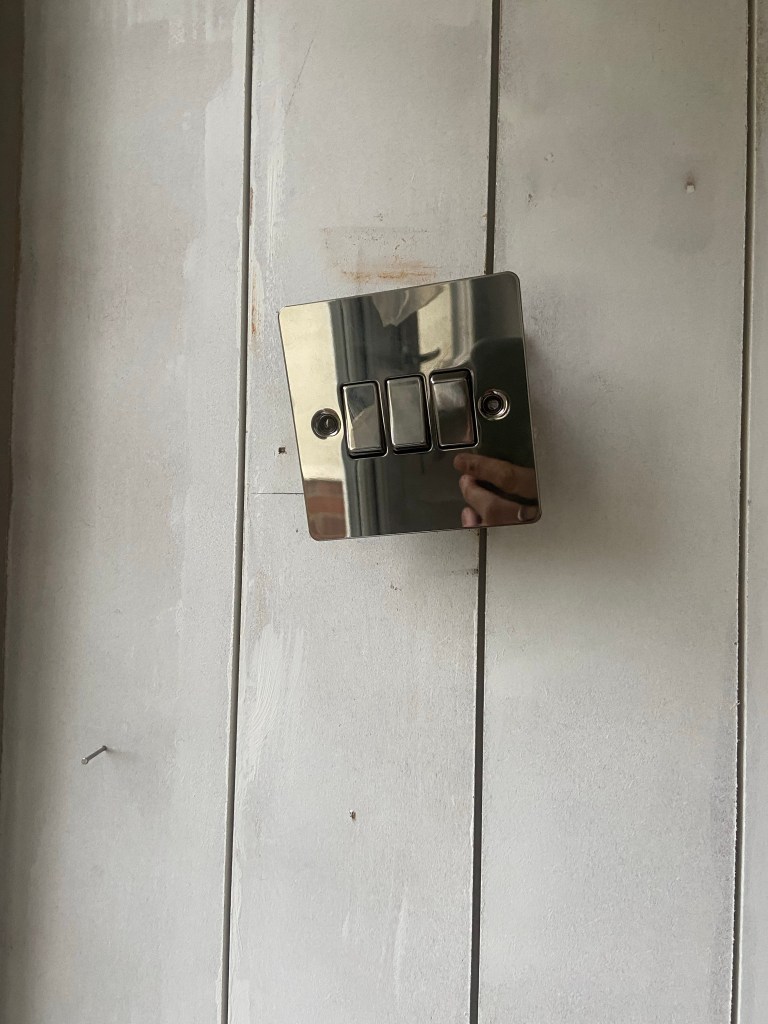
Replaced the plug sockets and light switch.
And gave everywhere multiple coats of paint.
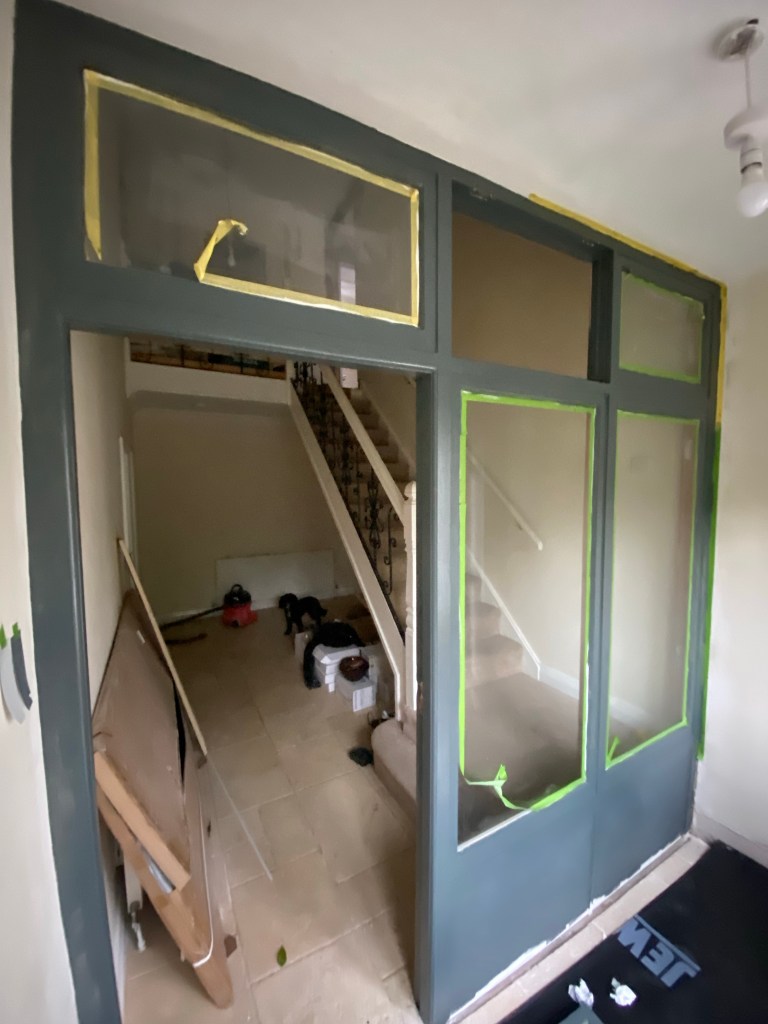
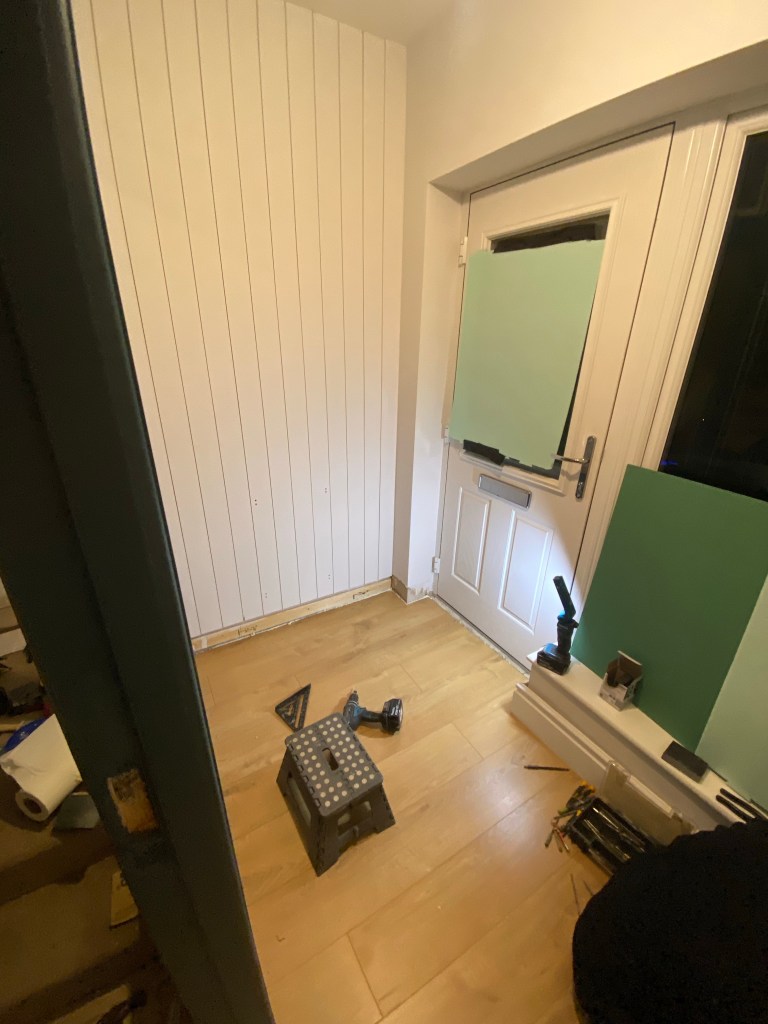
We primed the door with grey undercoat and painted in the same colour as the partition wall.
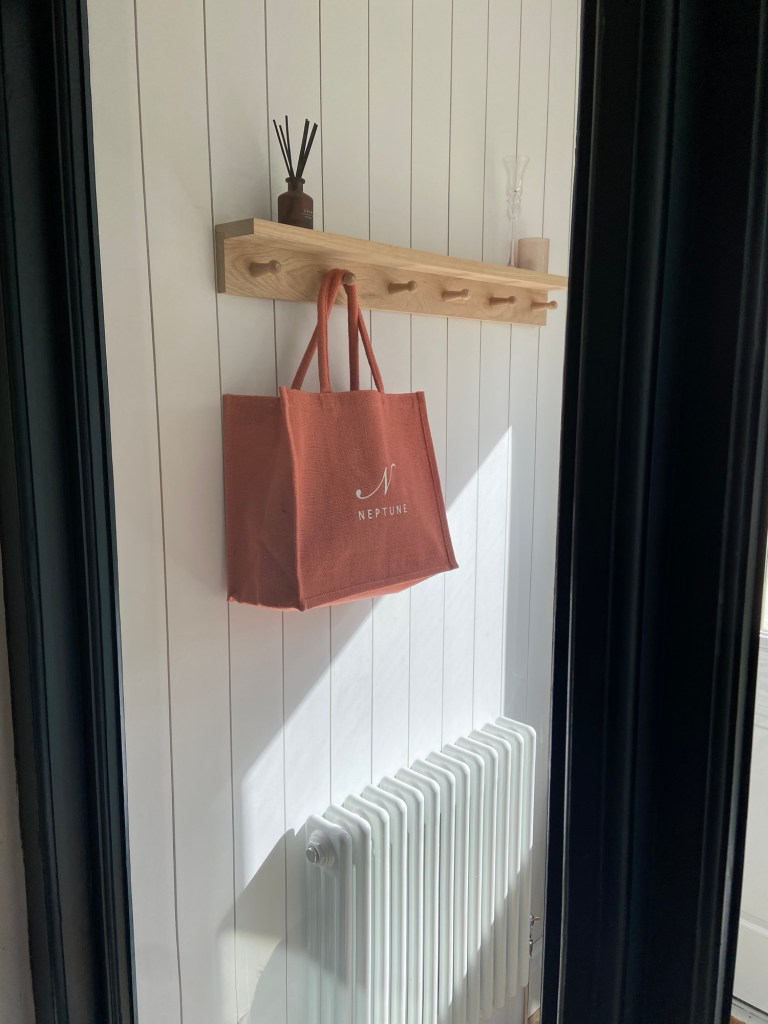
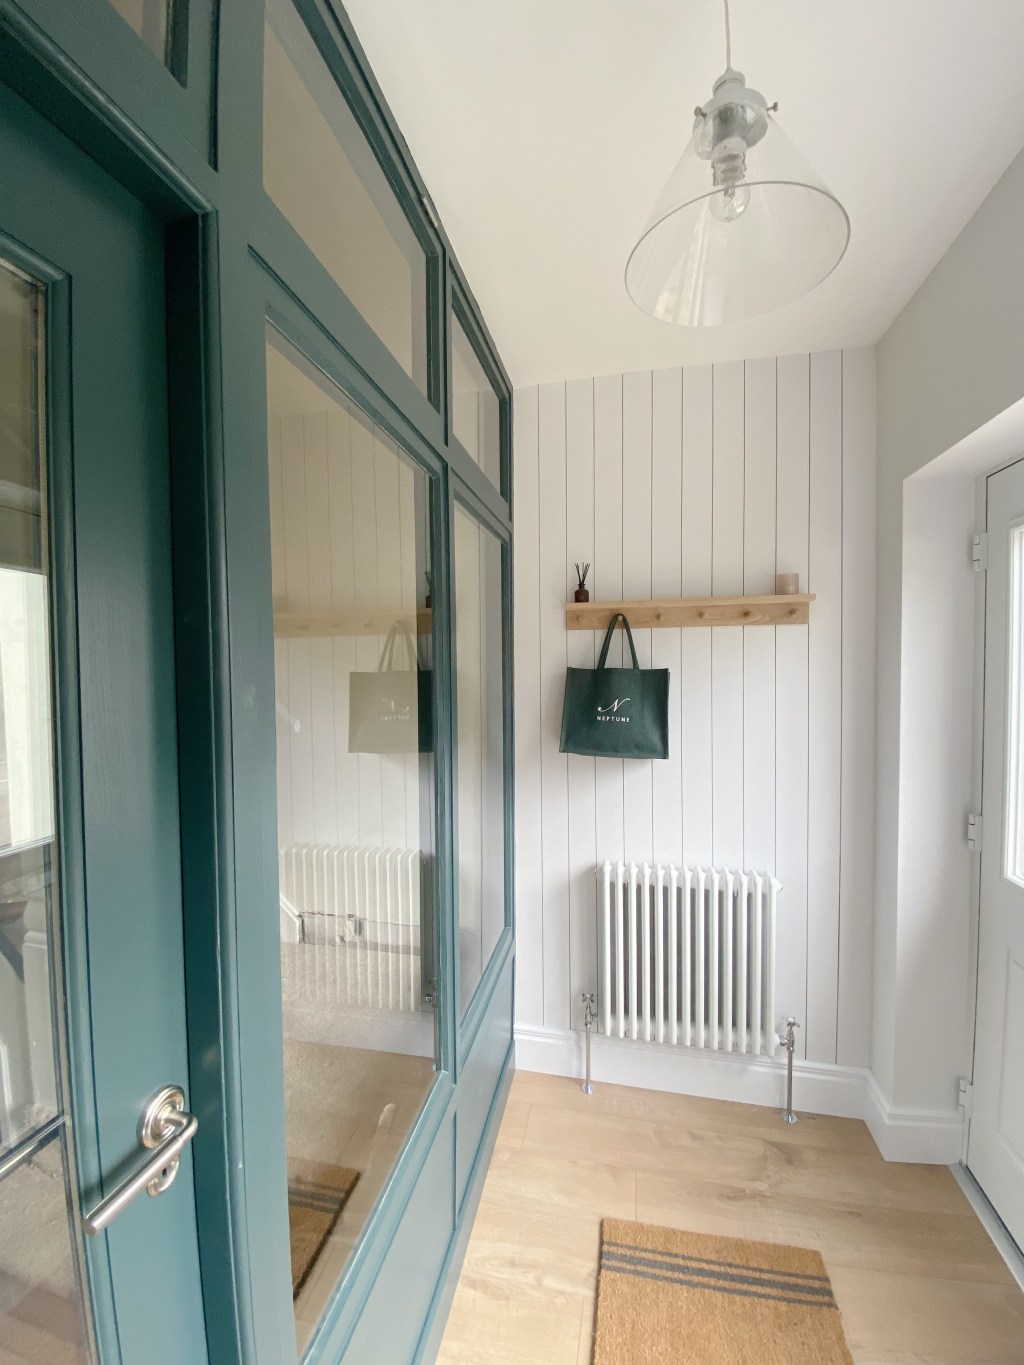
Then we fitted the flooring and added a radiator!

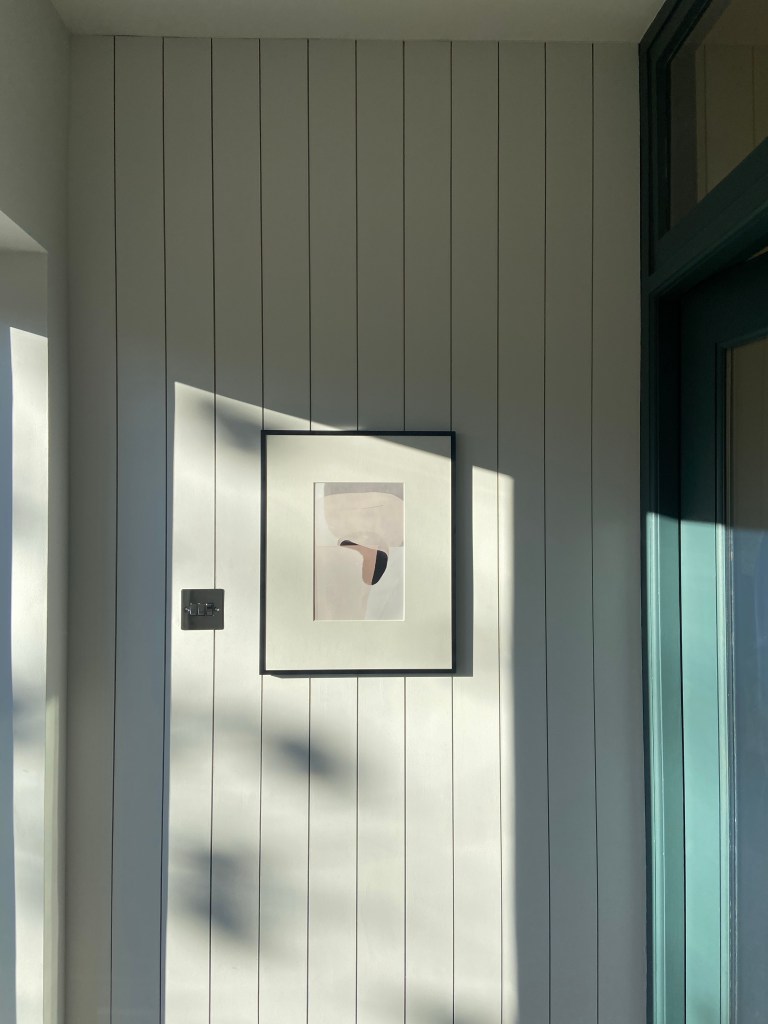
And here it is today! I love this little room and am so thrilled with how it all came together. There’s small changes that will happen to this room as we progress with the hallway/front of the house but the majority of the hard work is done.