

Our third room, Arthur’s bedroom, is finally finished. This room, much like our living room and the other bedroom before it, took an awful lot of time to get to where it is today.
What we did
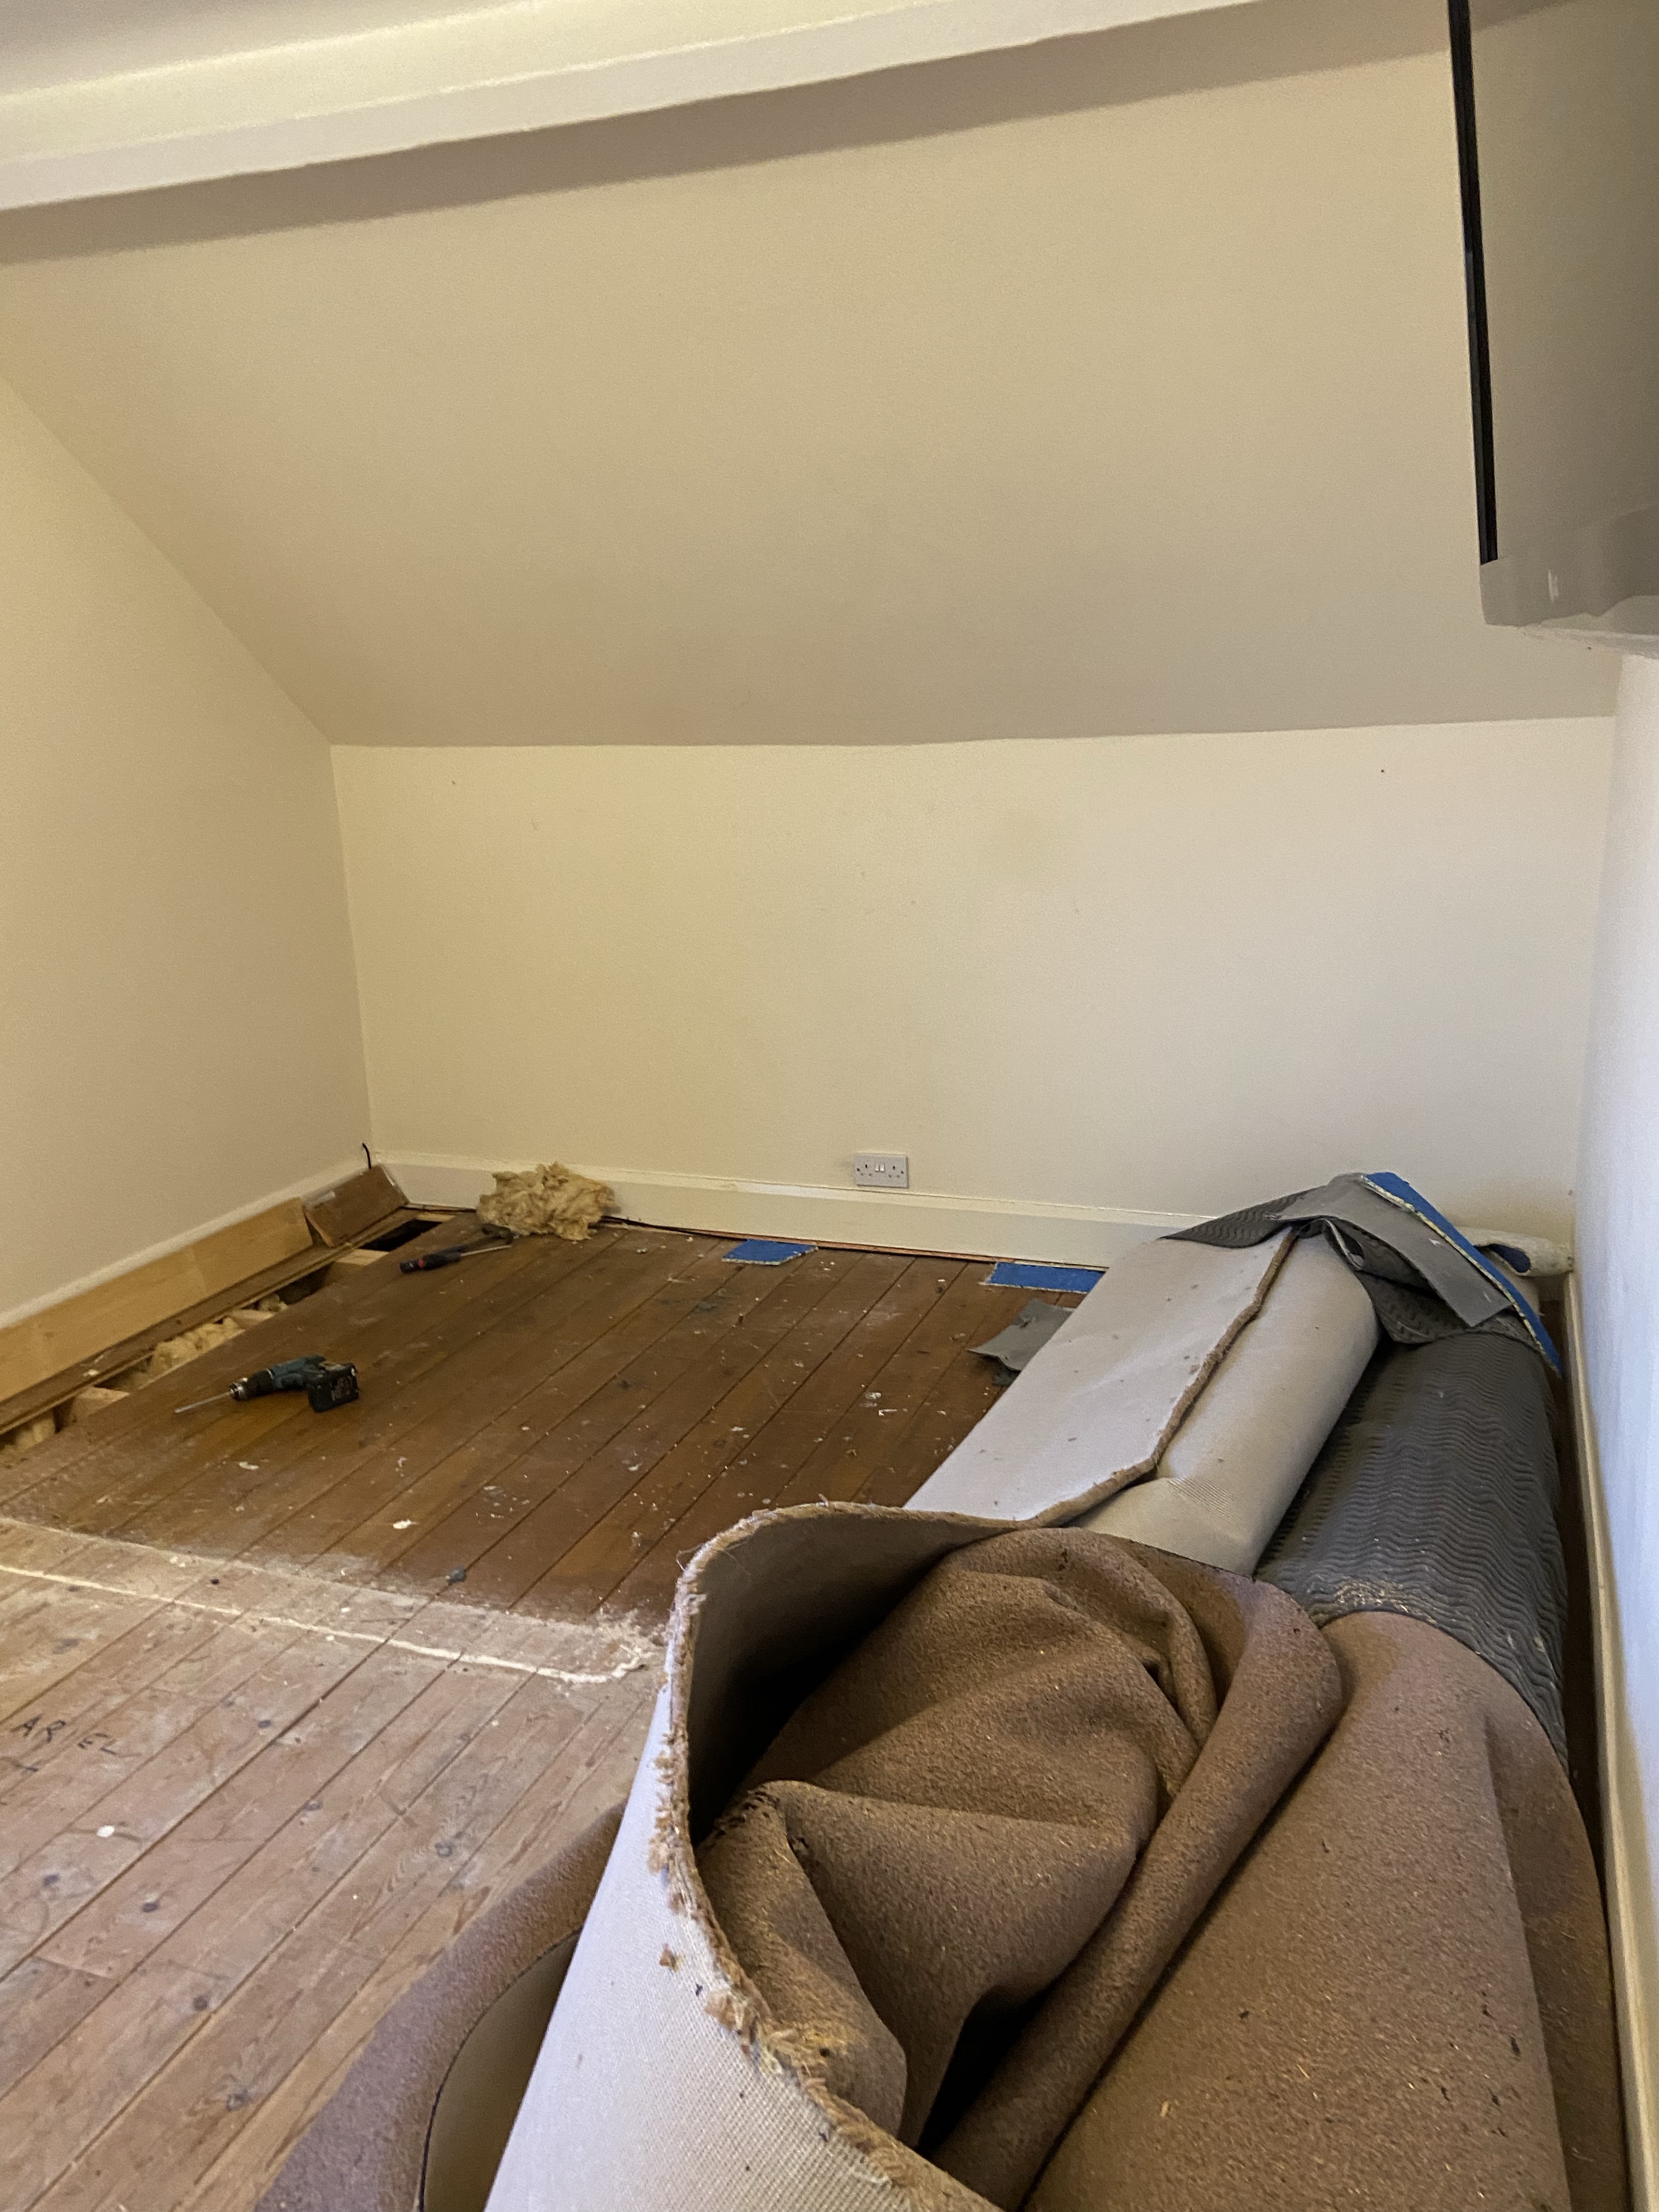
First thing we did when we moved in was pull up the carpet in this room as we wanted to see what was under the floorboards (nothing but lots of rubbish!).
We then left this room for close to a year while we cracked on with the rest of the house…
It’s worth noting that we had insulated this room prior to starting the makeover on it — we completed this when we insulated our own bedroom too.
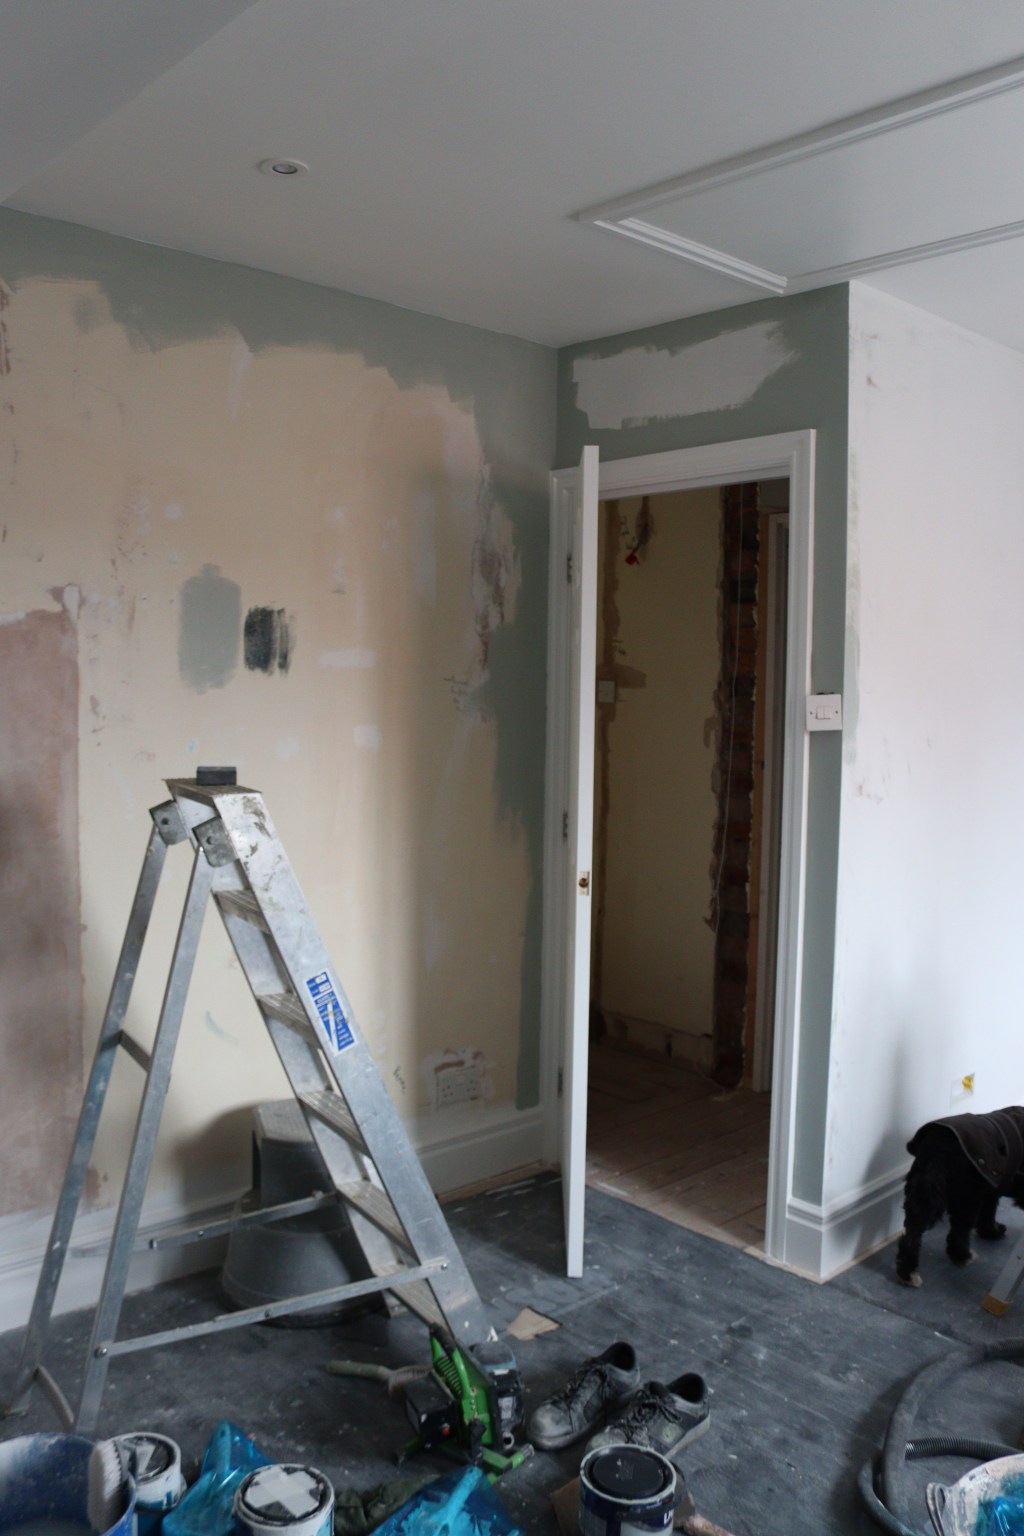
Once we came back to this room after finishing our living room and bedroom, we first removed all the existing skirting boards and added in a stud wall dividing the room into two, similar to what we did in our other bedroom, to accommodate a new and bigger upstairs bathroom.
With the new frame in place, the plasterboard was added.
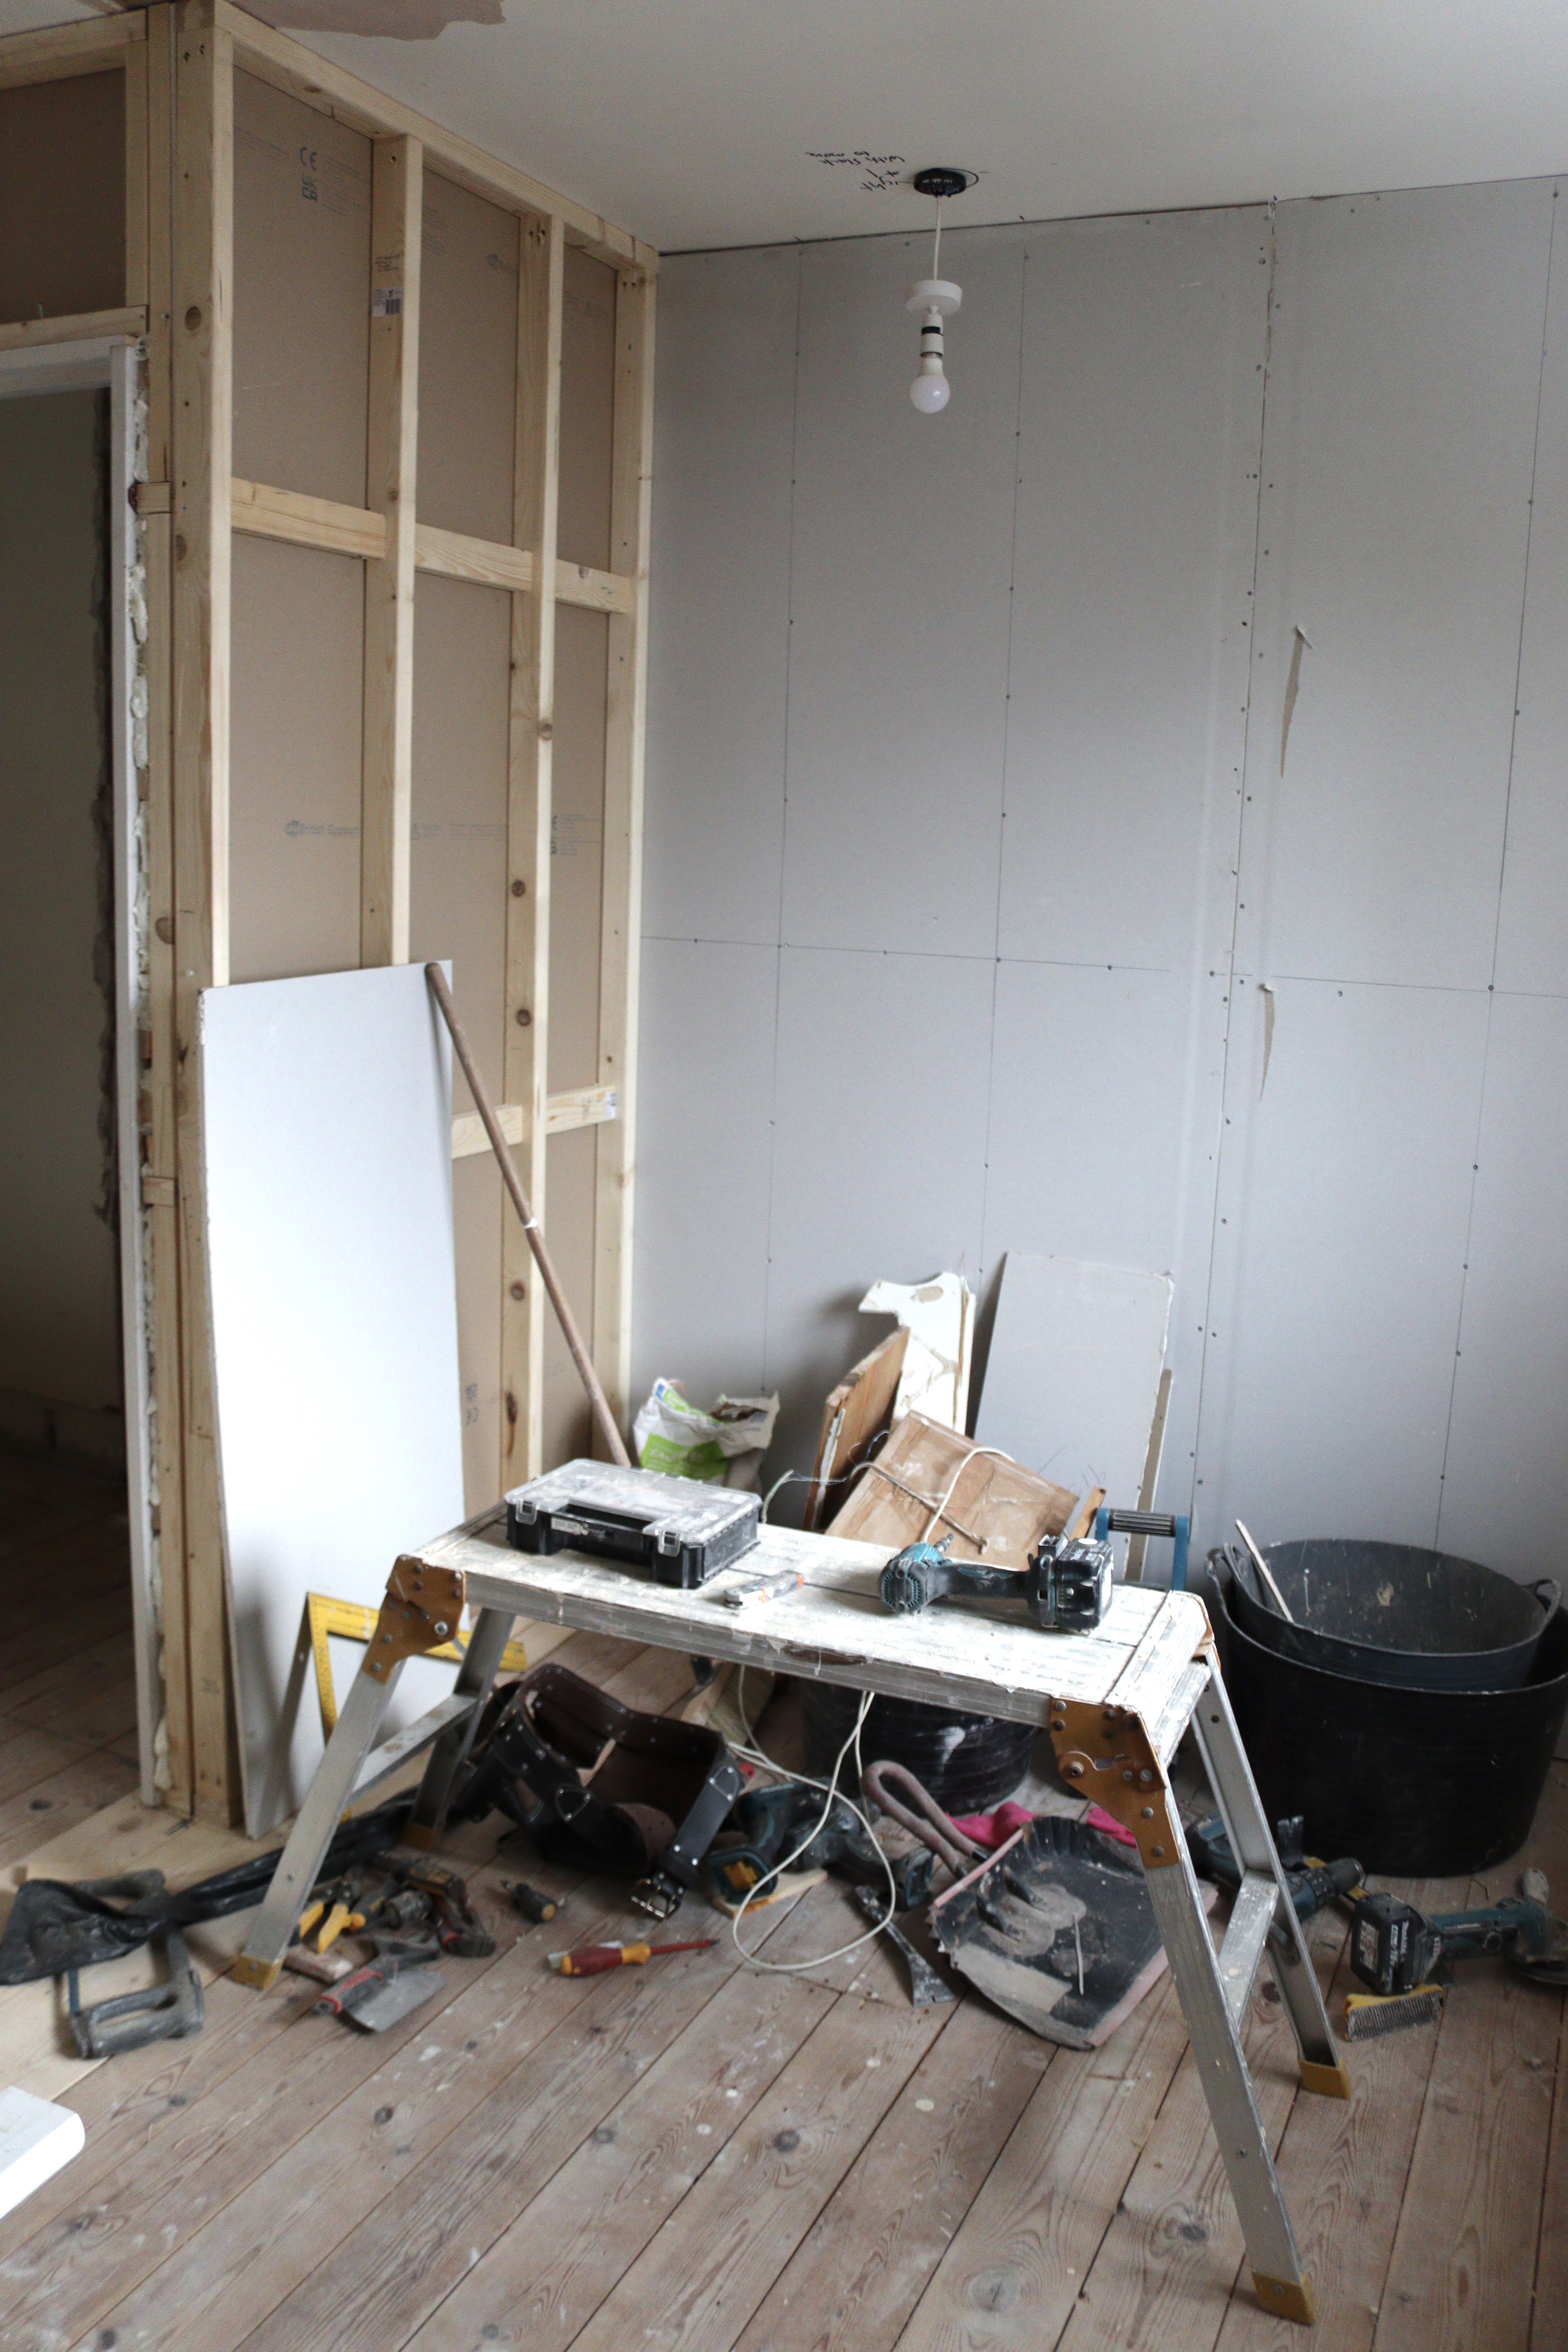
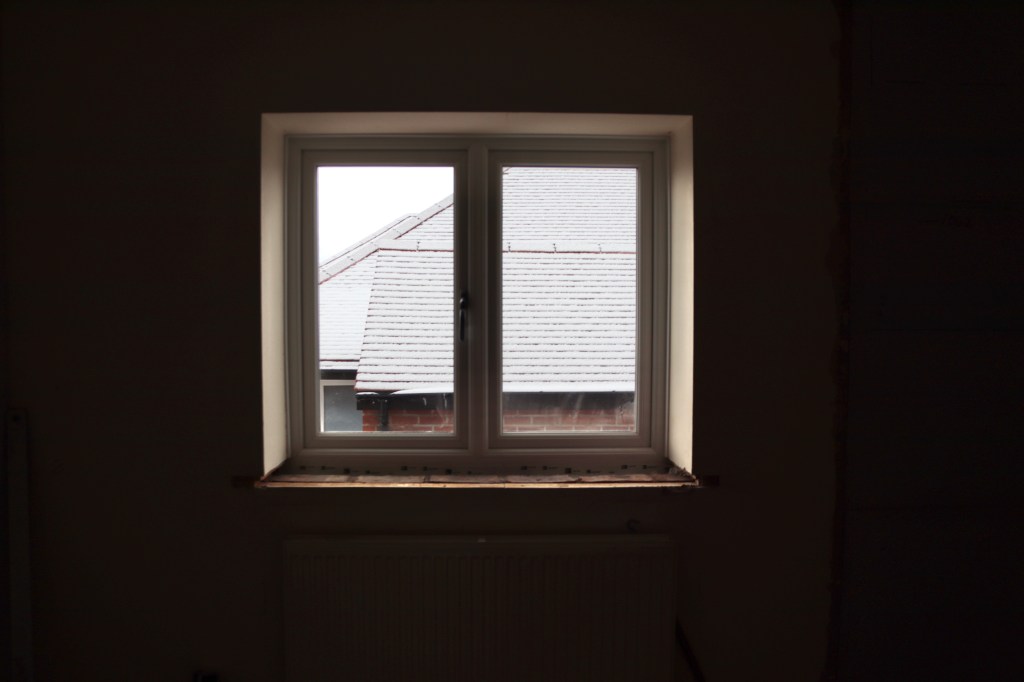
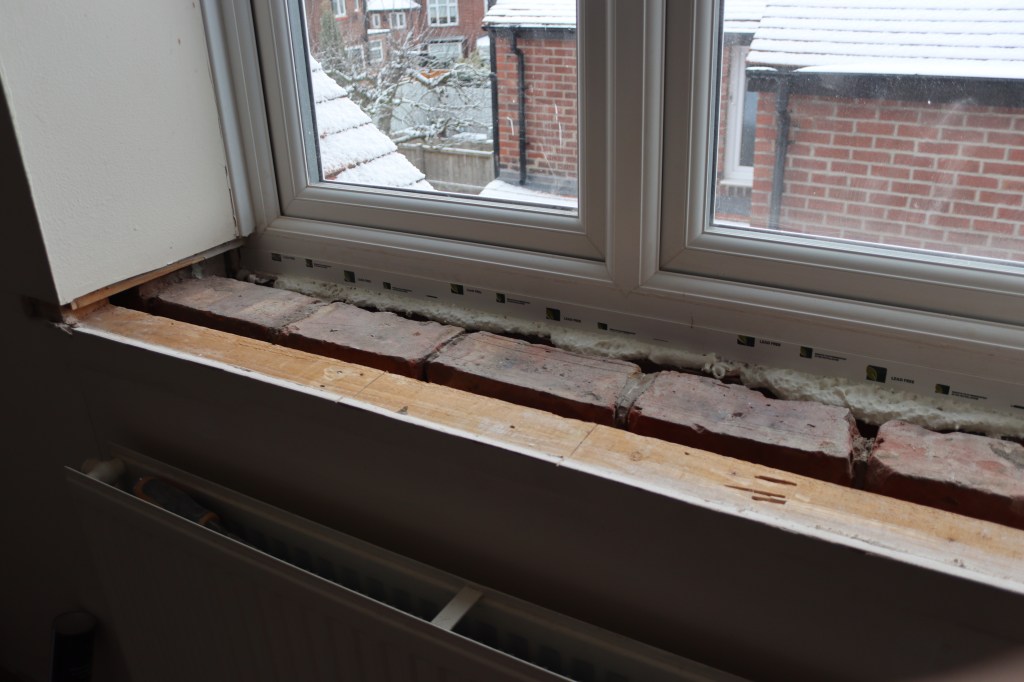
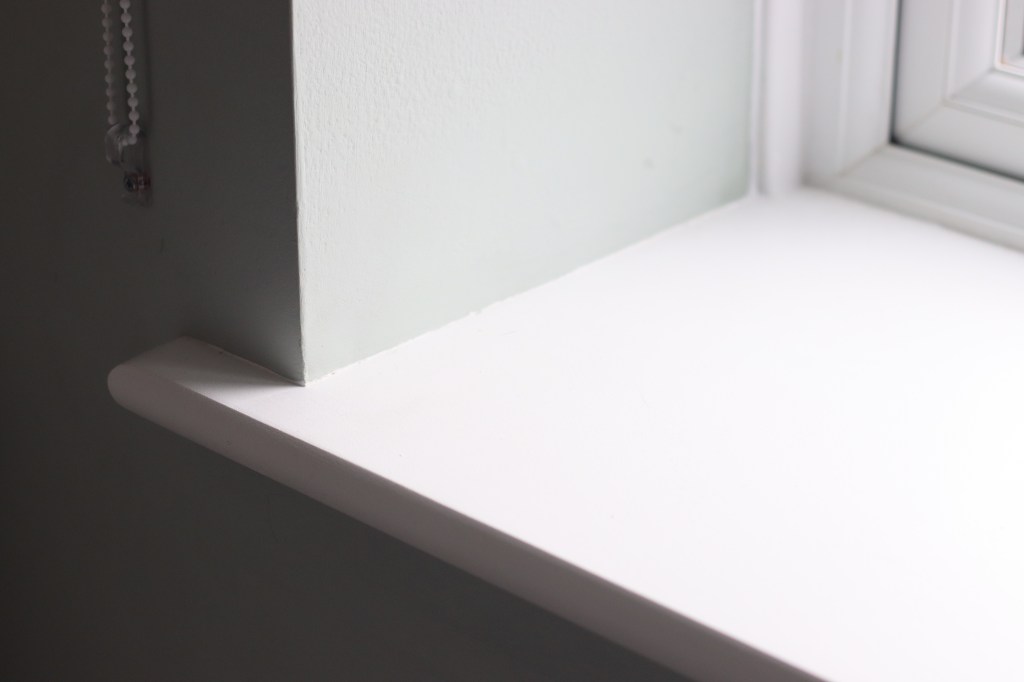
And the old cill was removed, ready for insulating and installing a new one.
We decided to box in the supporting beam in the roof which you can see in the image below. We also investigated a crack on the left hand wall which turned out to be where the previous owners had chased out a channel for some electrical wires. We removed these, patched the wall, then plastered it.
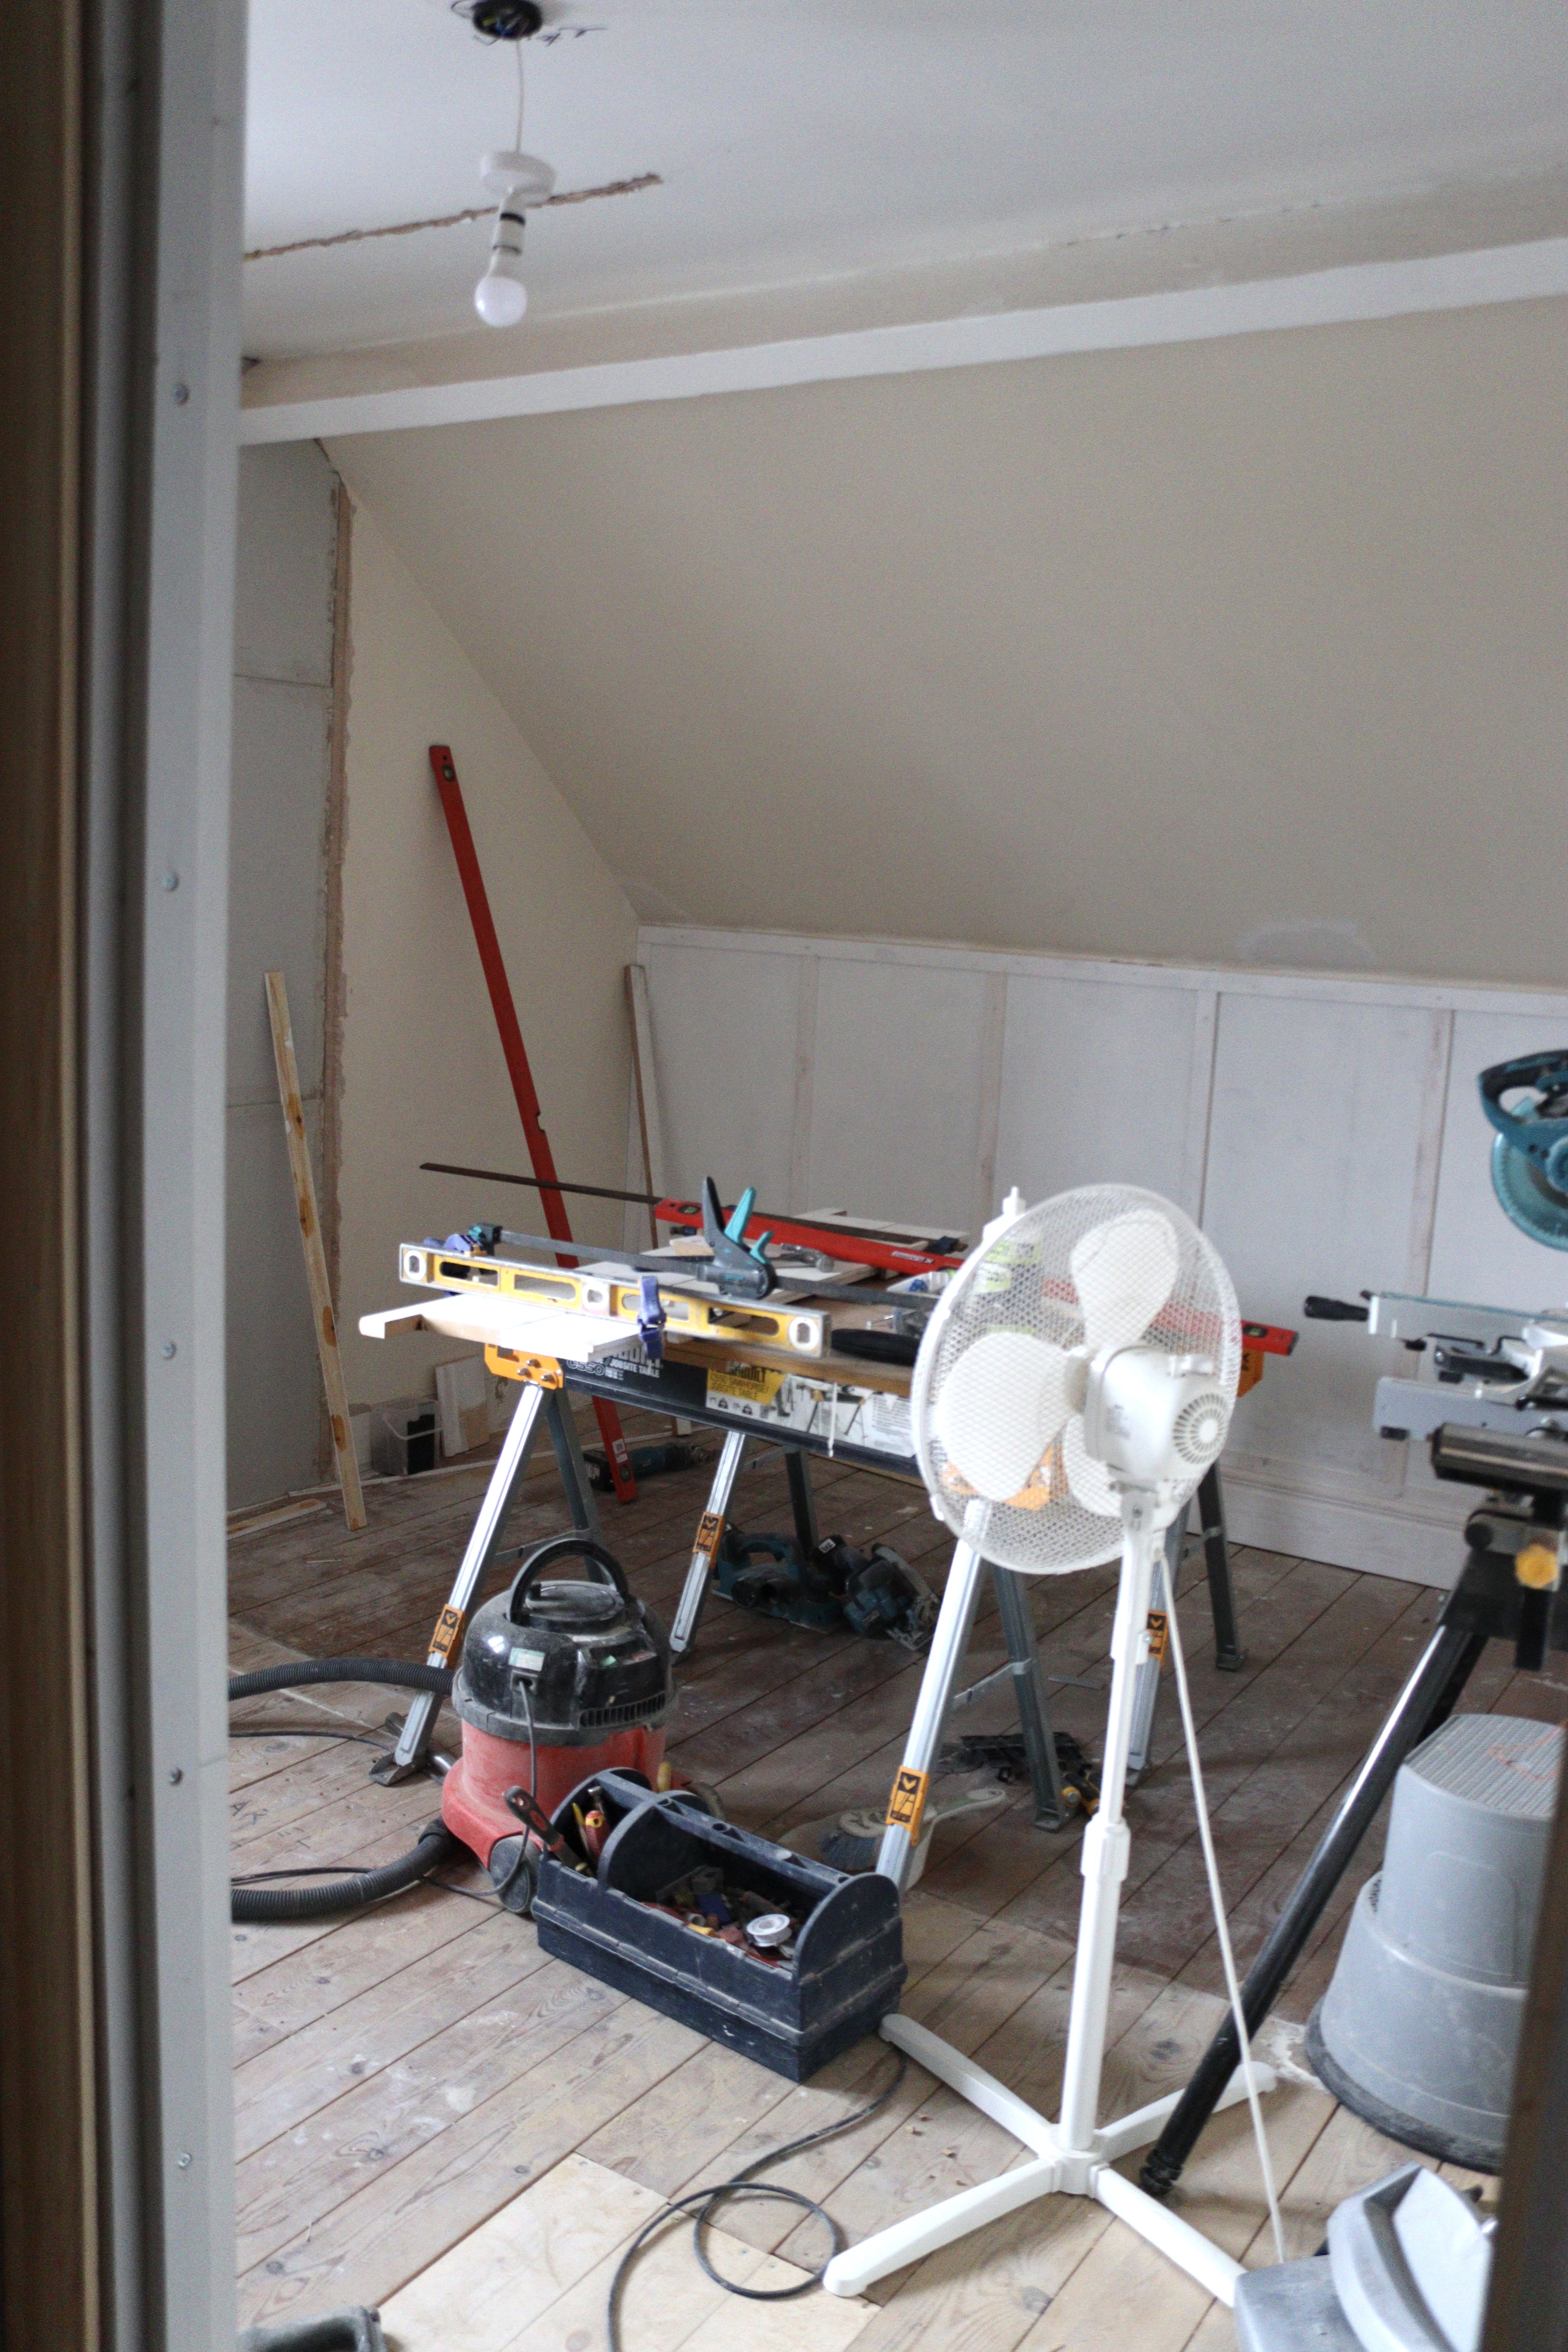
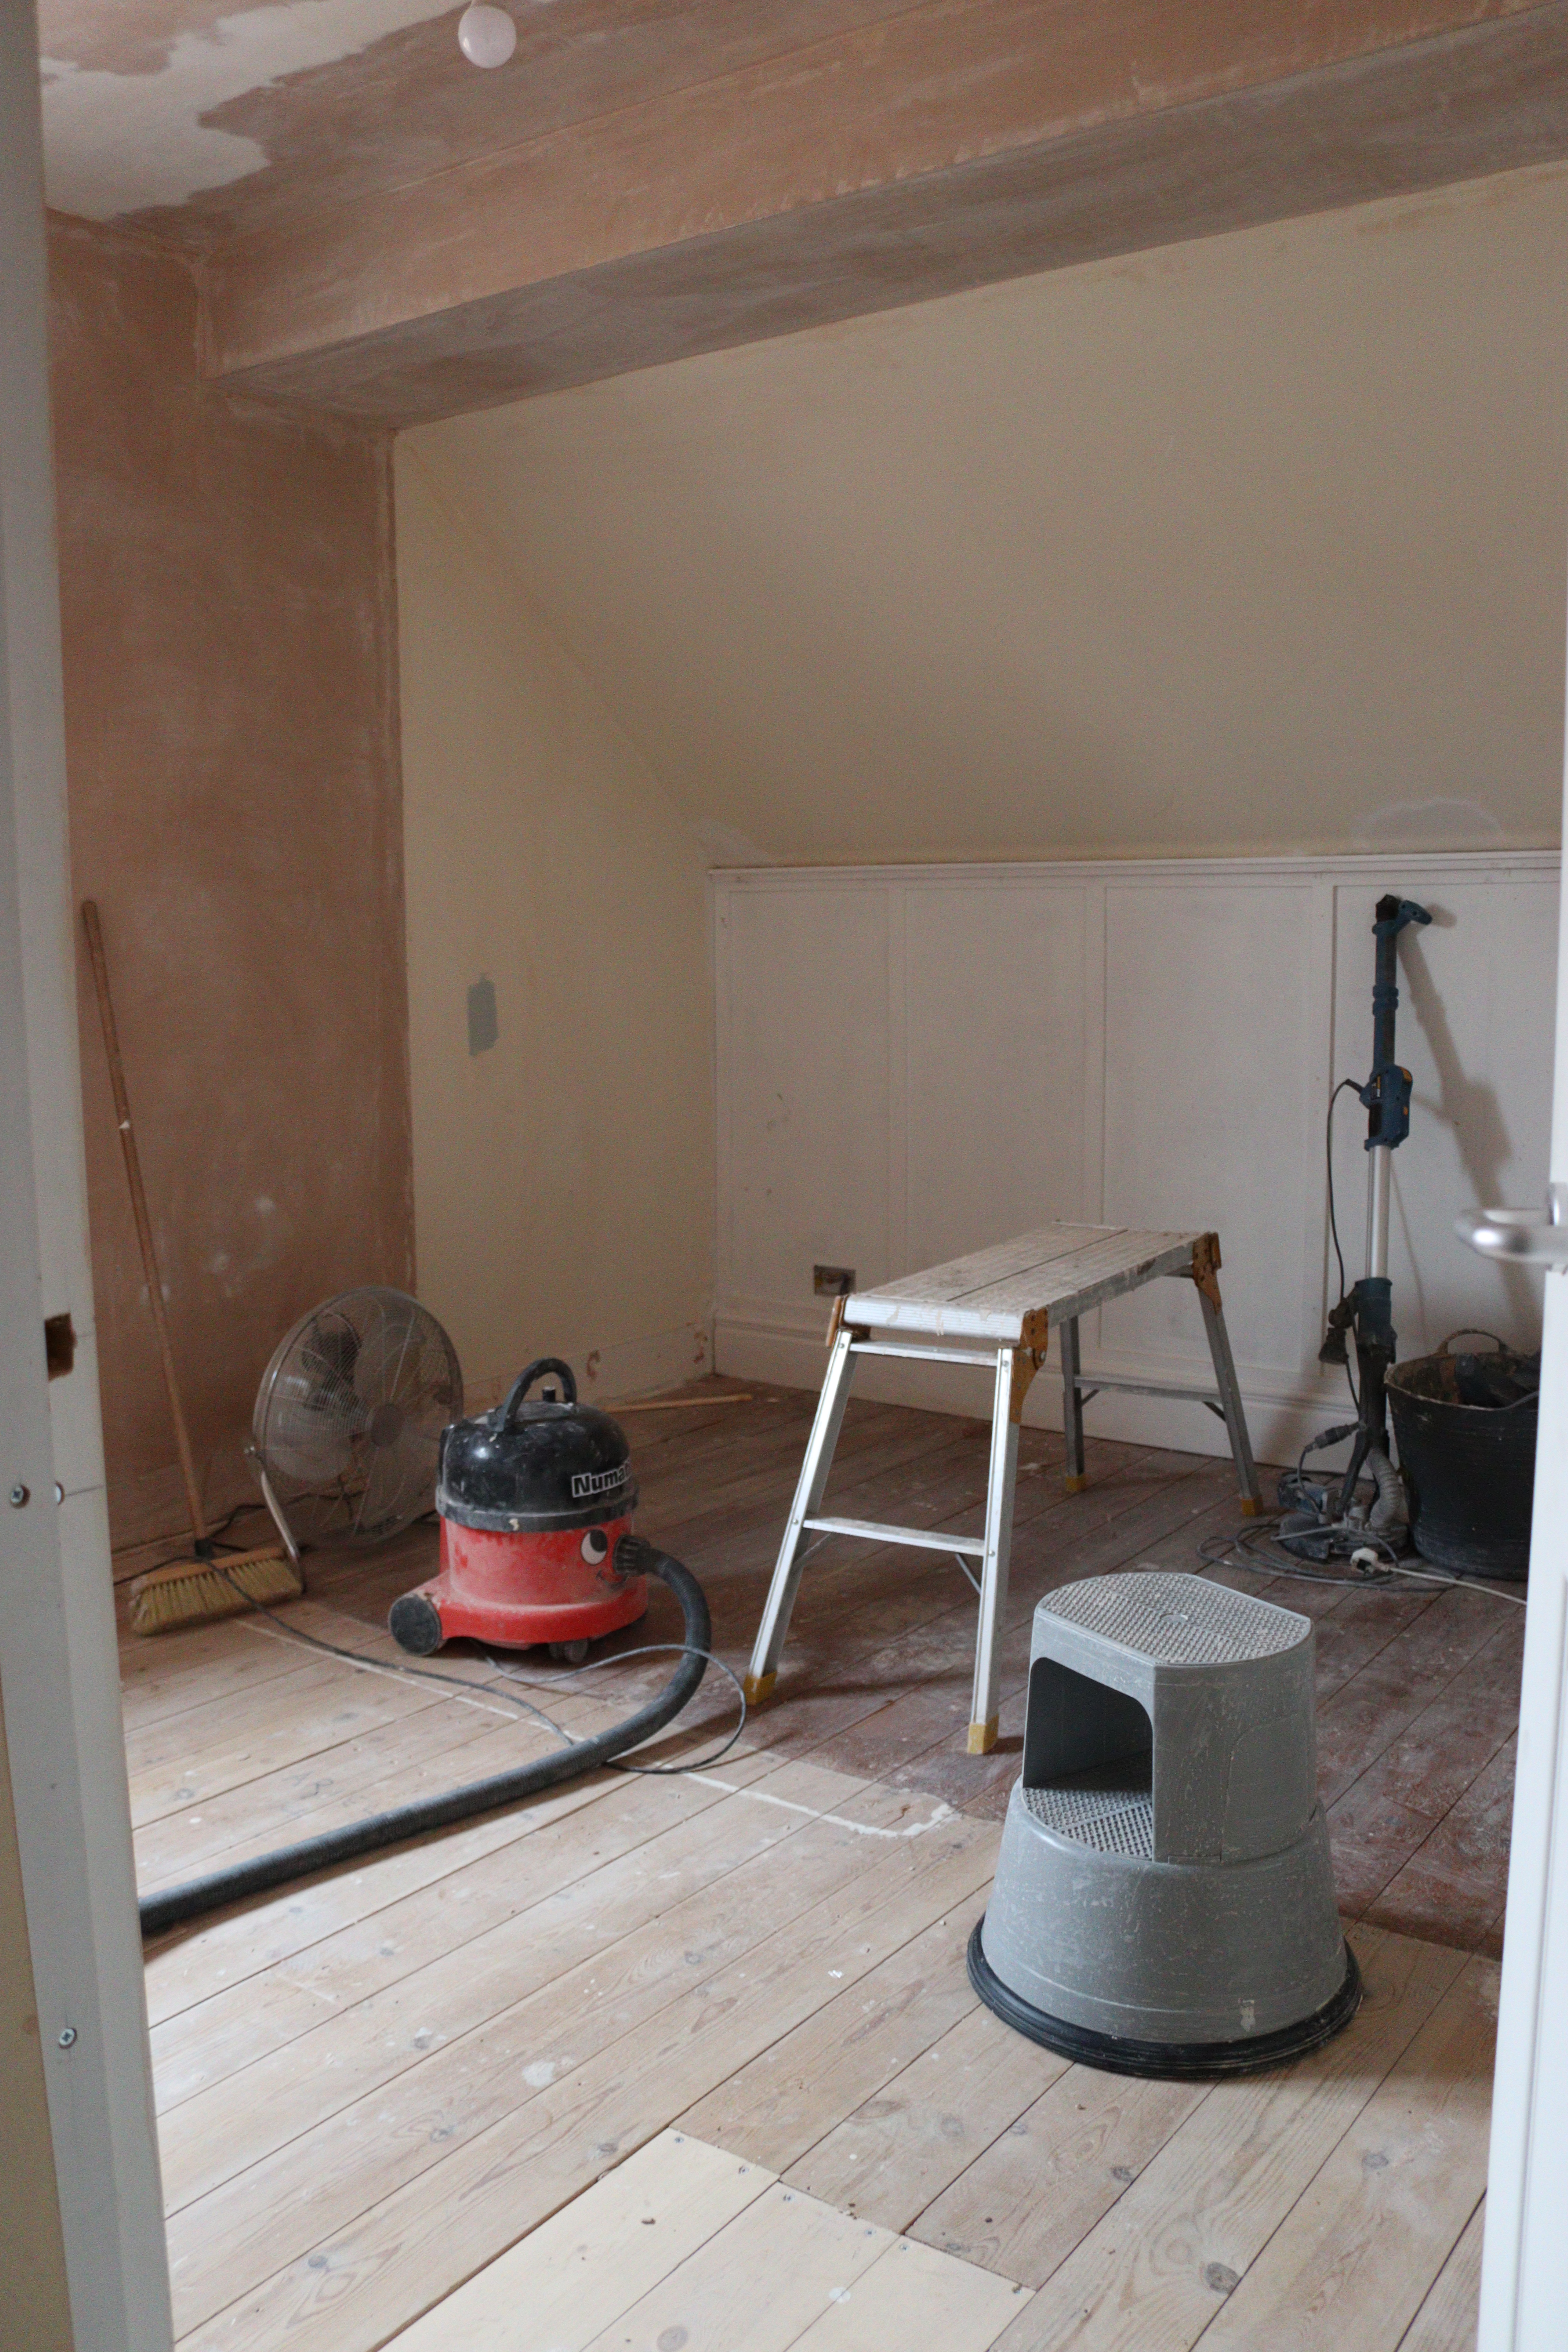
The rest of the new walls were then plastered too as was the ceiling which was very uneven and had been damaged while stripping some of the old paint off.

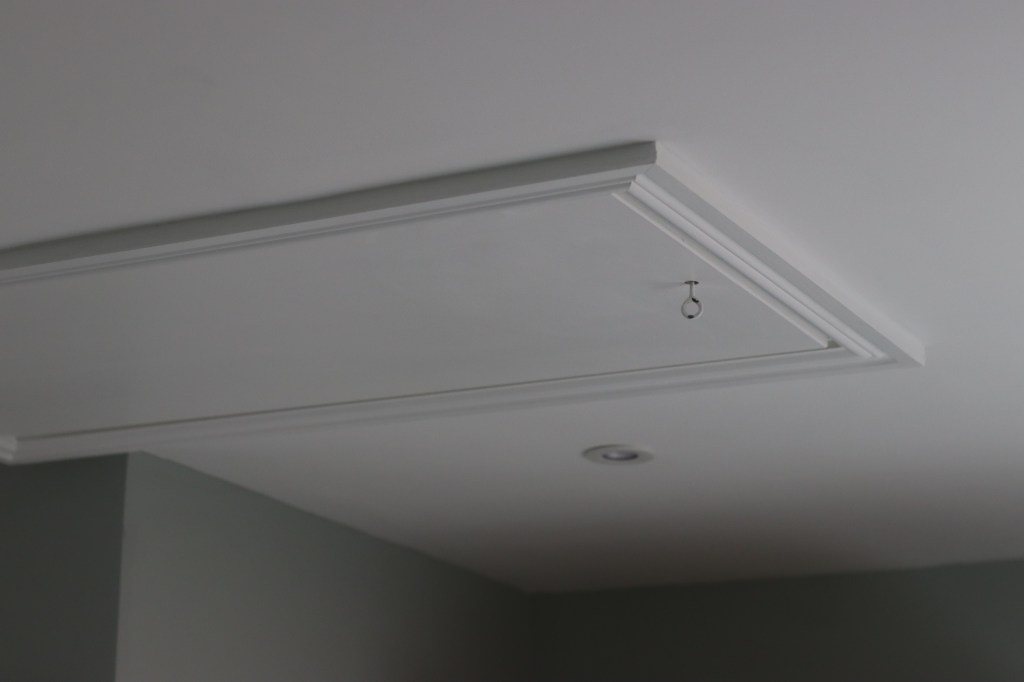
The only access to the loft space is in this room which you can see in the photo above. My dad decided to slightly move, and then build out a new frame, for the loft hatch.
We also replaced the radiator, adding in a three column one instead, added in new spotlights in the ceiling and fitted new electrical sockets.
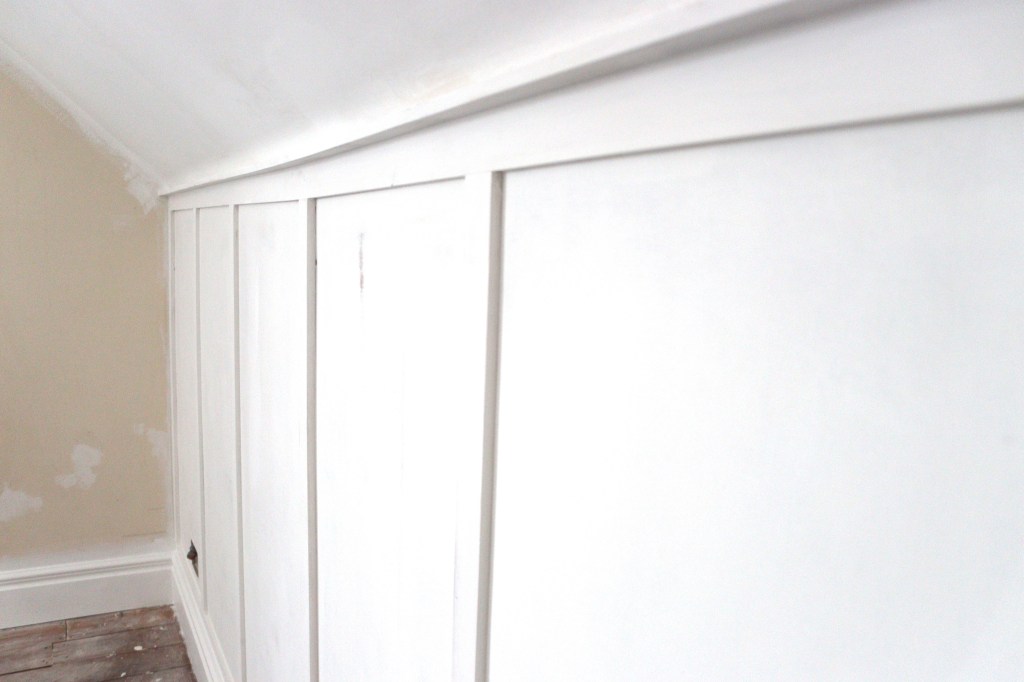
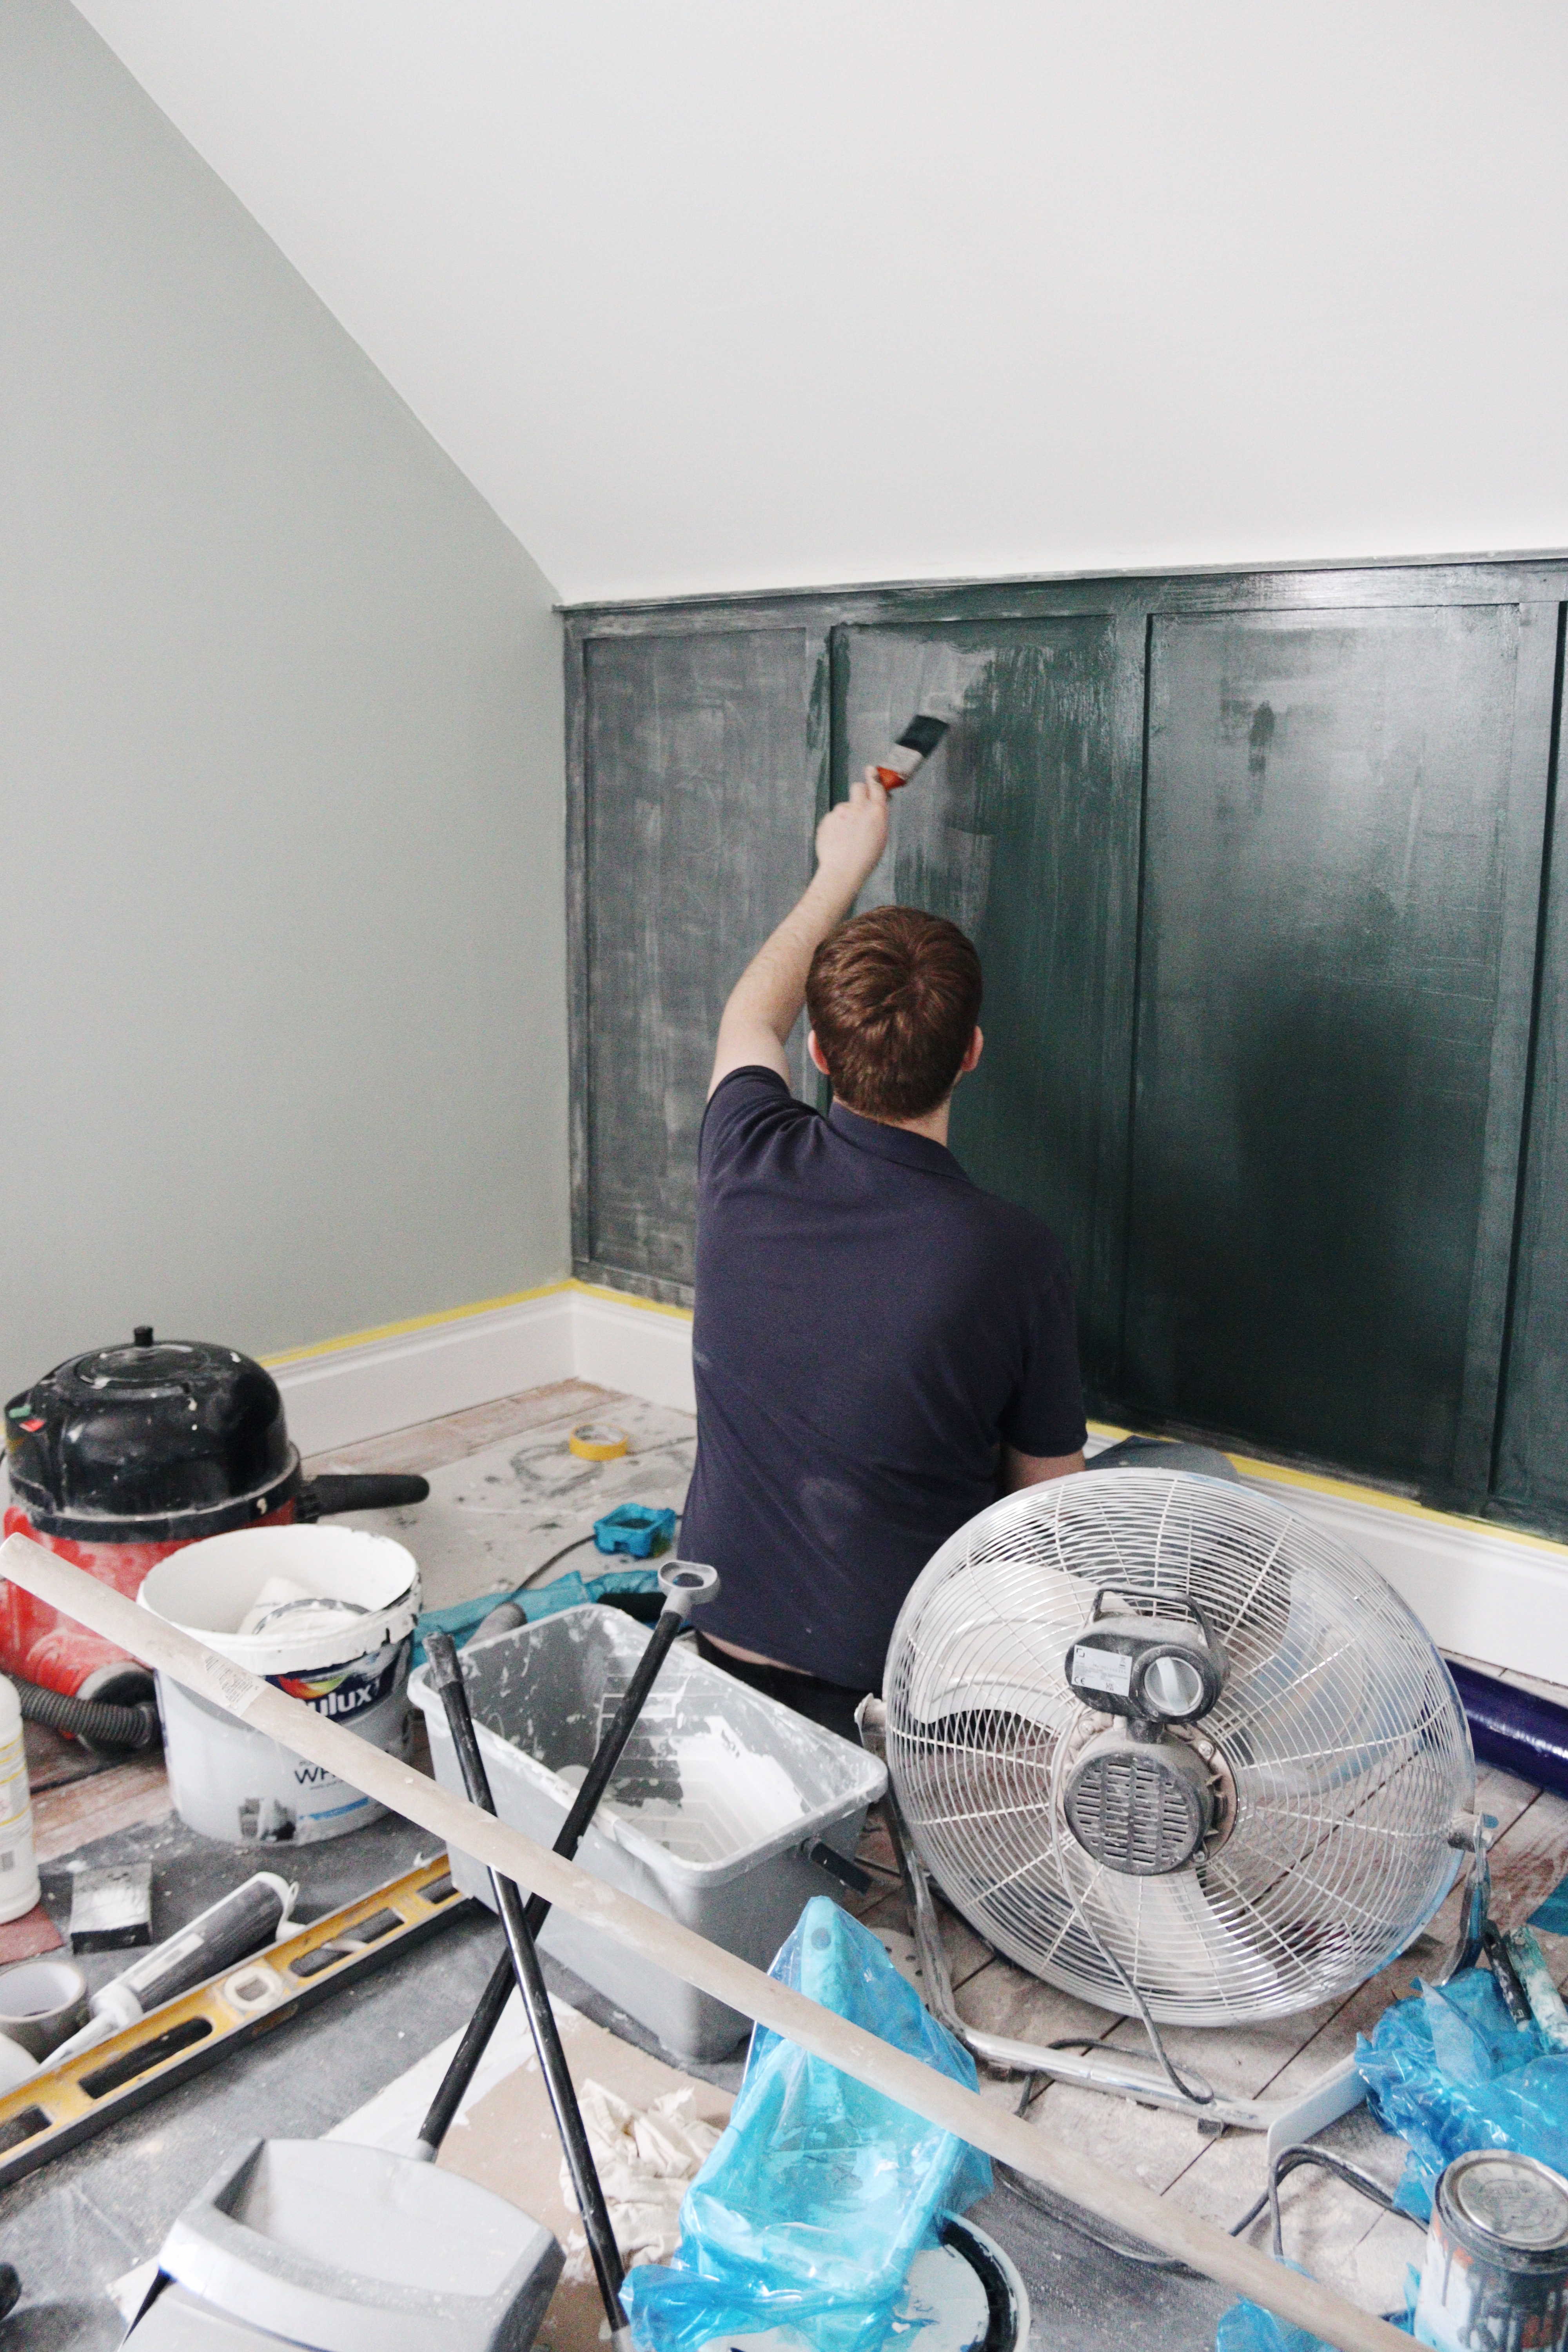
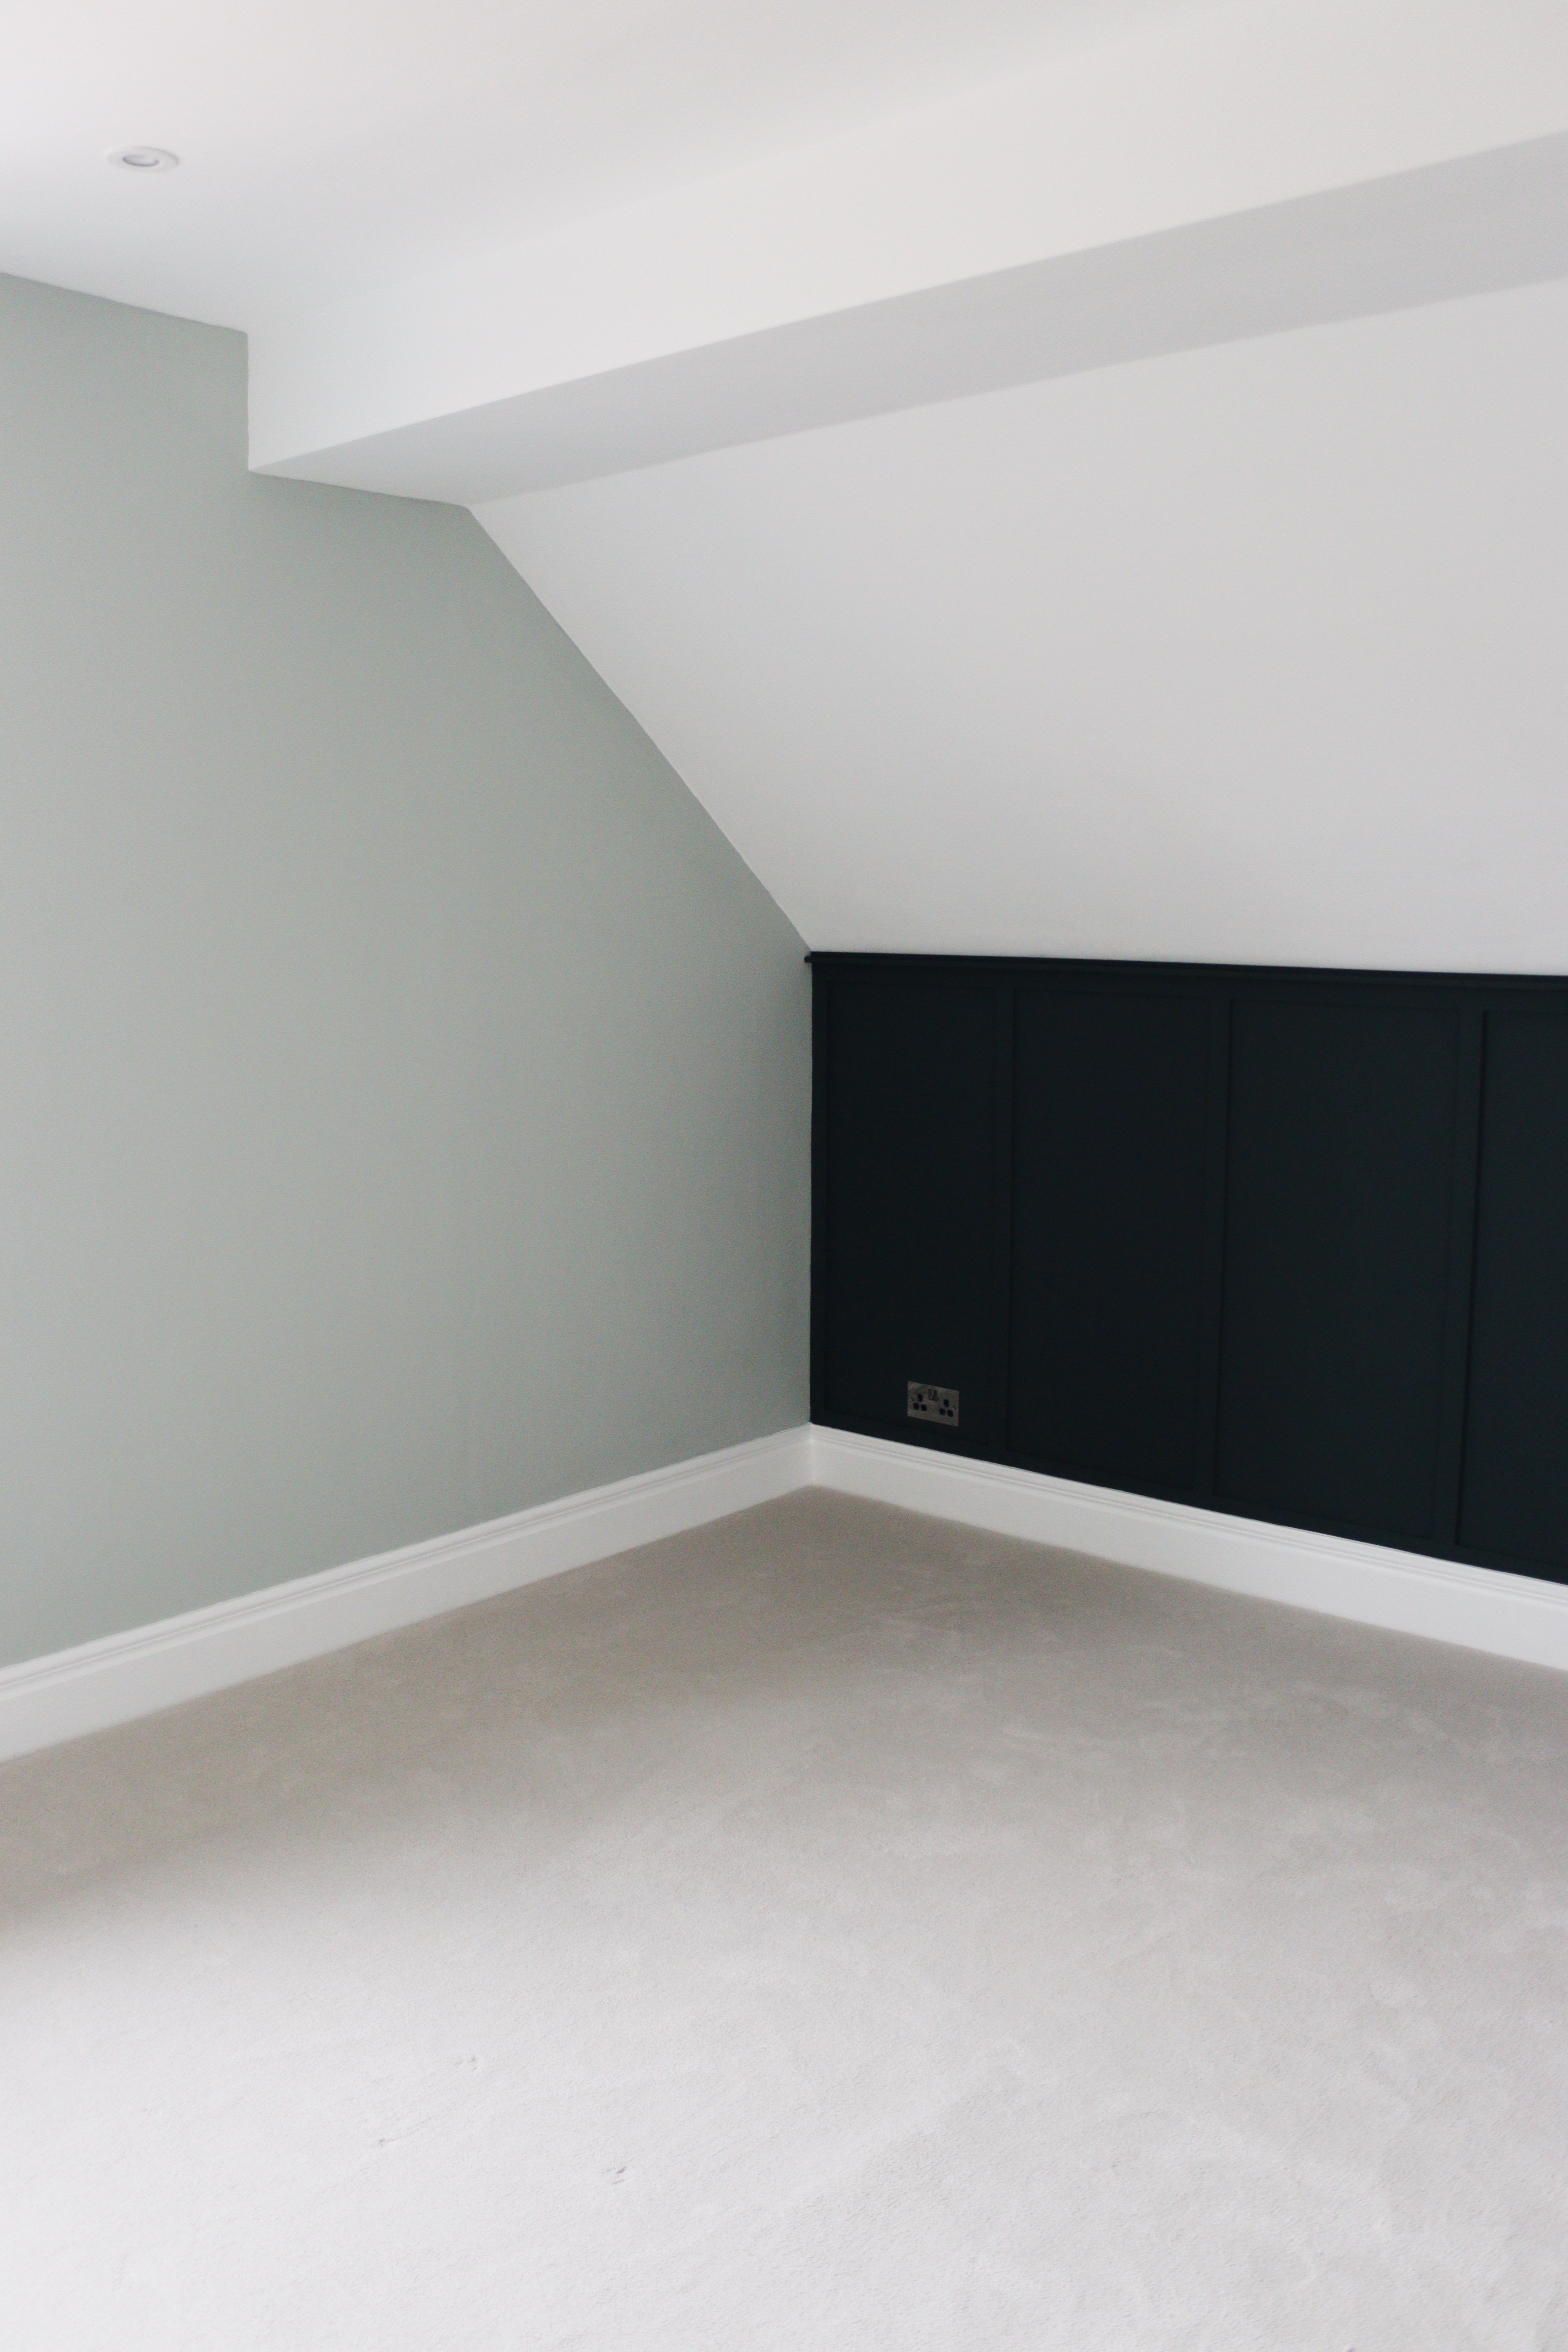
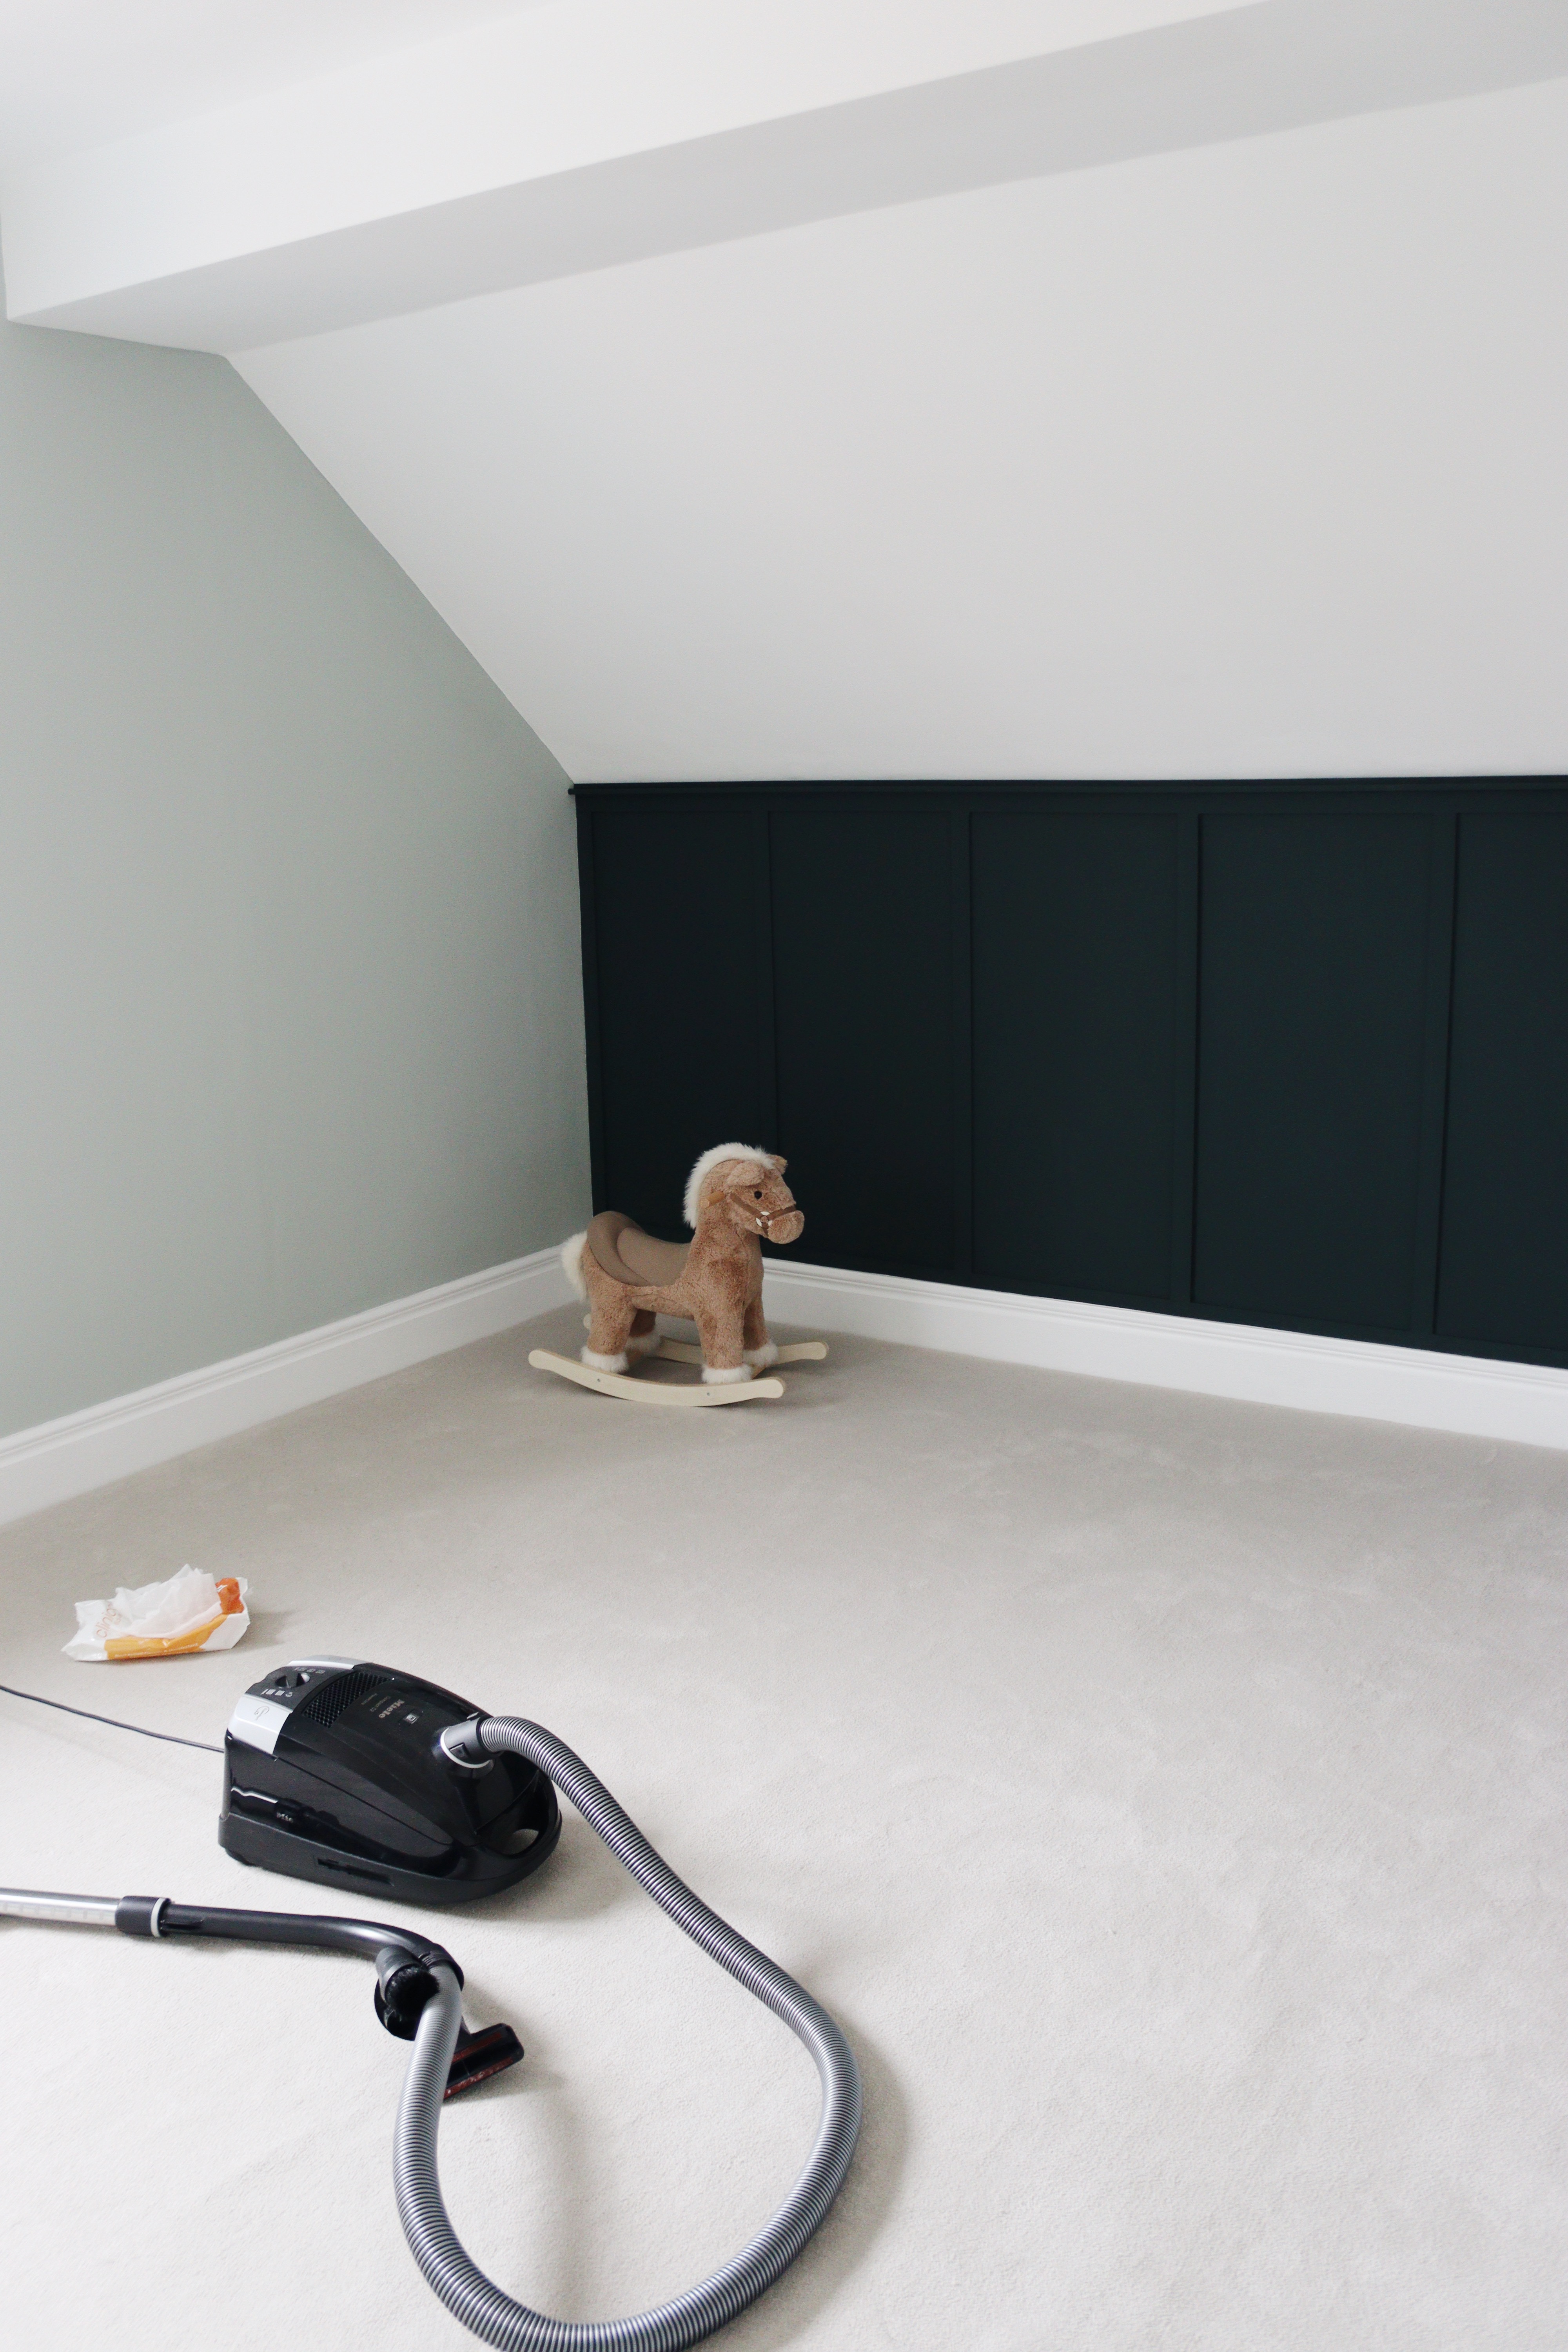
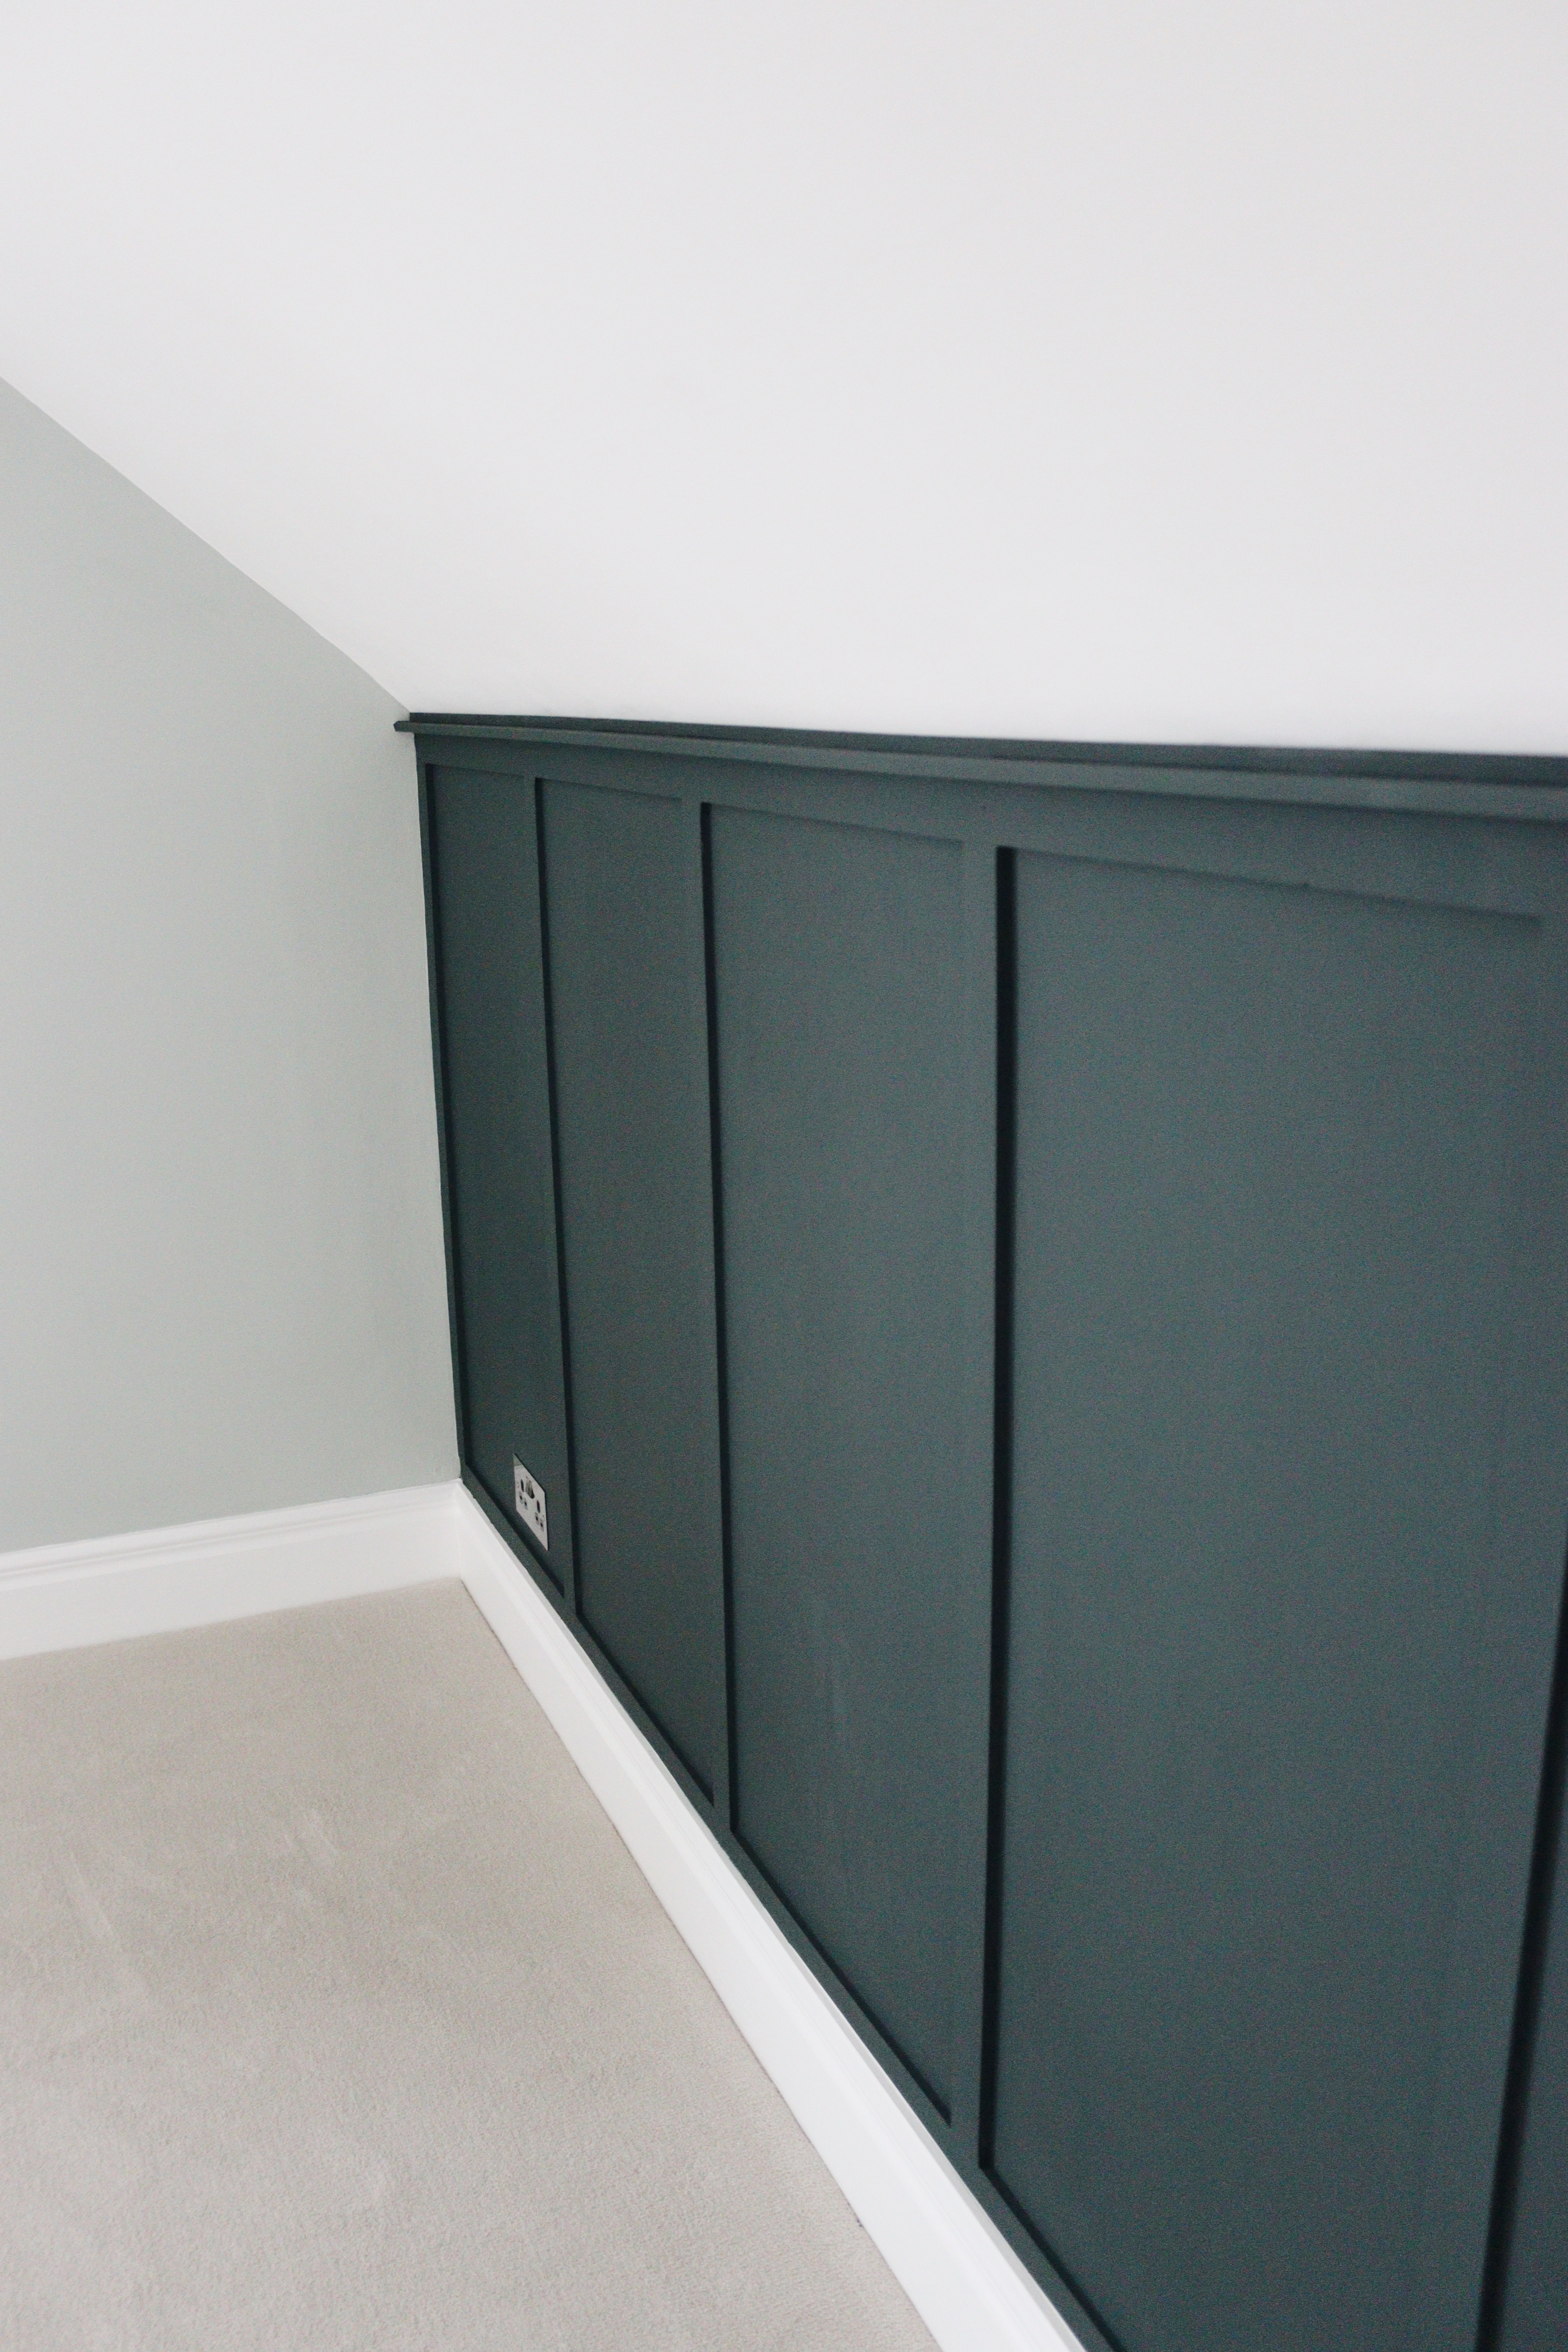
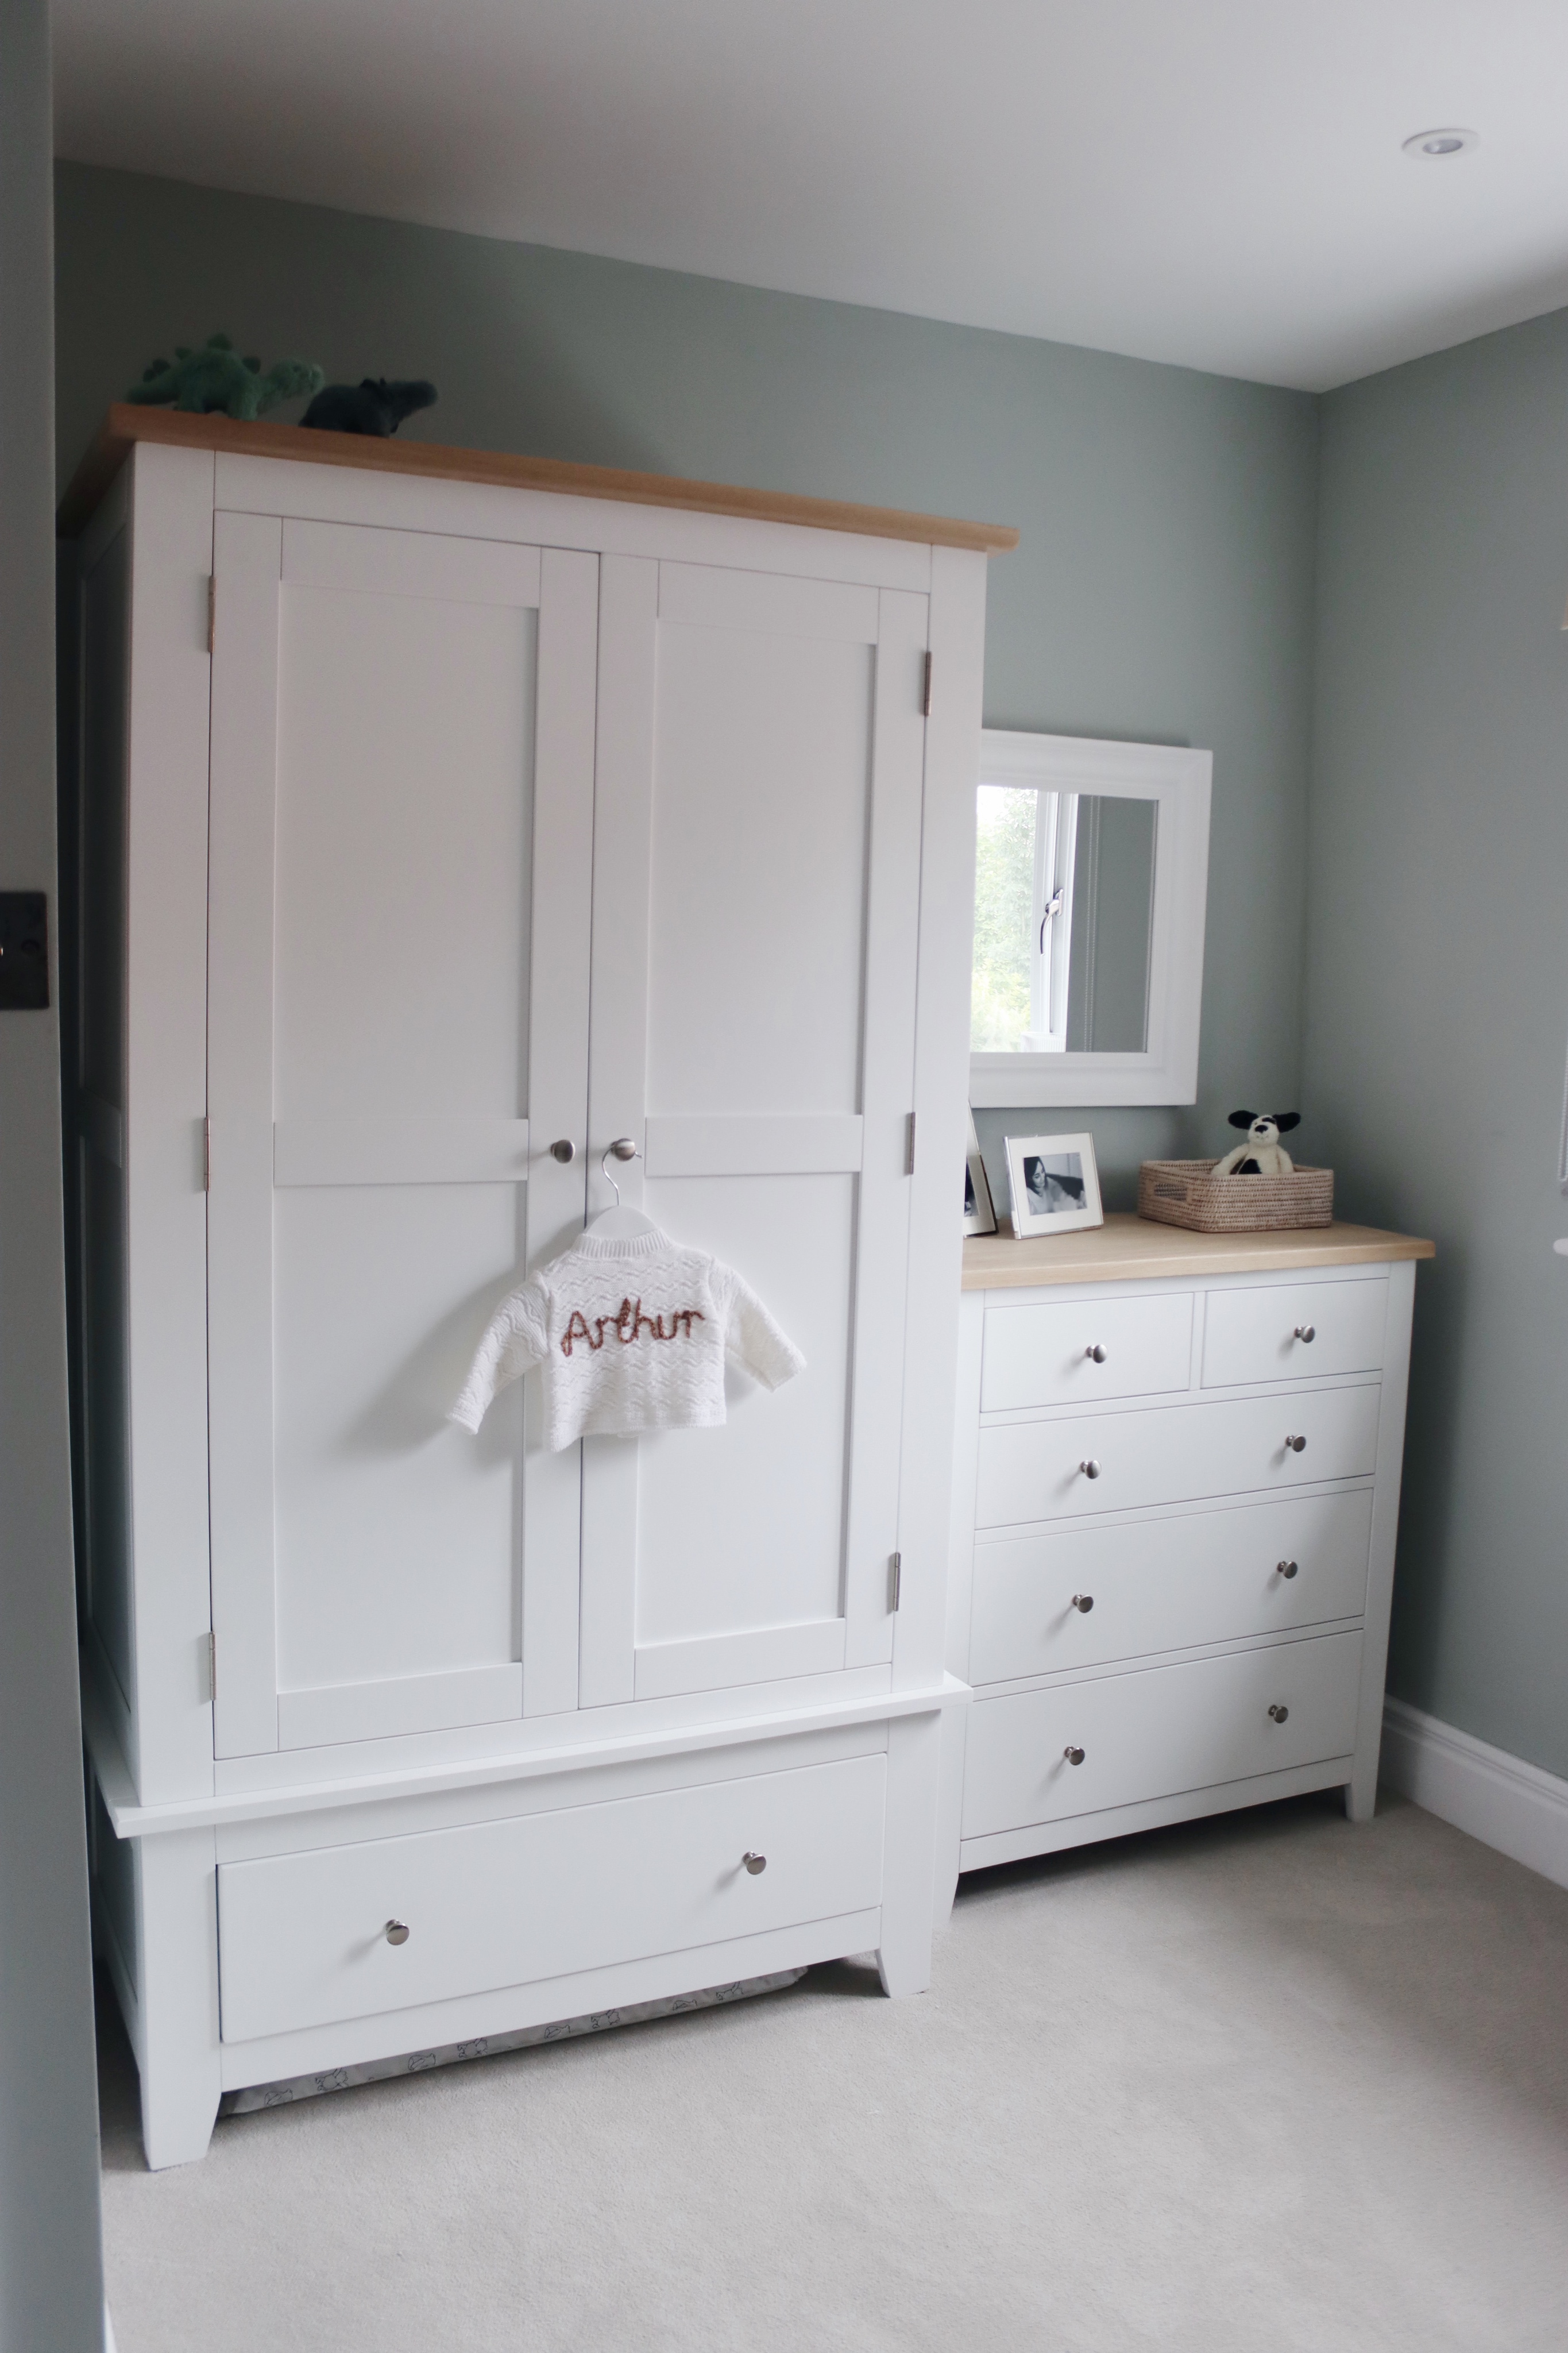
I knew Arthur’s cot (and future beds) would be positioned against the smallest back wall so we decided to panel this one and make it a feature wall. We primed this all in white first, then sanded it back and rubbed it down before we painted it in Neptune’s Constable Green paint.
We knotted and primed the skirting boards before fitting them. Then, for the newly plastered walls, we applied a white mist coat before painting them in Dulux’s Tranquil Dawn paint which is a really pretty sage green colour.
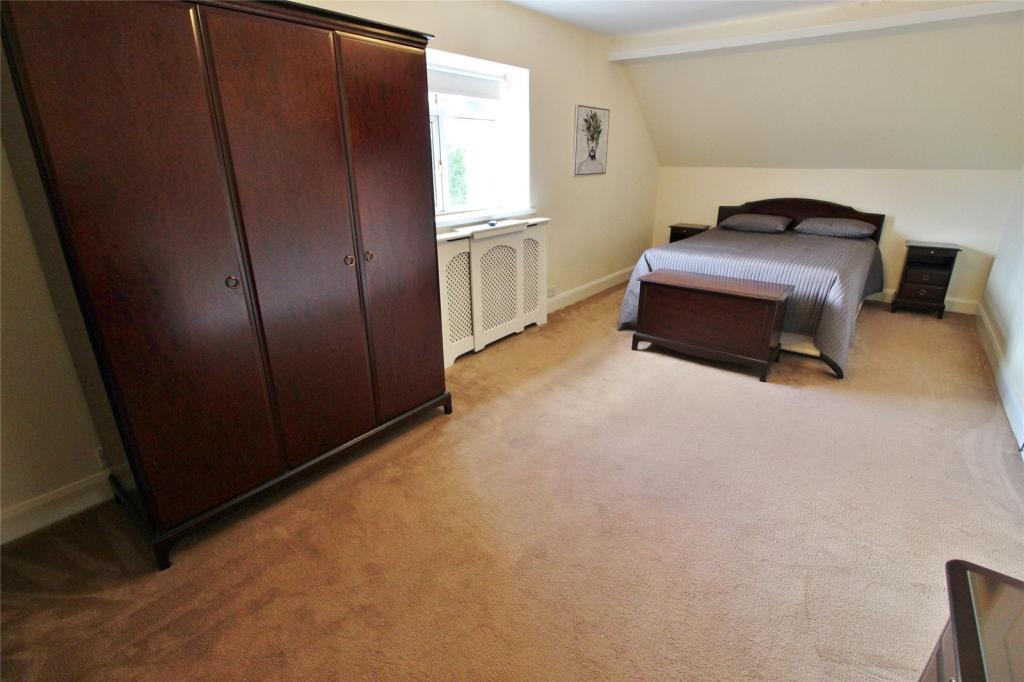
Once everything was painted and then the carpets were fitted.


Finally, the last thing to do was to add in Arthur’s furniture!
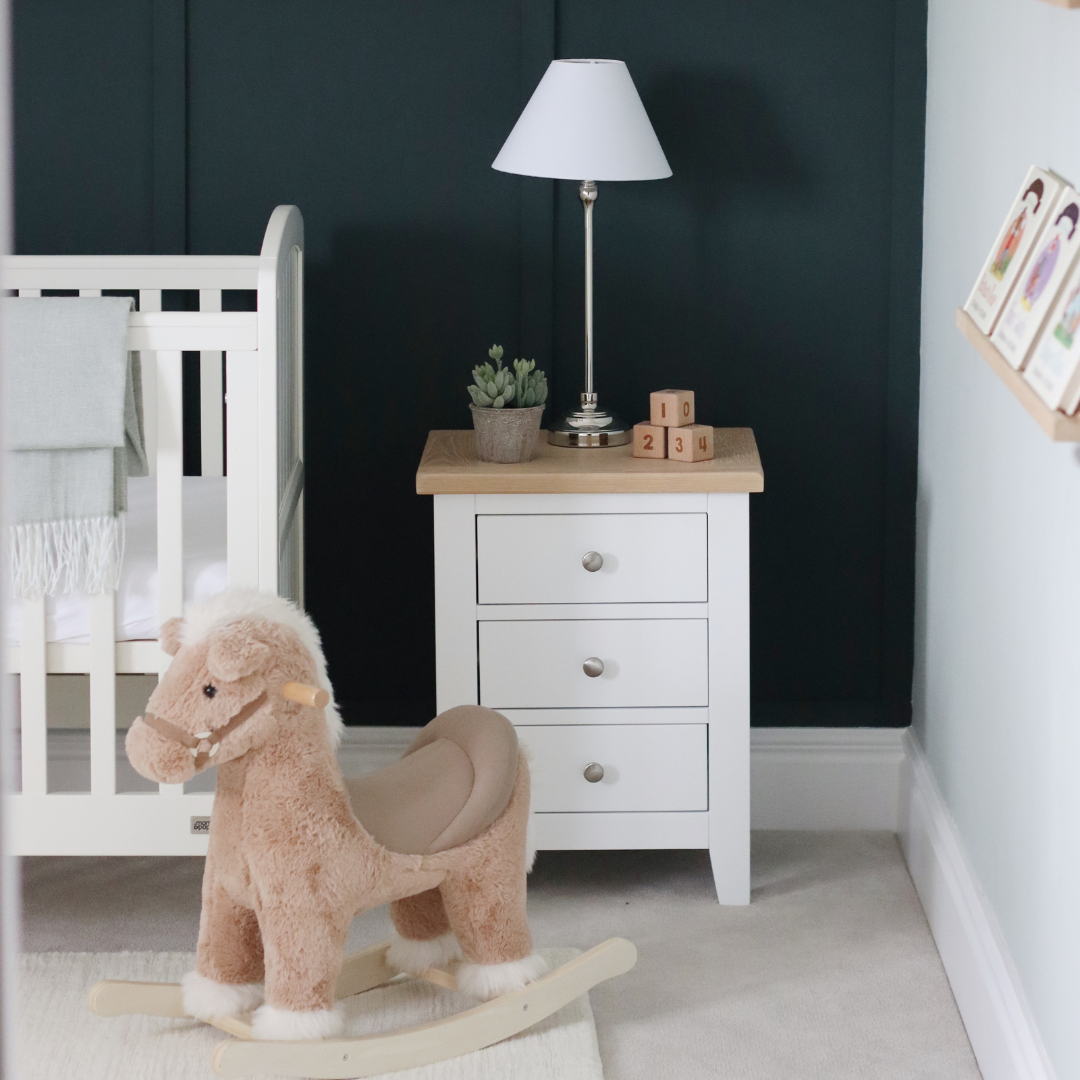
You can see more photos of the finished room in my previous post.
Until next time!
