

I published our living room reveal earlier this year but for what looks like a simple decoration job, this room actually proved to be quite a big task! Here is everything we did to make it our own.
I have to say, none of this would’ve been possible without my Dad who spent countless hours working on this room for us and getting it ready in time for Christmas. This meant lots of late evenings, working in the freezing cold while the radiator was off and cracking on while David and I were isolating due to contracting Covid in mid December so if you’re reading this thank you Dad!

What we did
After the rewire the first step was to get the windows replaced. The original windows not only looked tired but were draughty and poorly fitted.
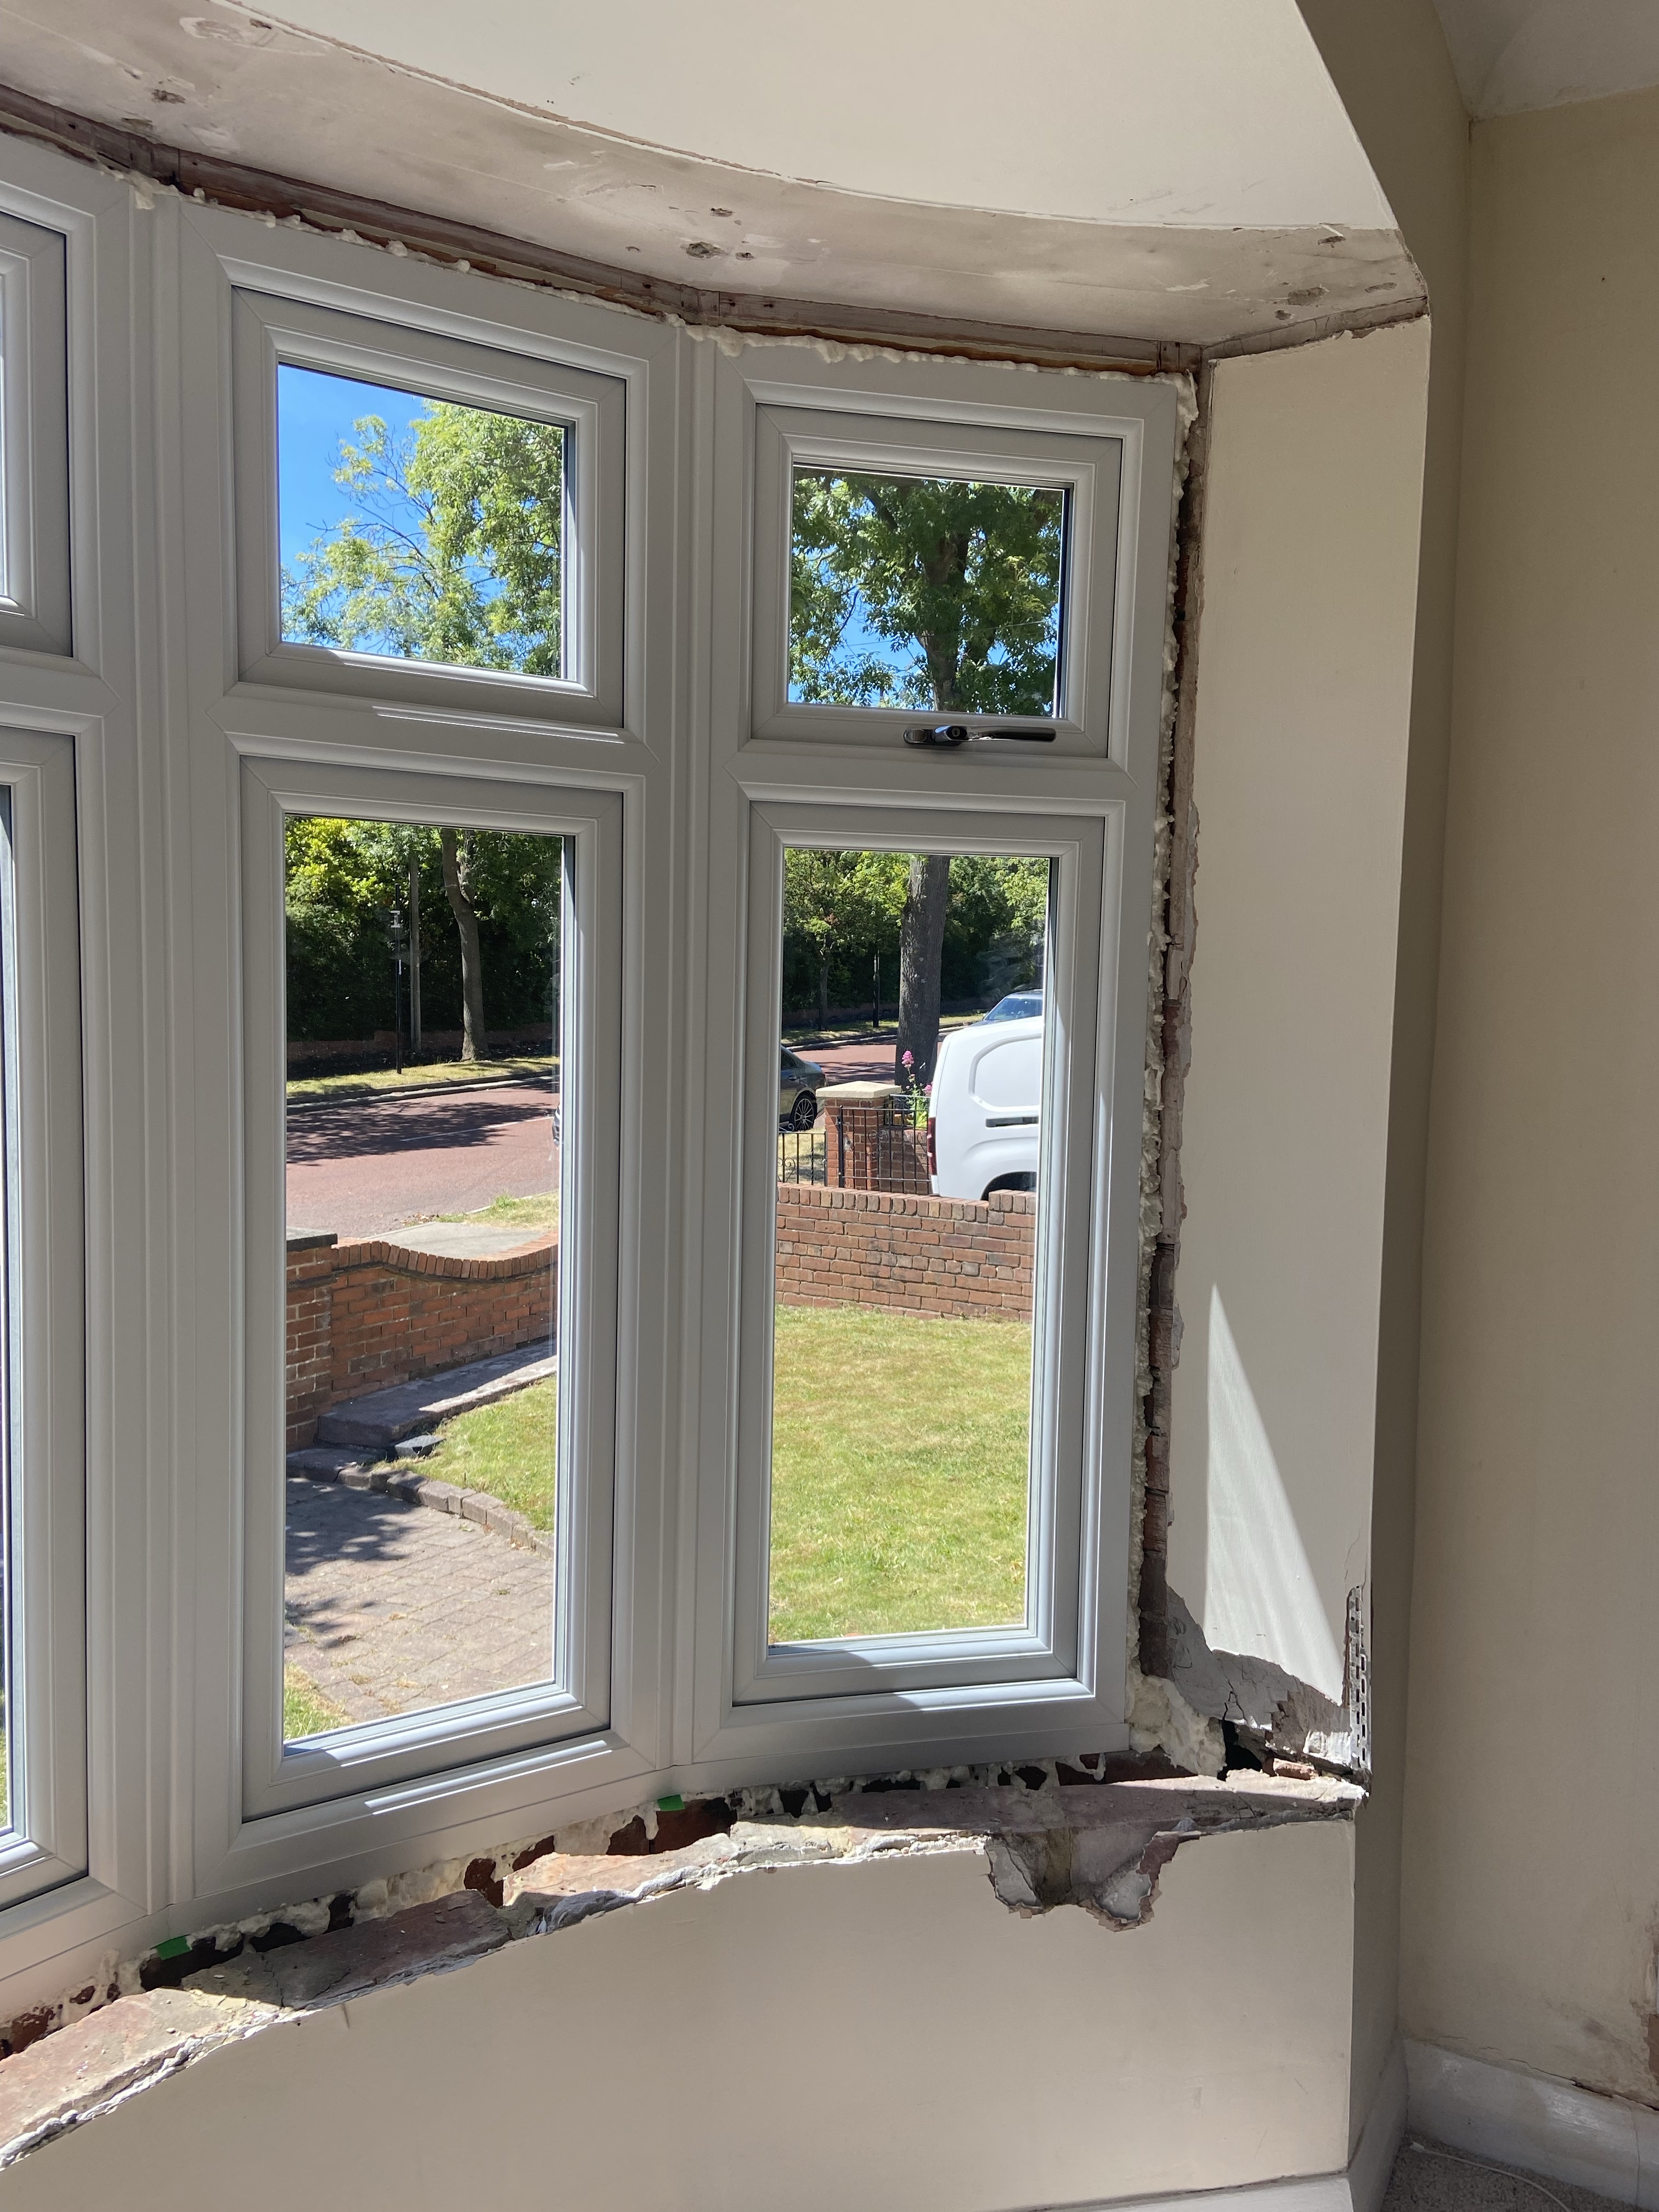
The cills were damaged from condensation and age so we took these off too. We then realised there was wallpaper behind the plaster within the bay so this was all stripped off back to brick too.
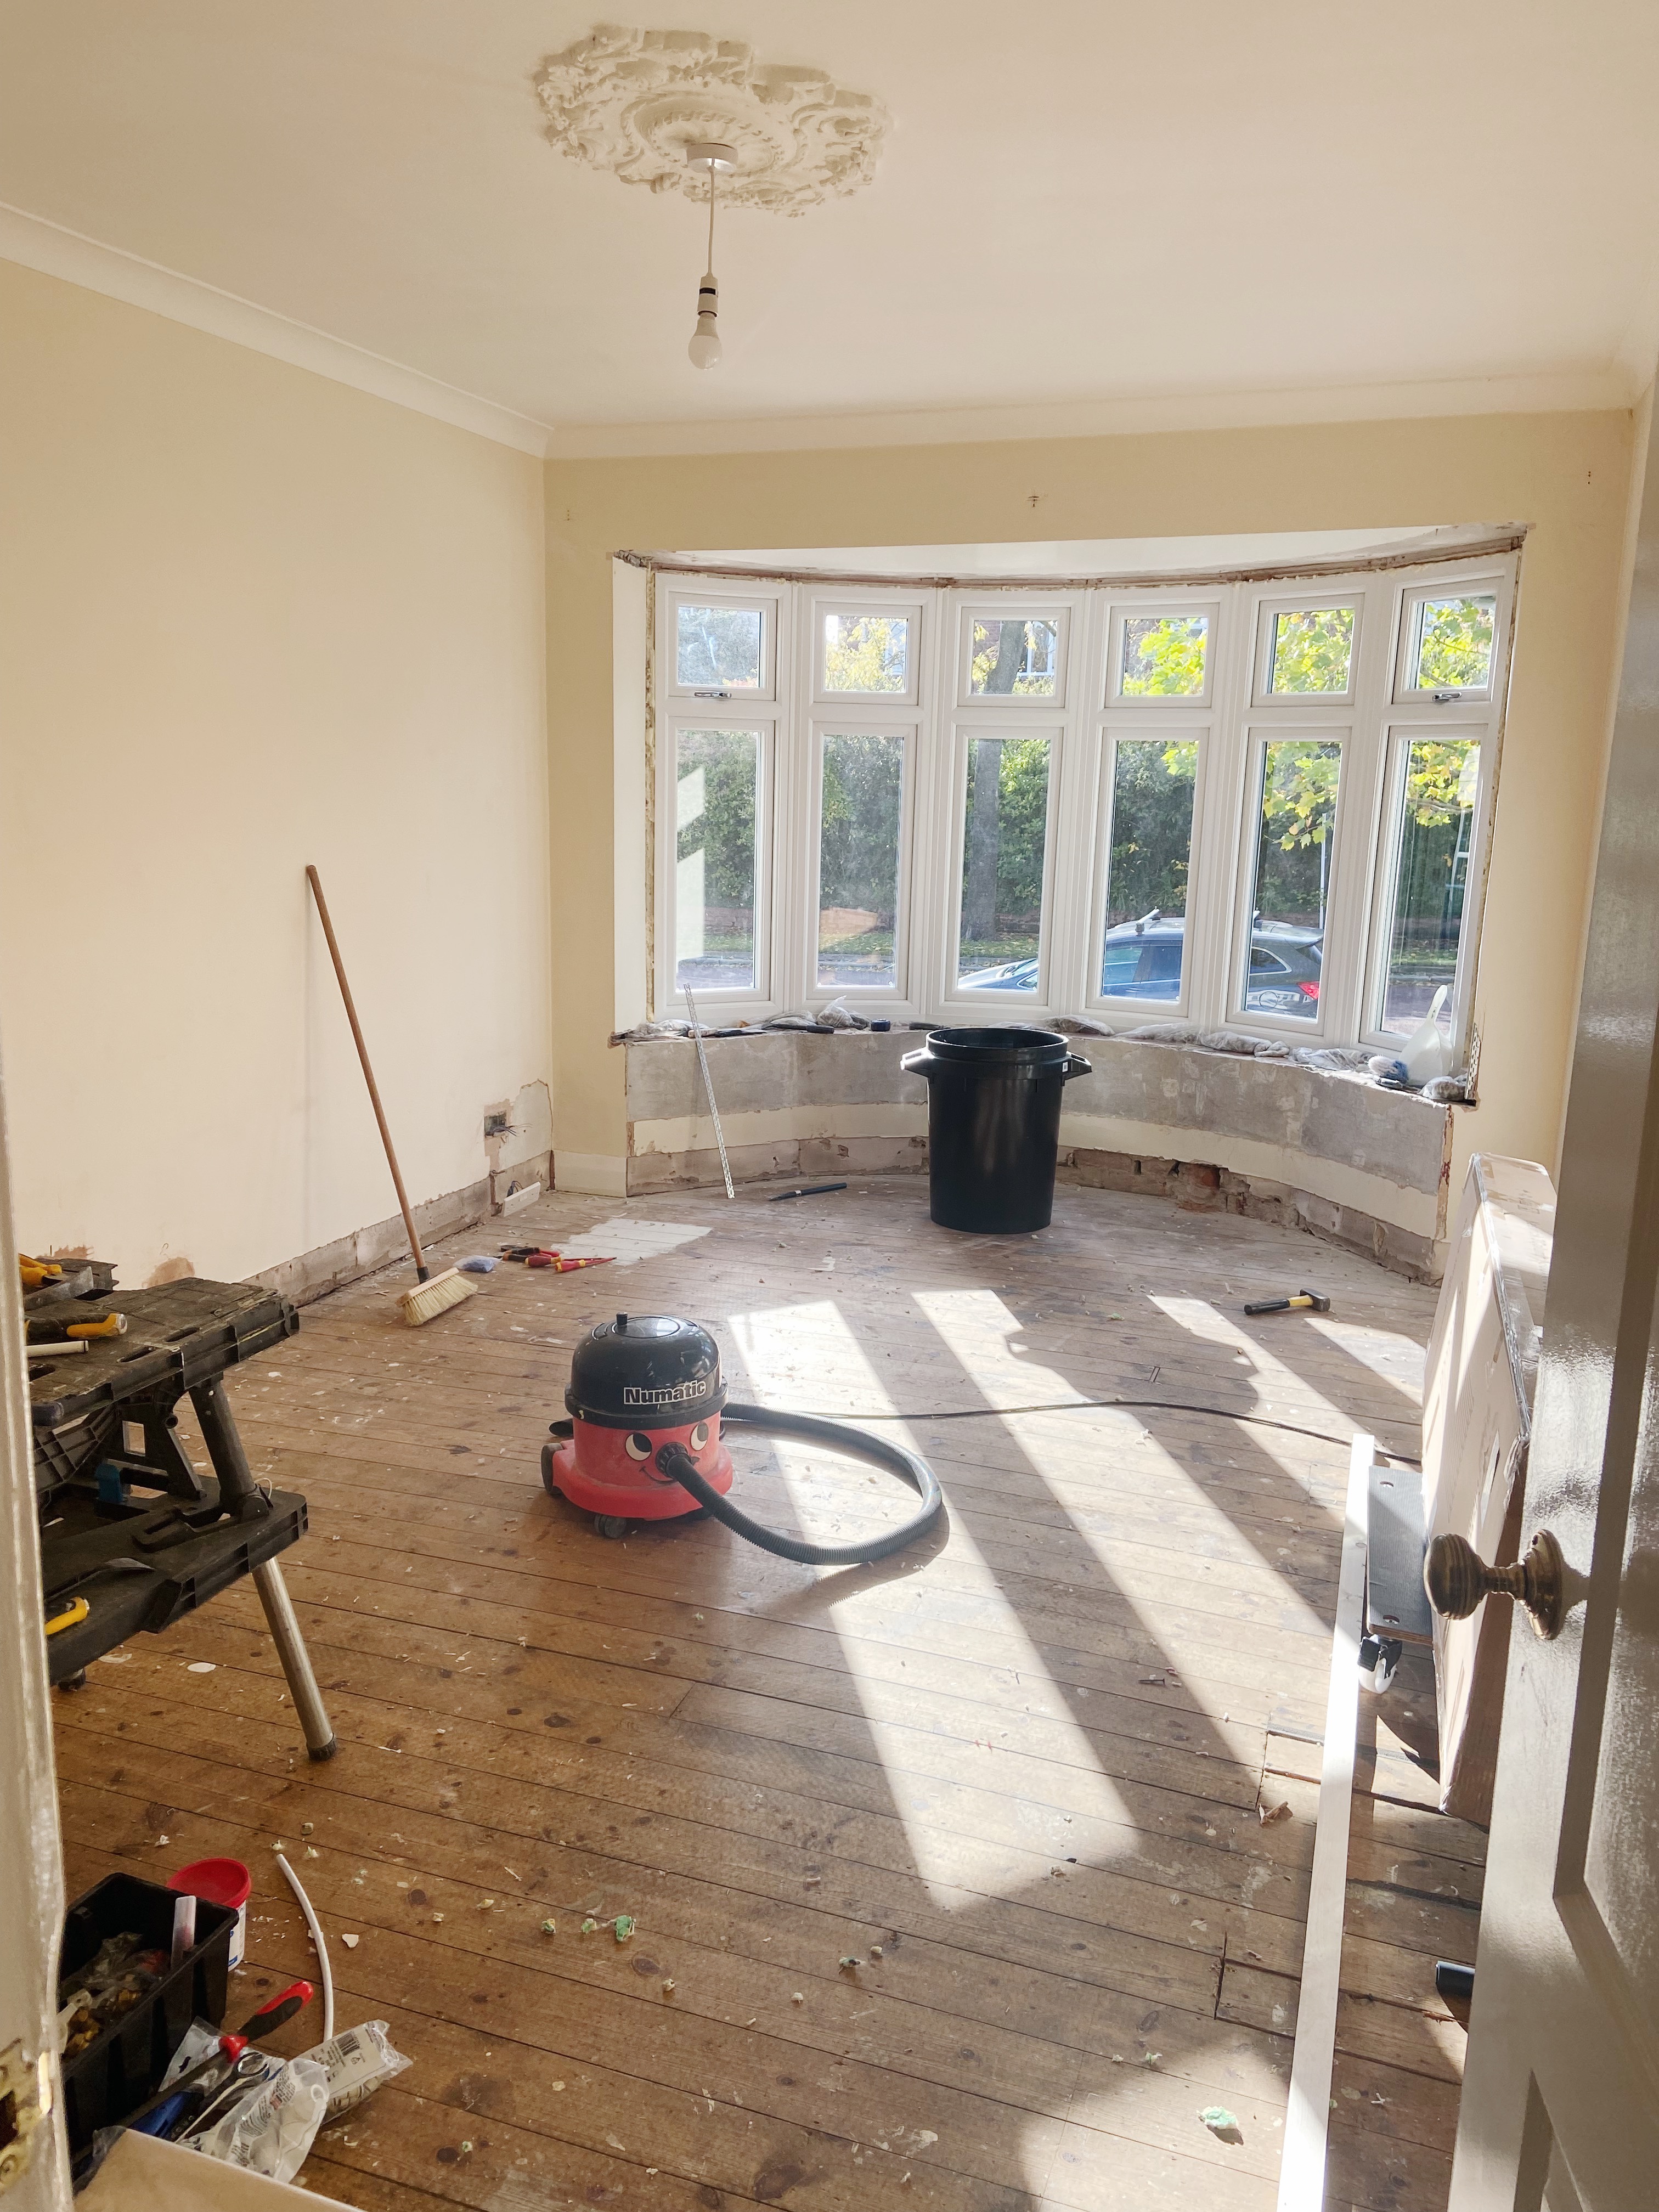
We then prepped the room by removing the old decor such as the door frame, skirtings and carpet and drilling holes for the TV wires and moving a plug socket.
We also had what appeared to be a damp patch in the corner so we investigated this but couldn’t find anything.
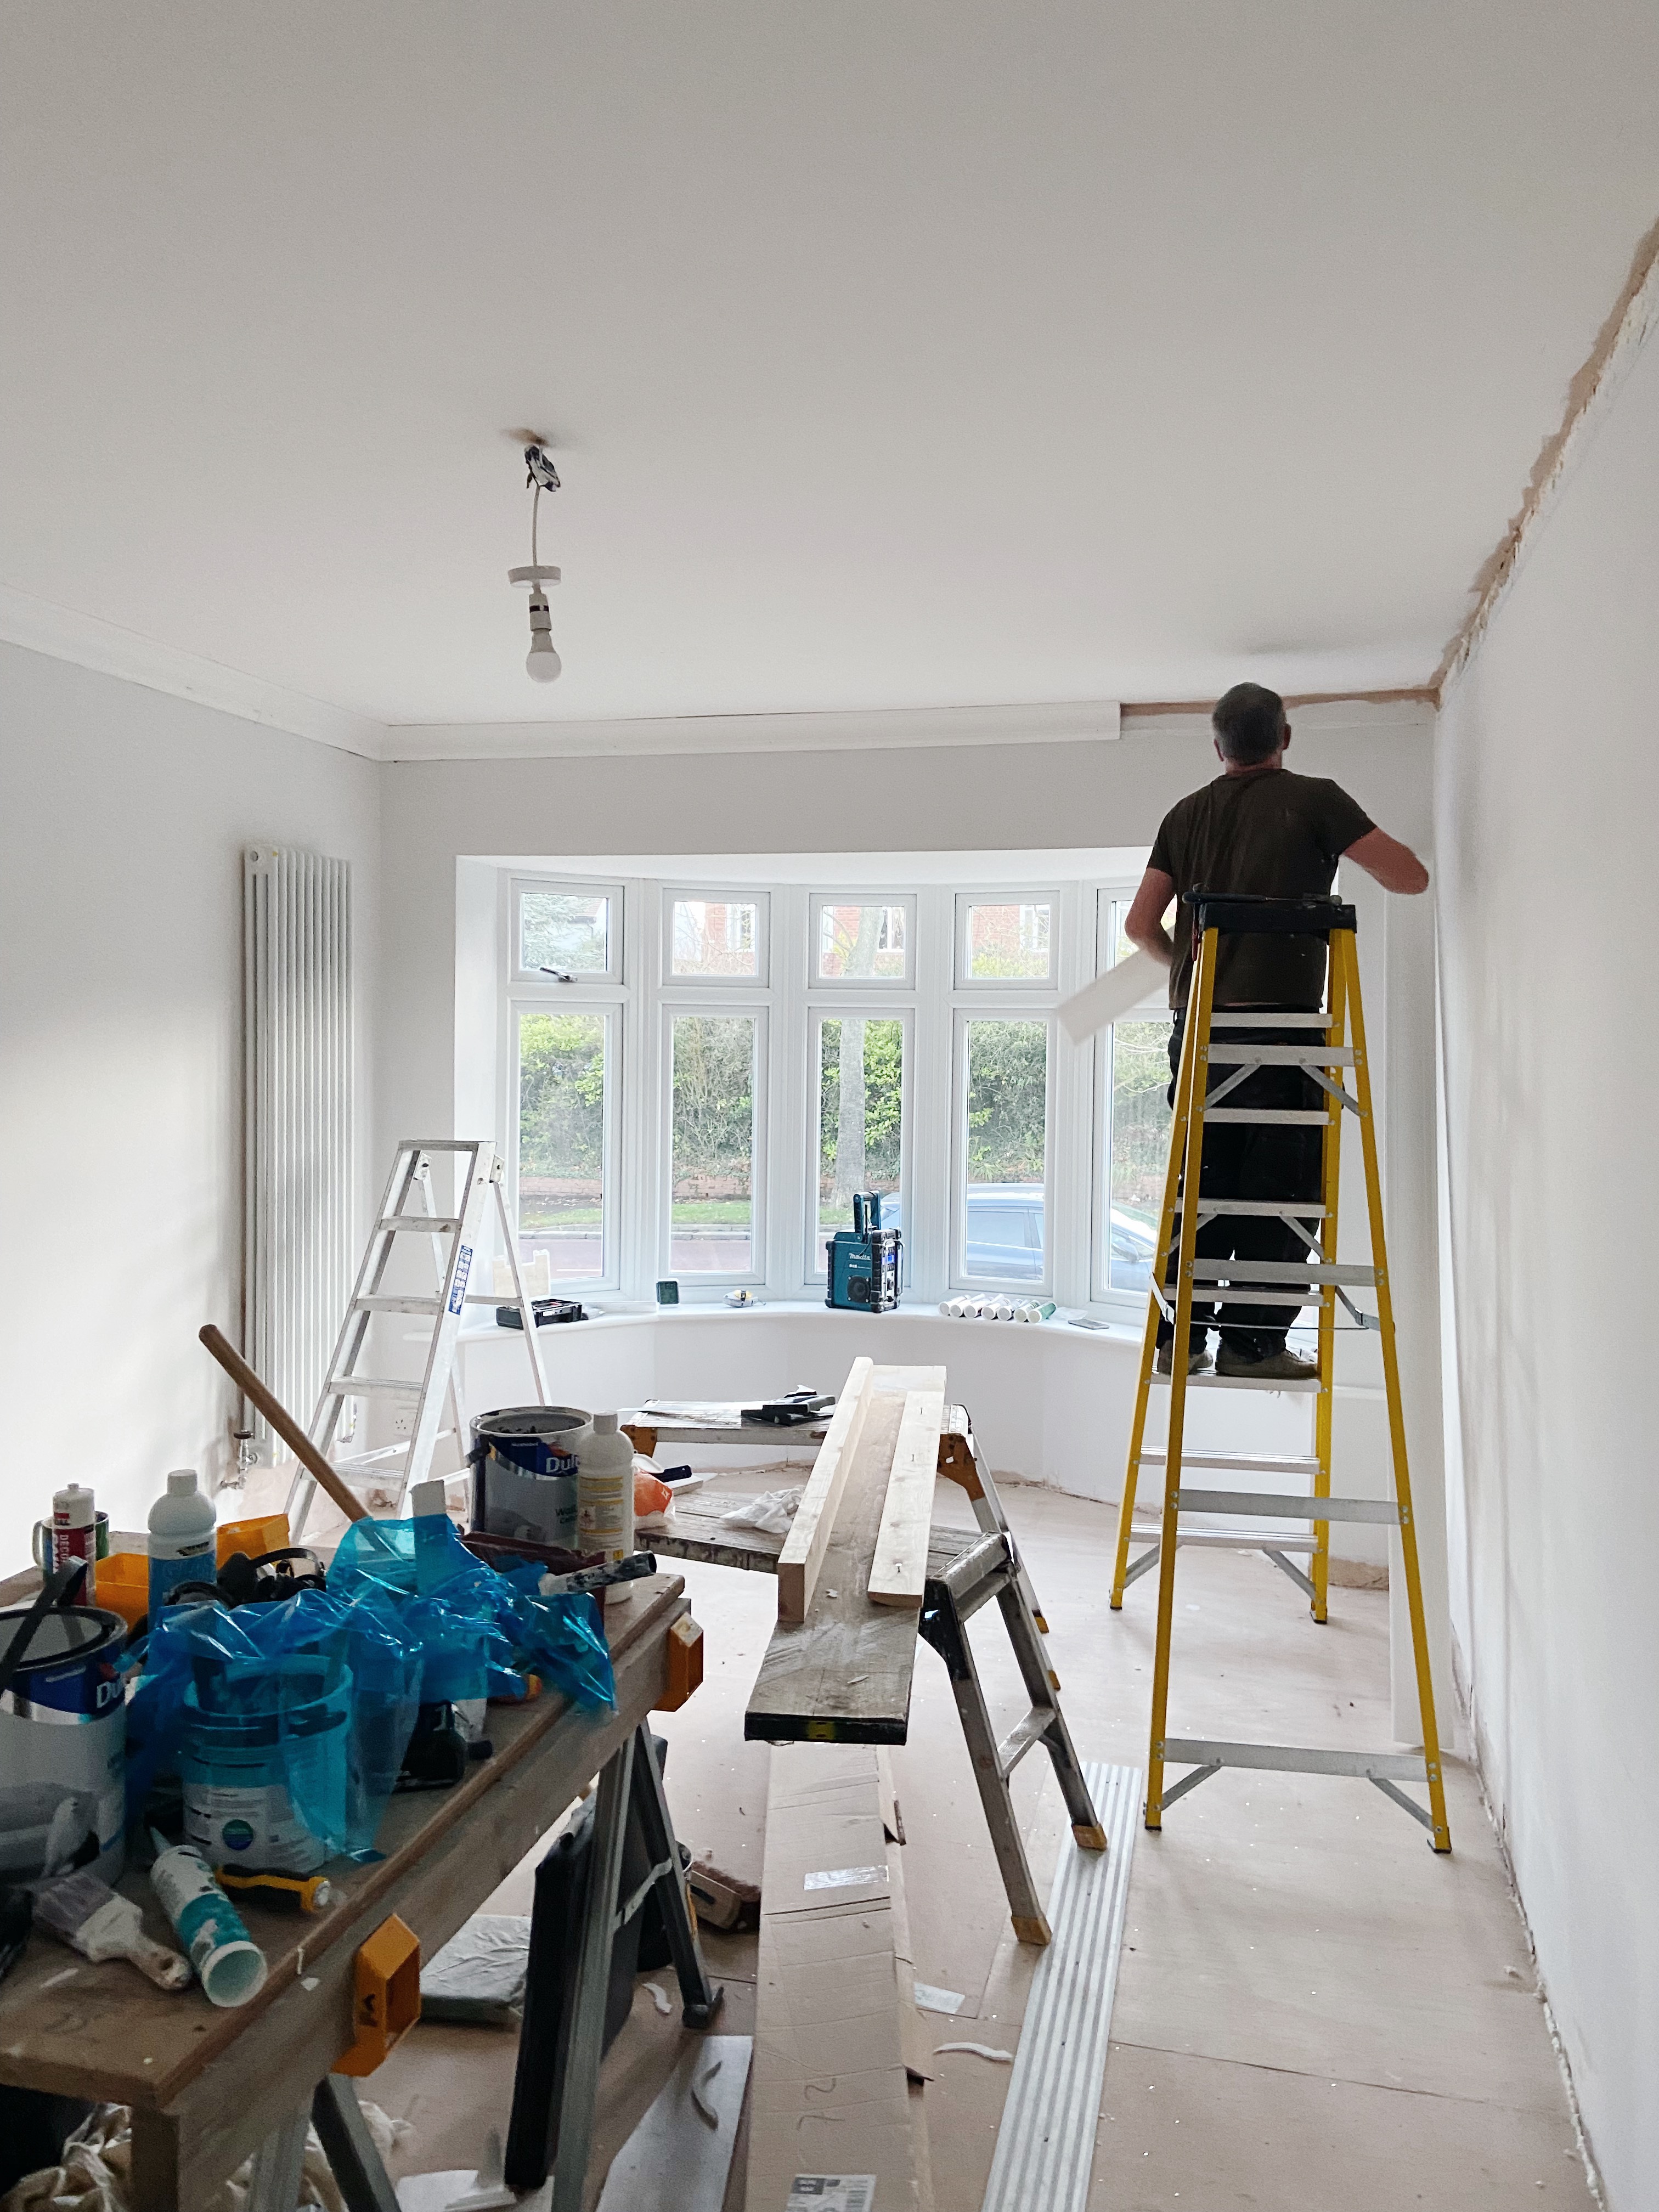
The next step was to insulate the entire room which meant my dad and David took it in turns to crawl under the floorboards.
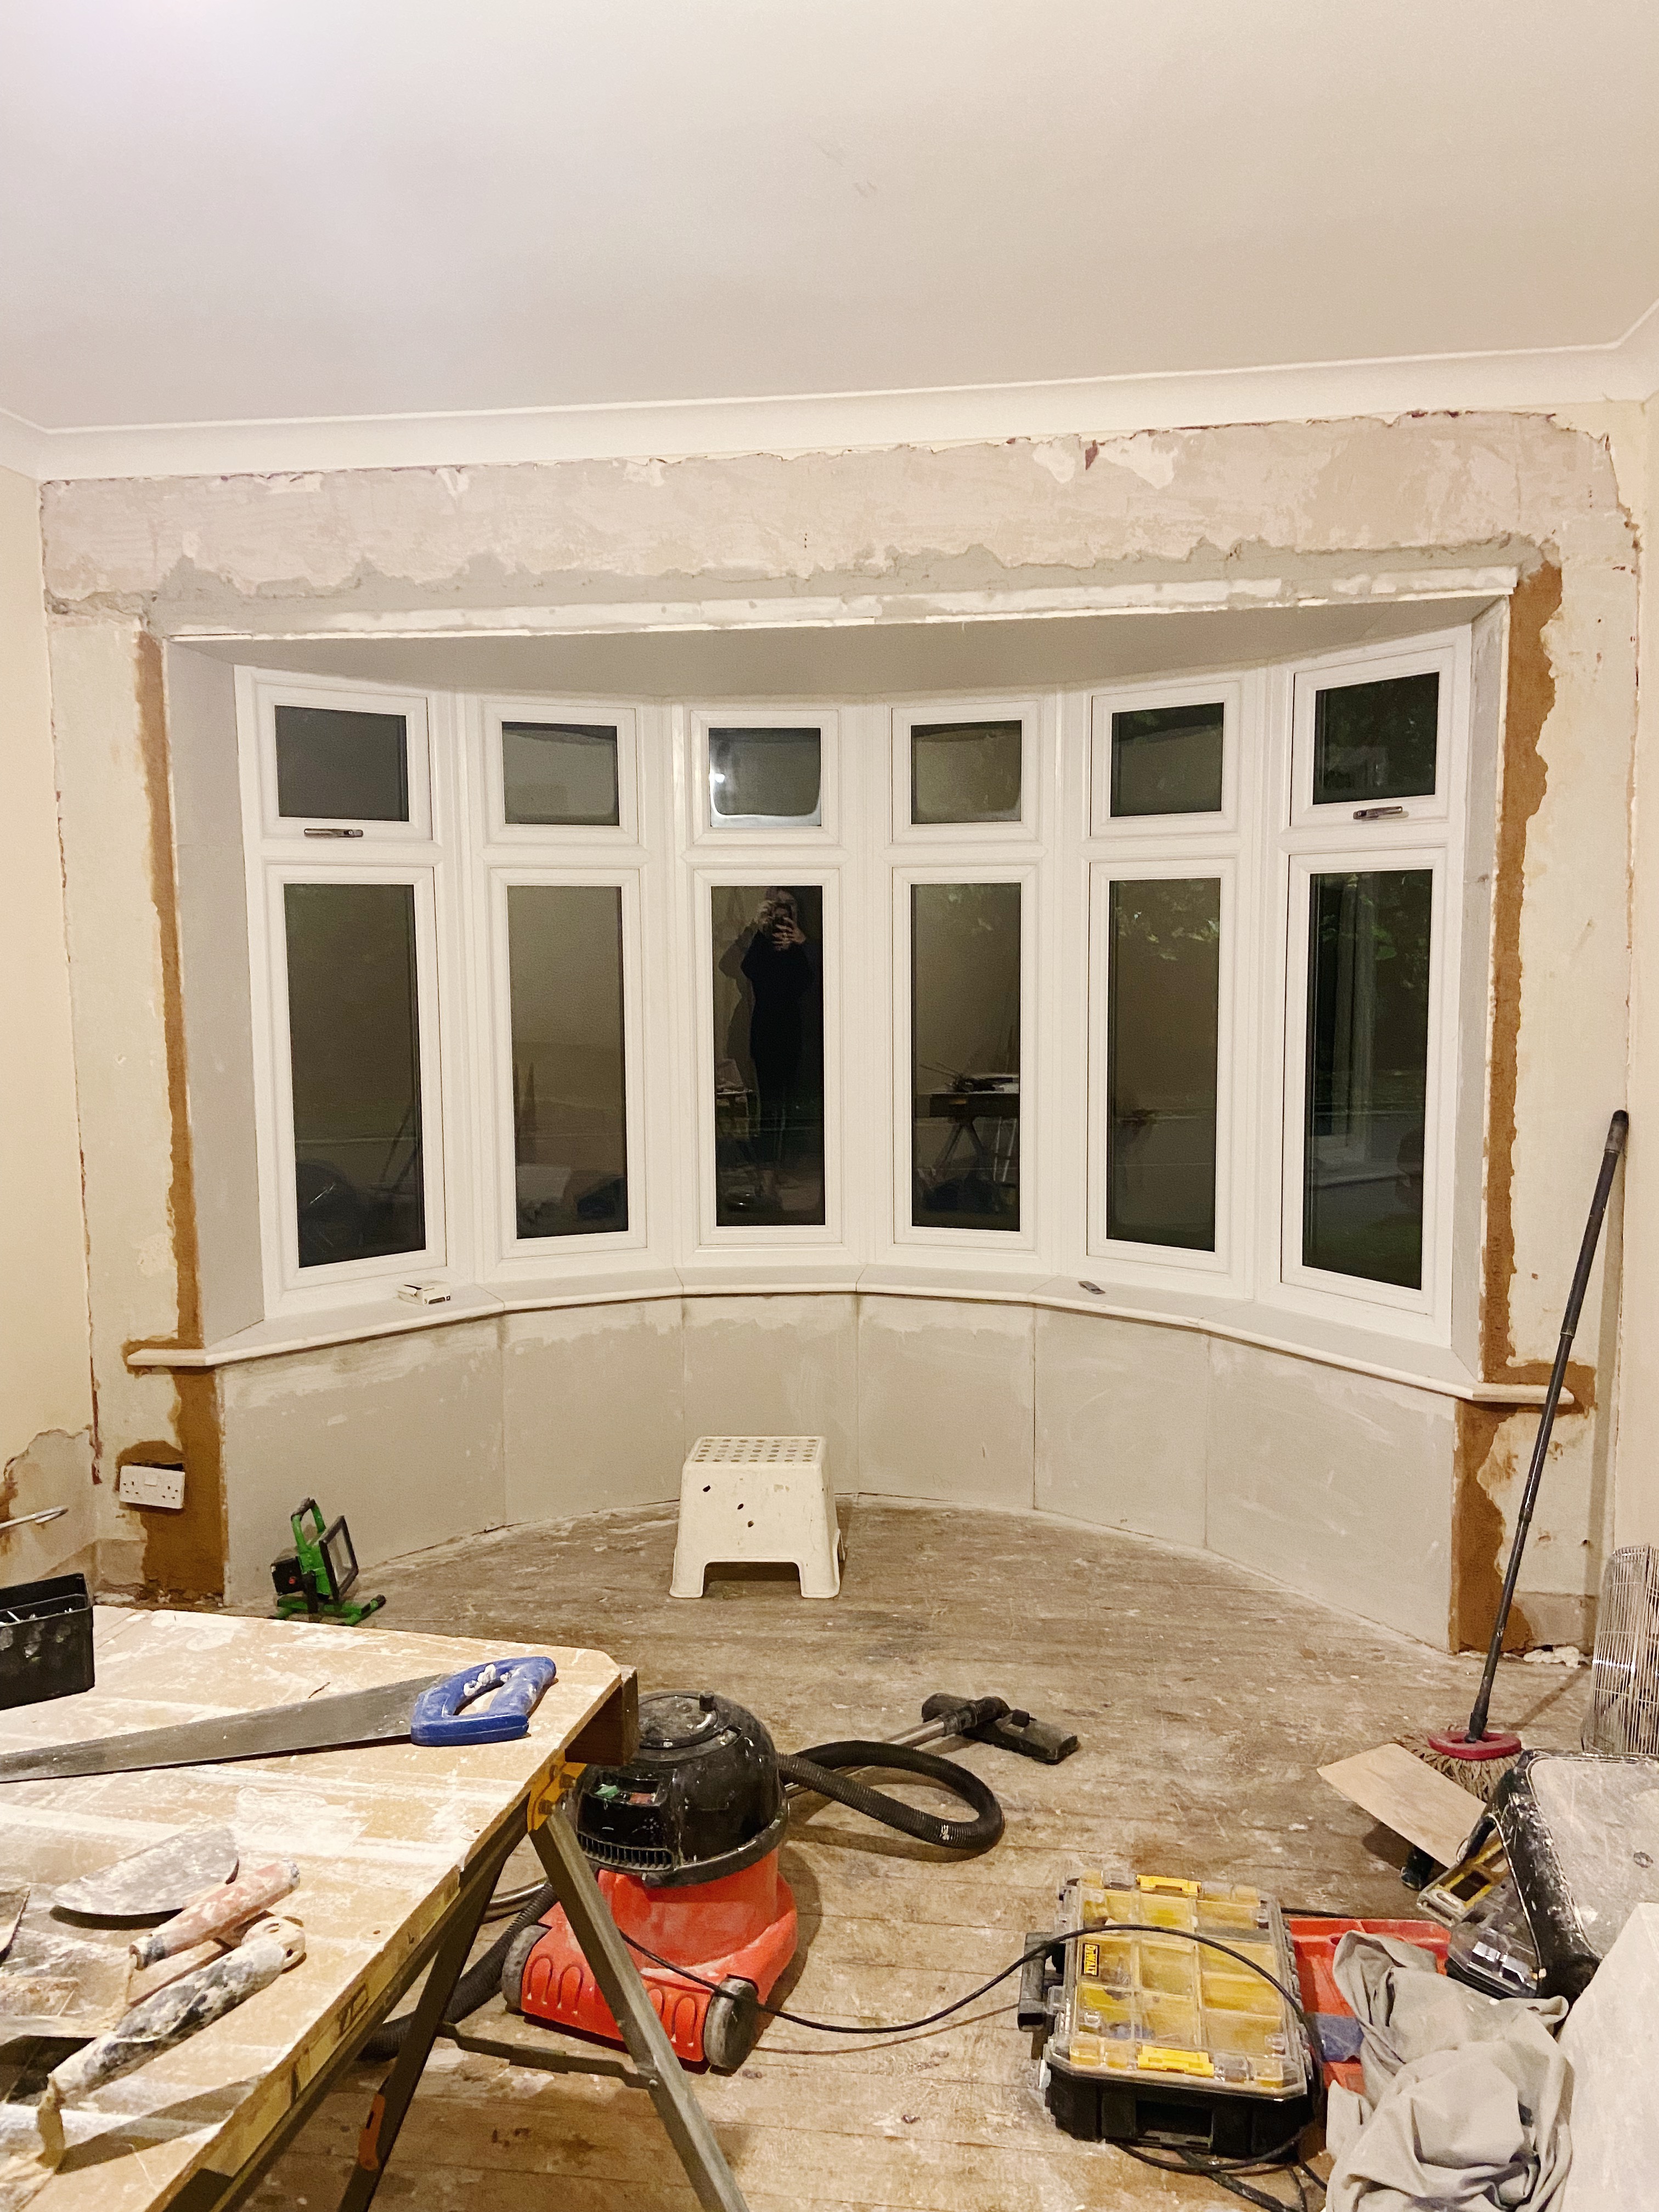
We also boarded the bay window out ready for plastering.
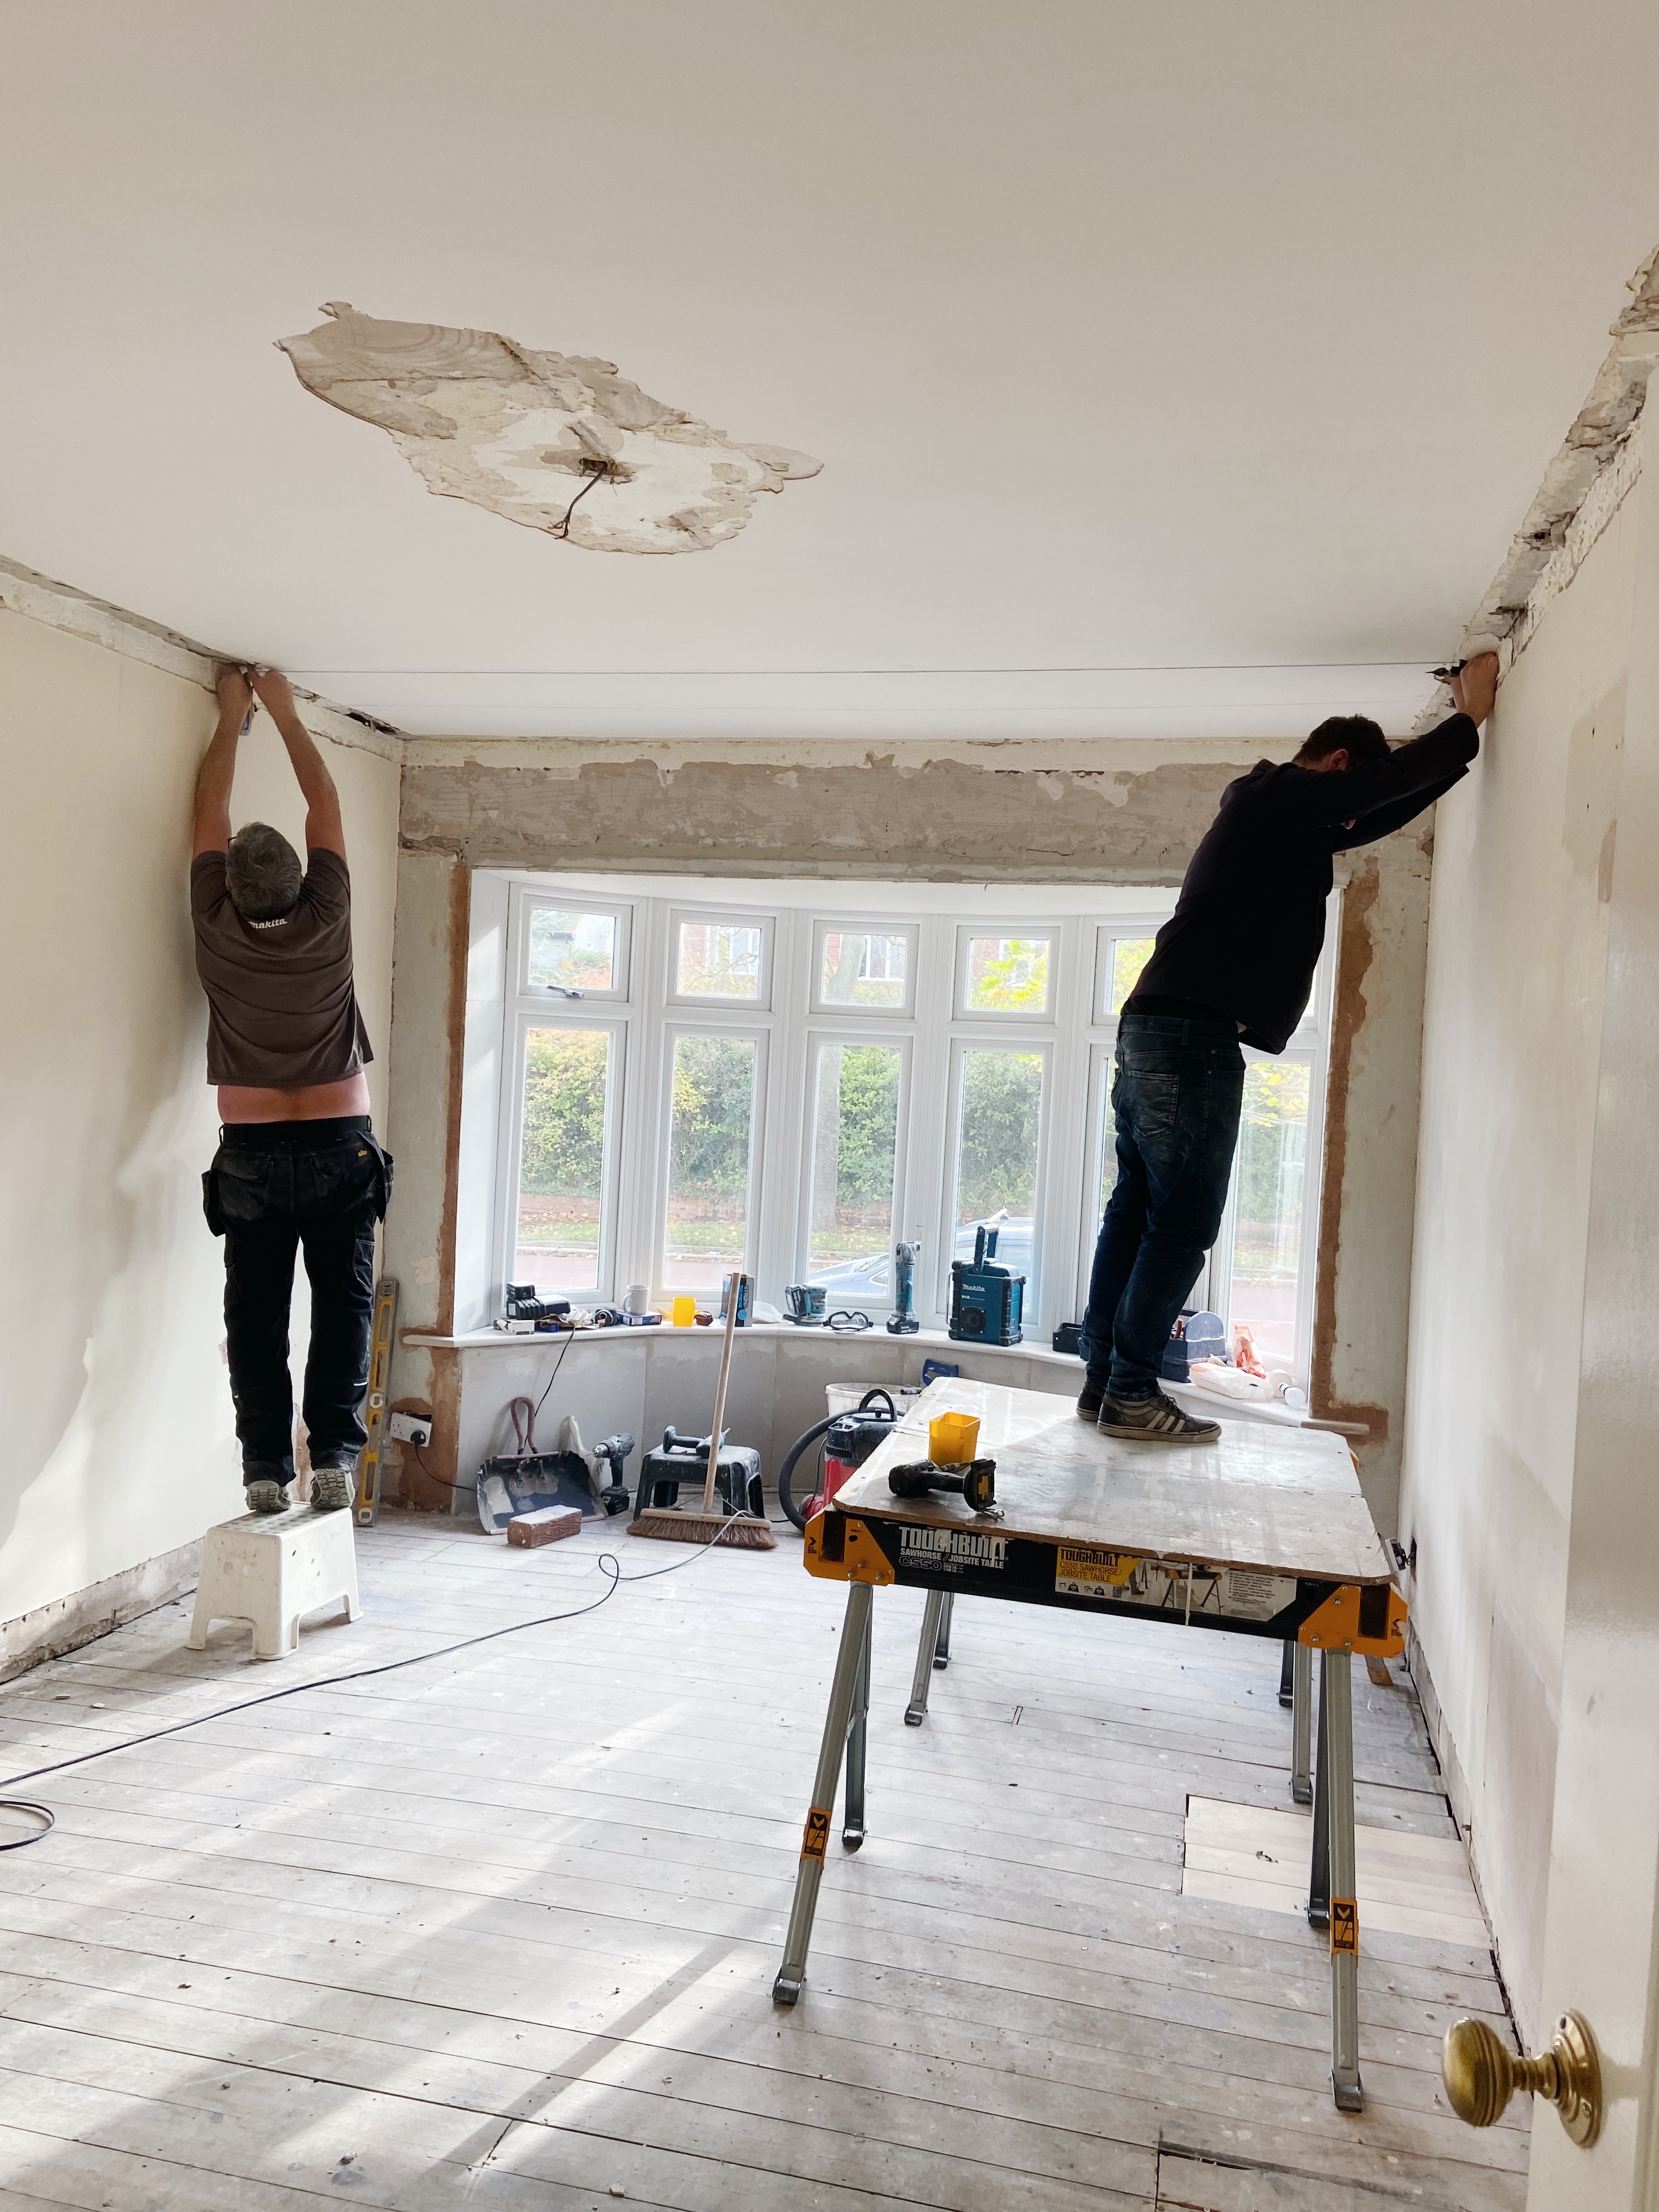
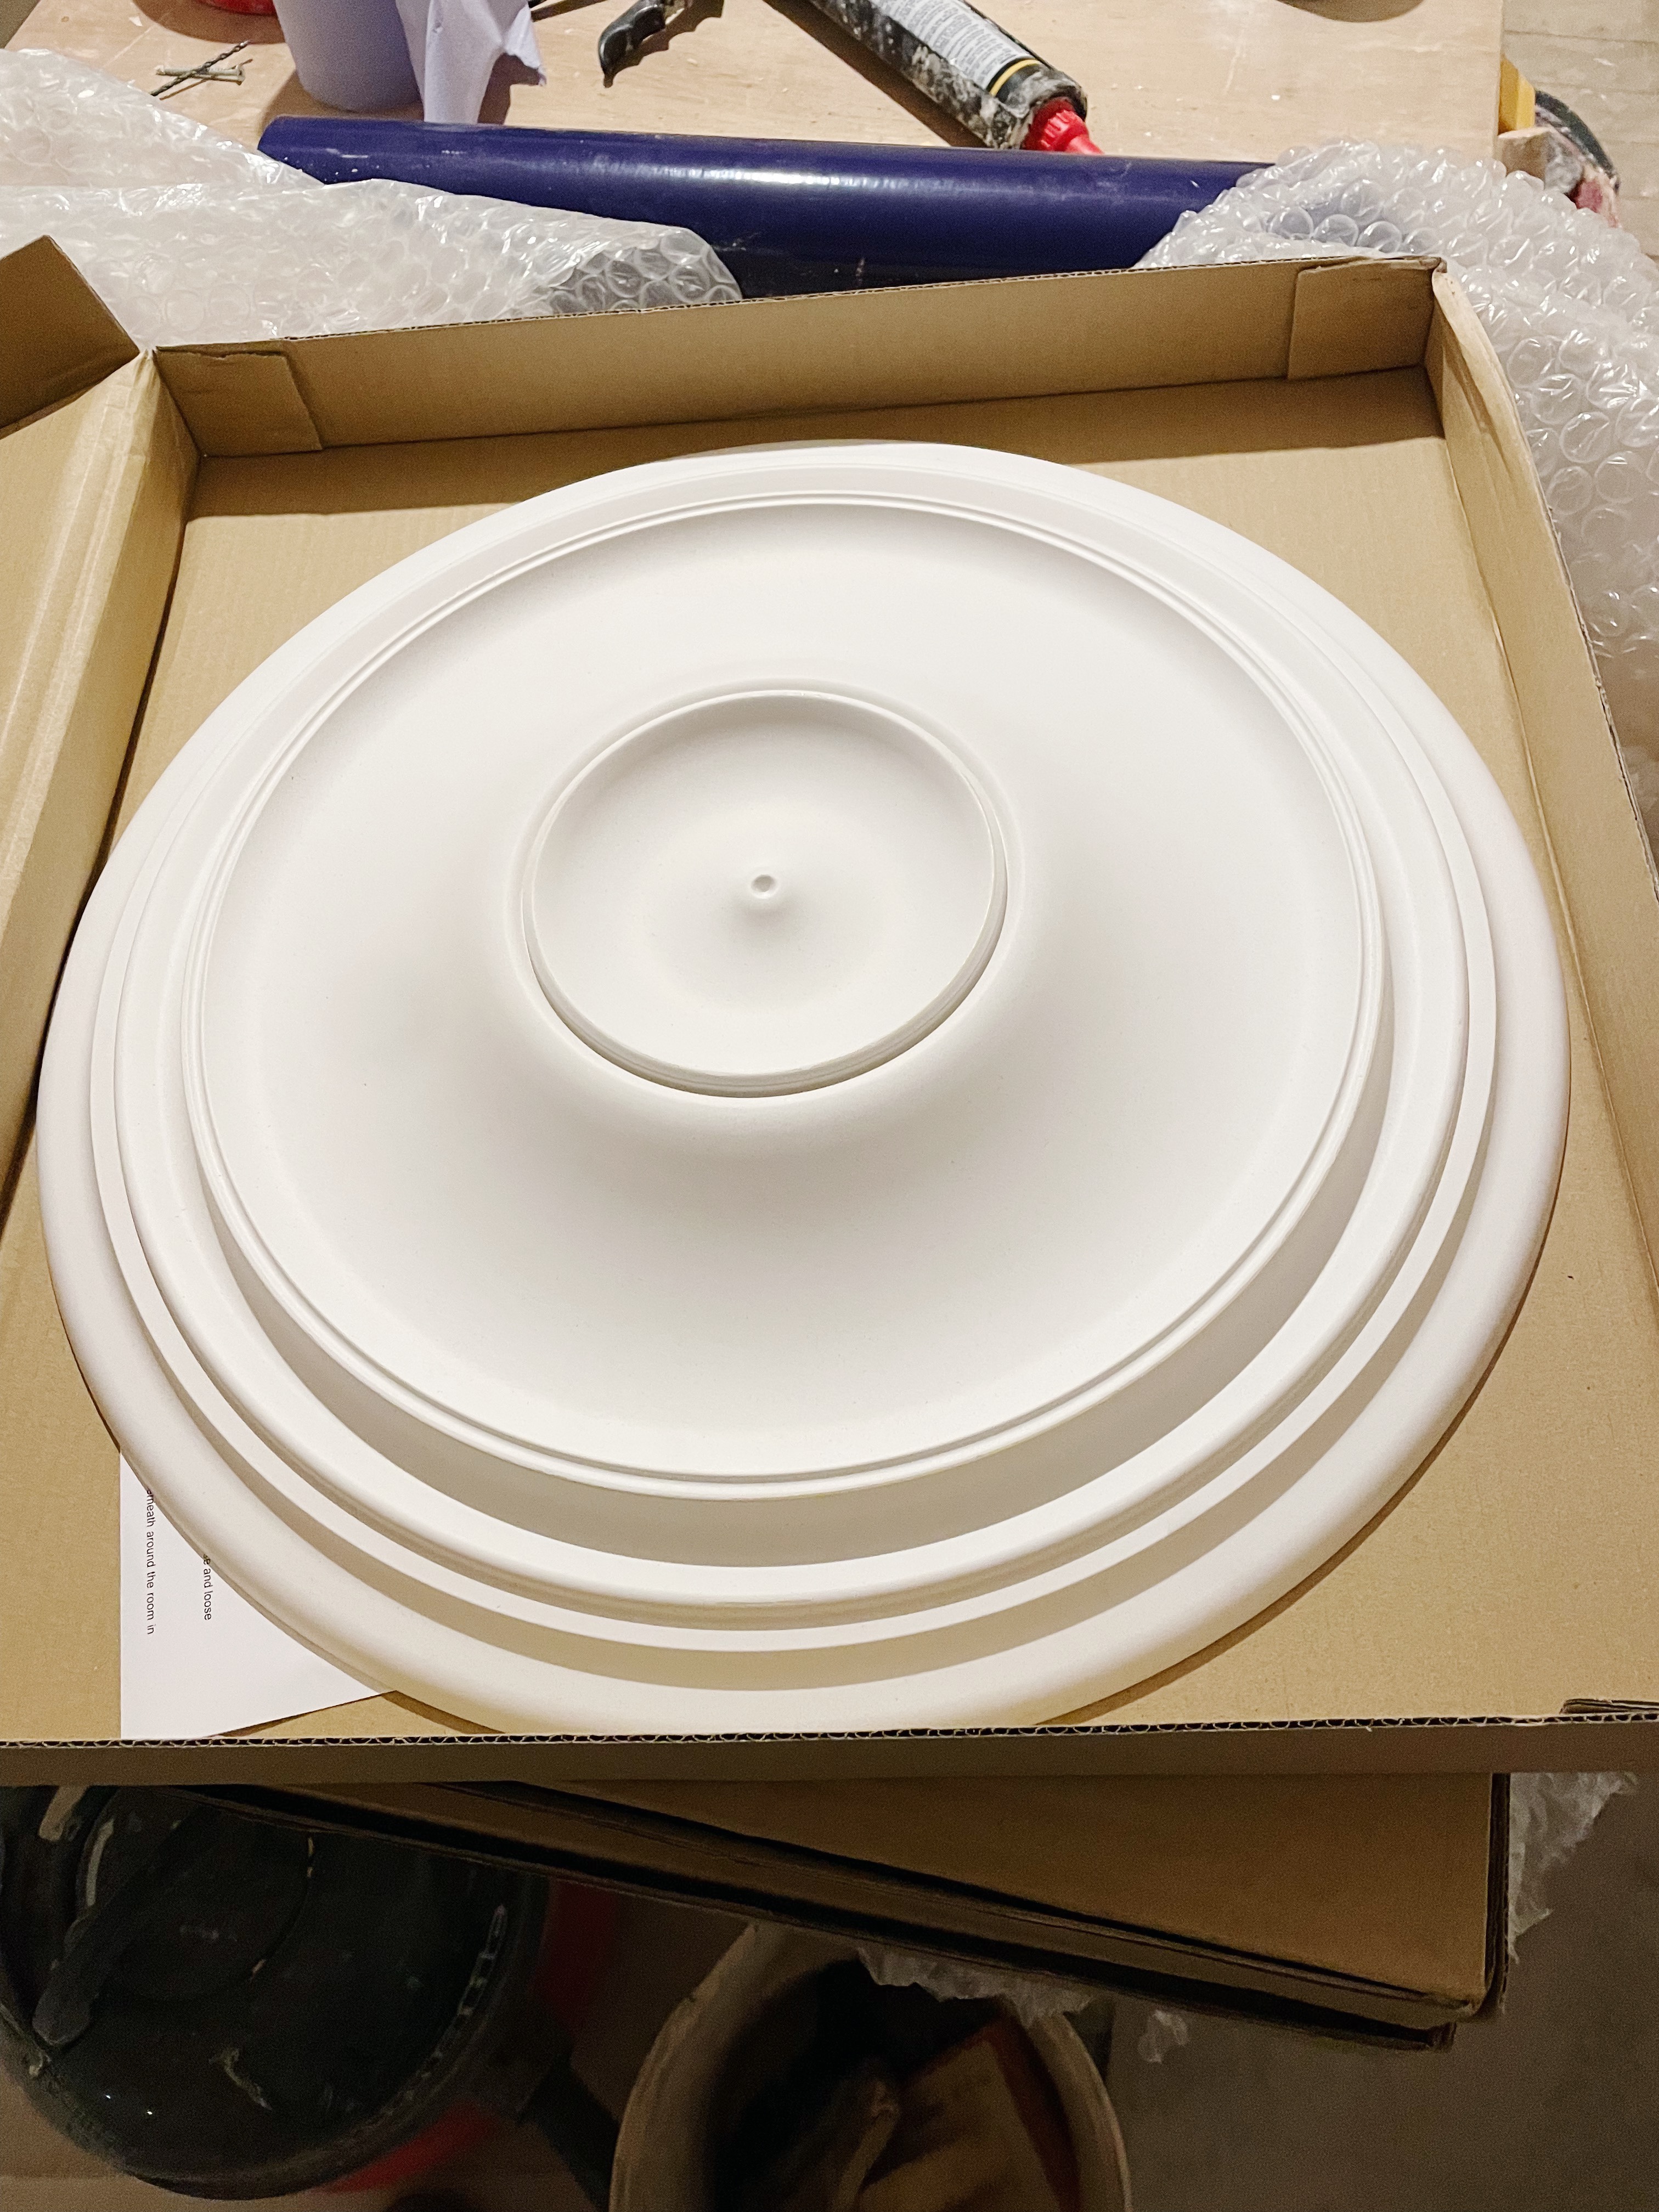
The ornate ceiling rose came down and David and my dad reboarded the ceiling as the plaster work was poor (and yes that’s artex under there!).
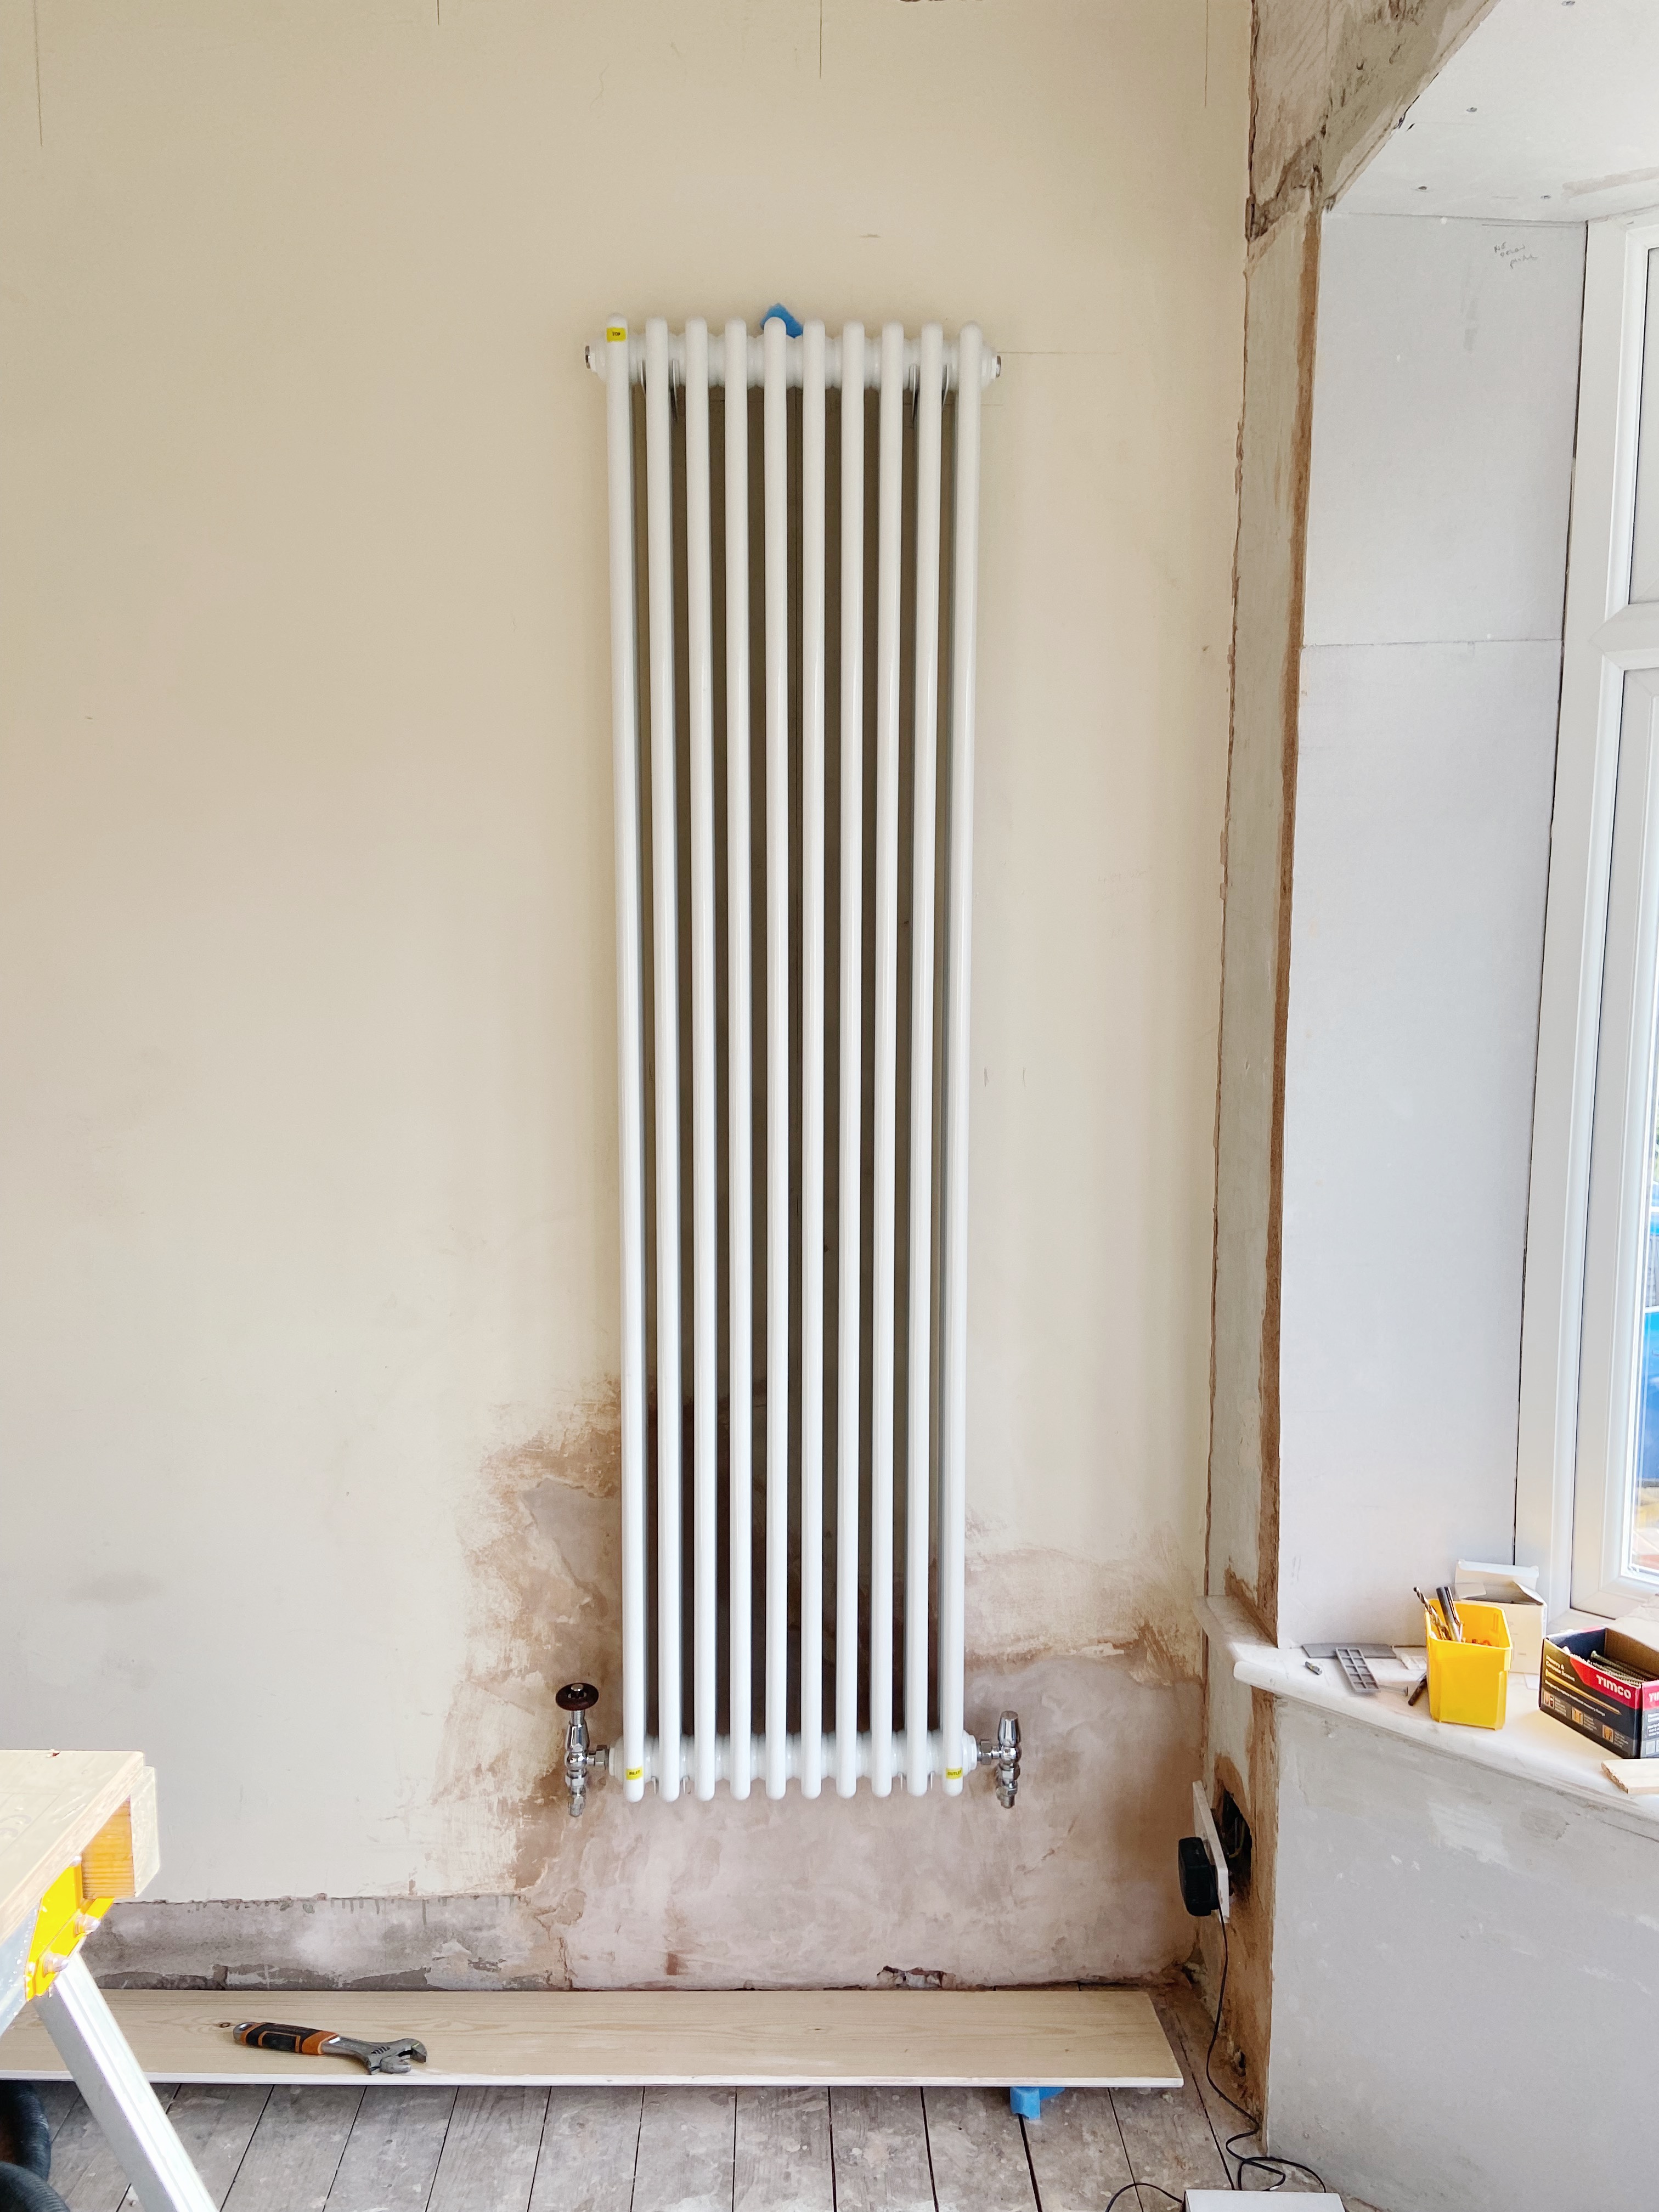
We then took off the old radiator, moved the pipes and fit our new one.
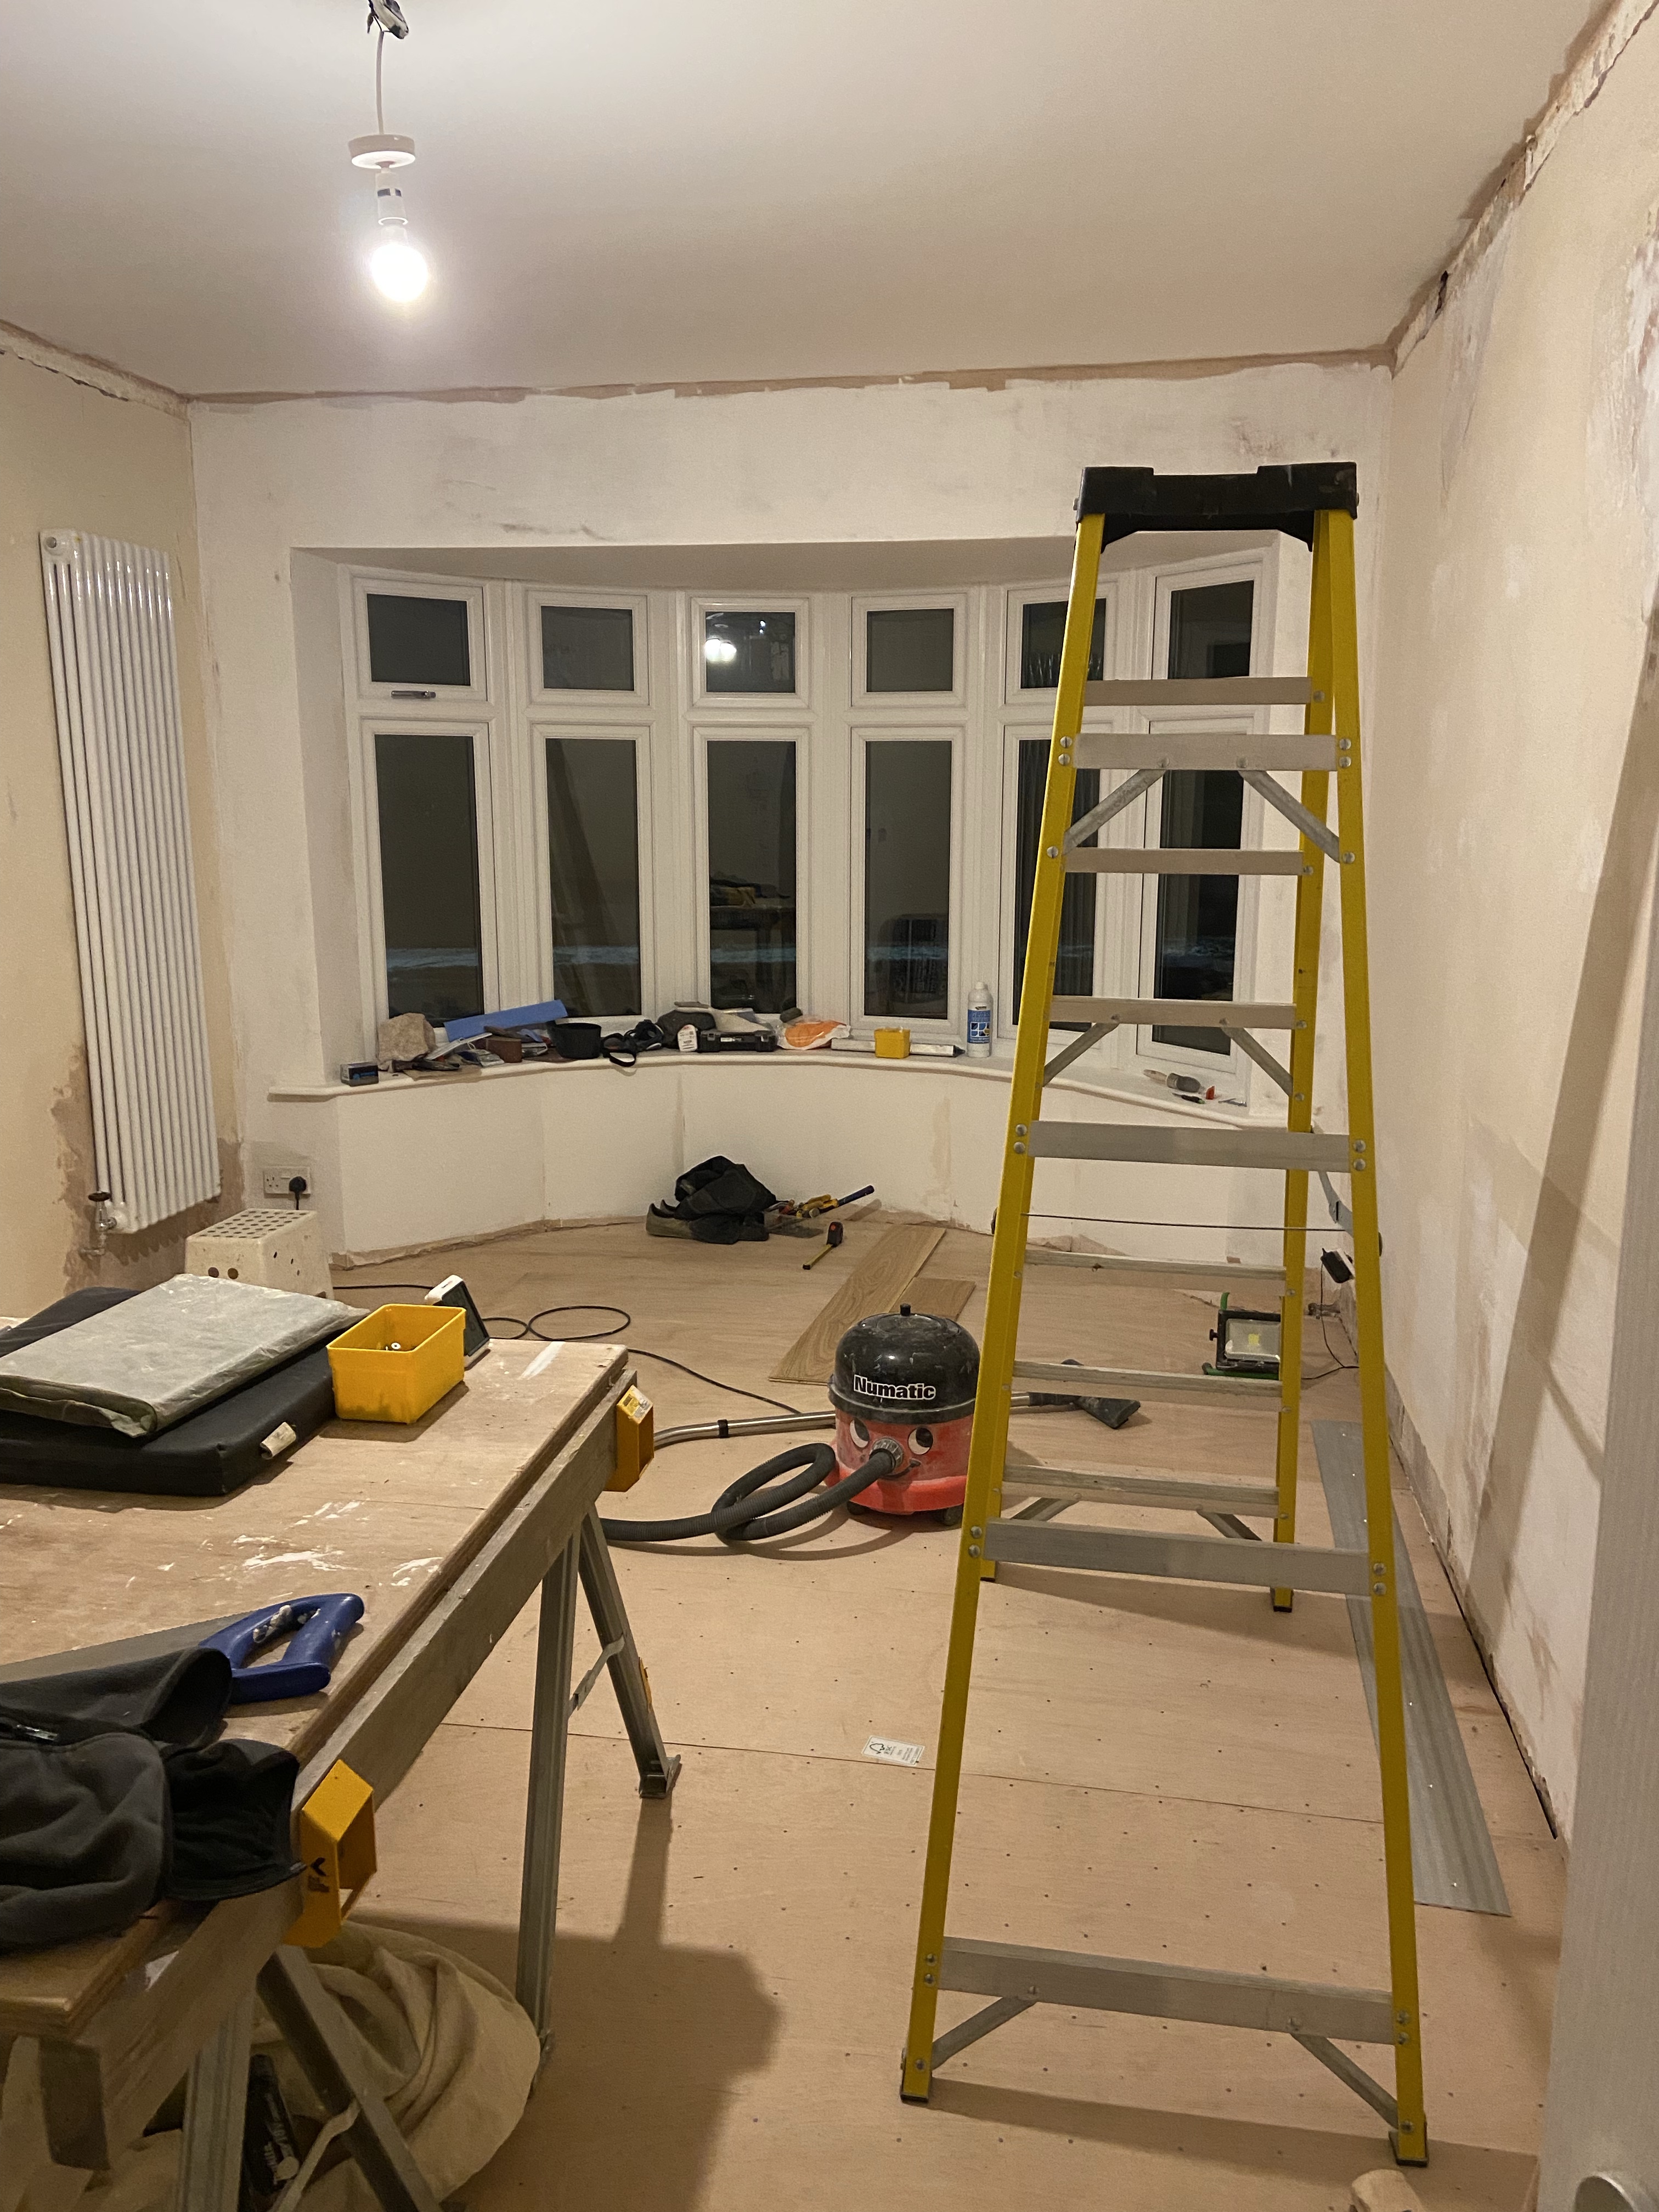
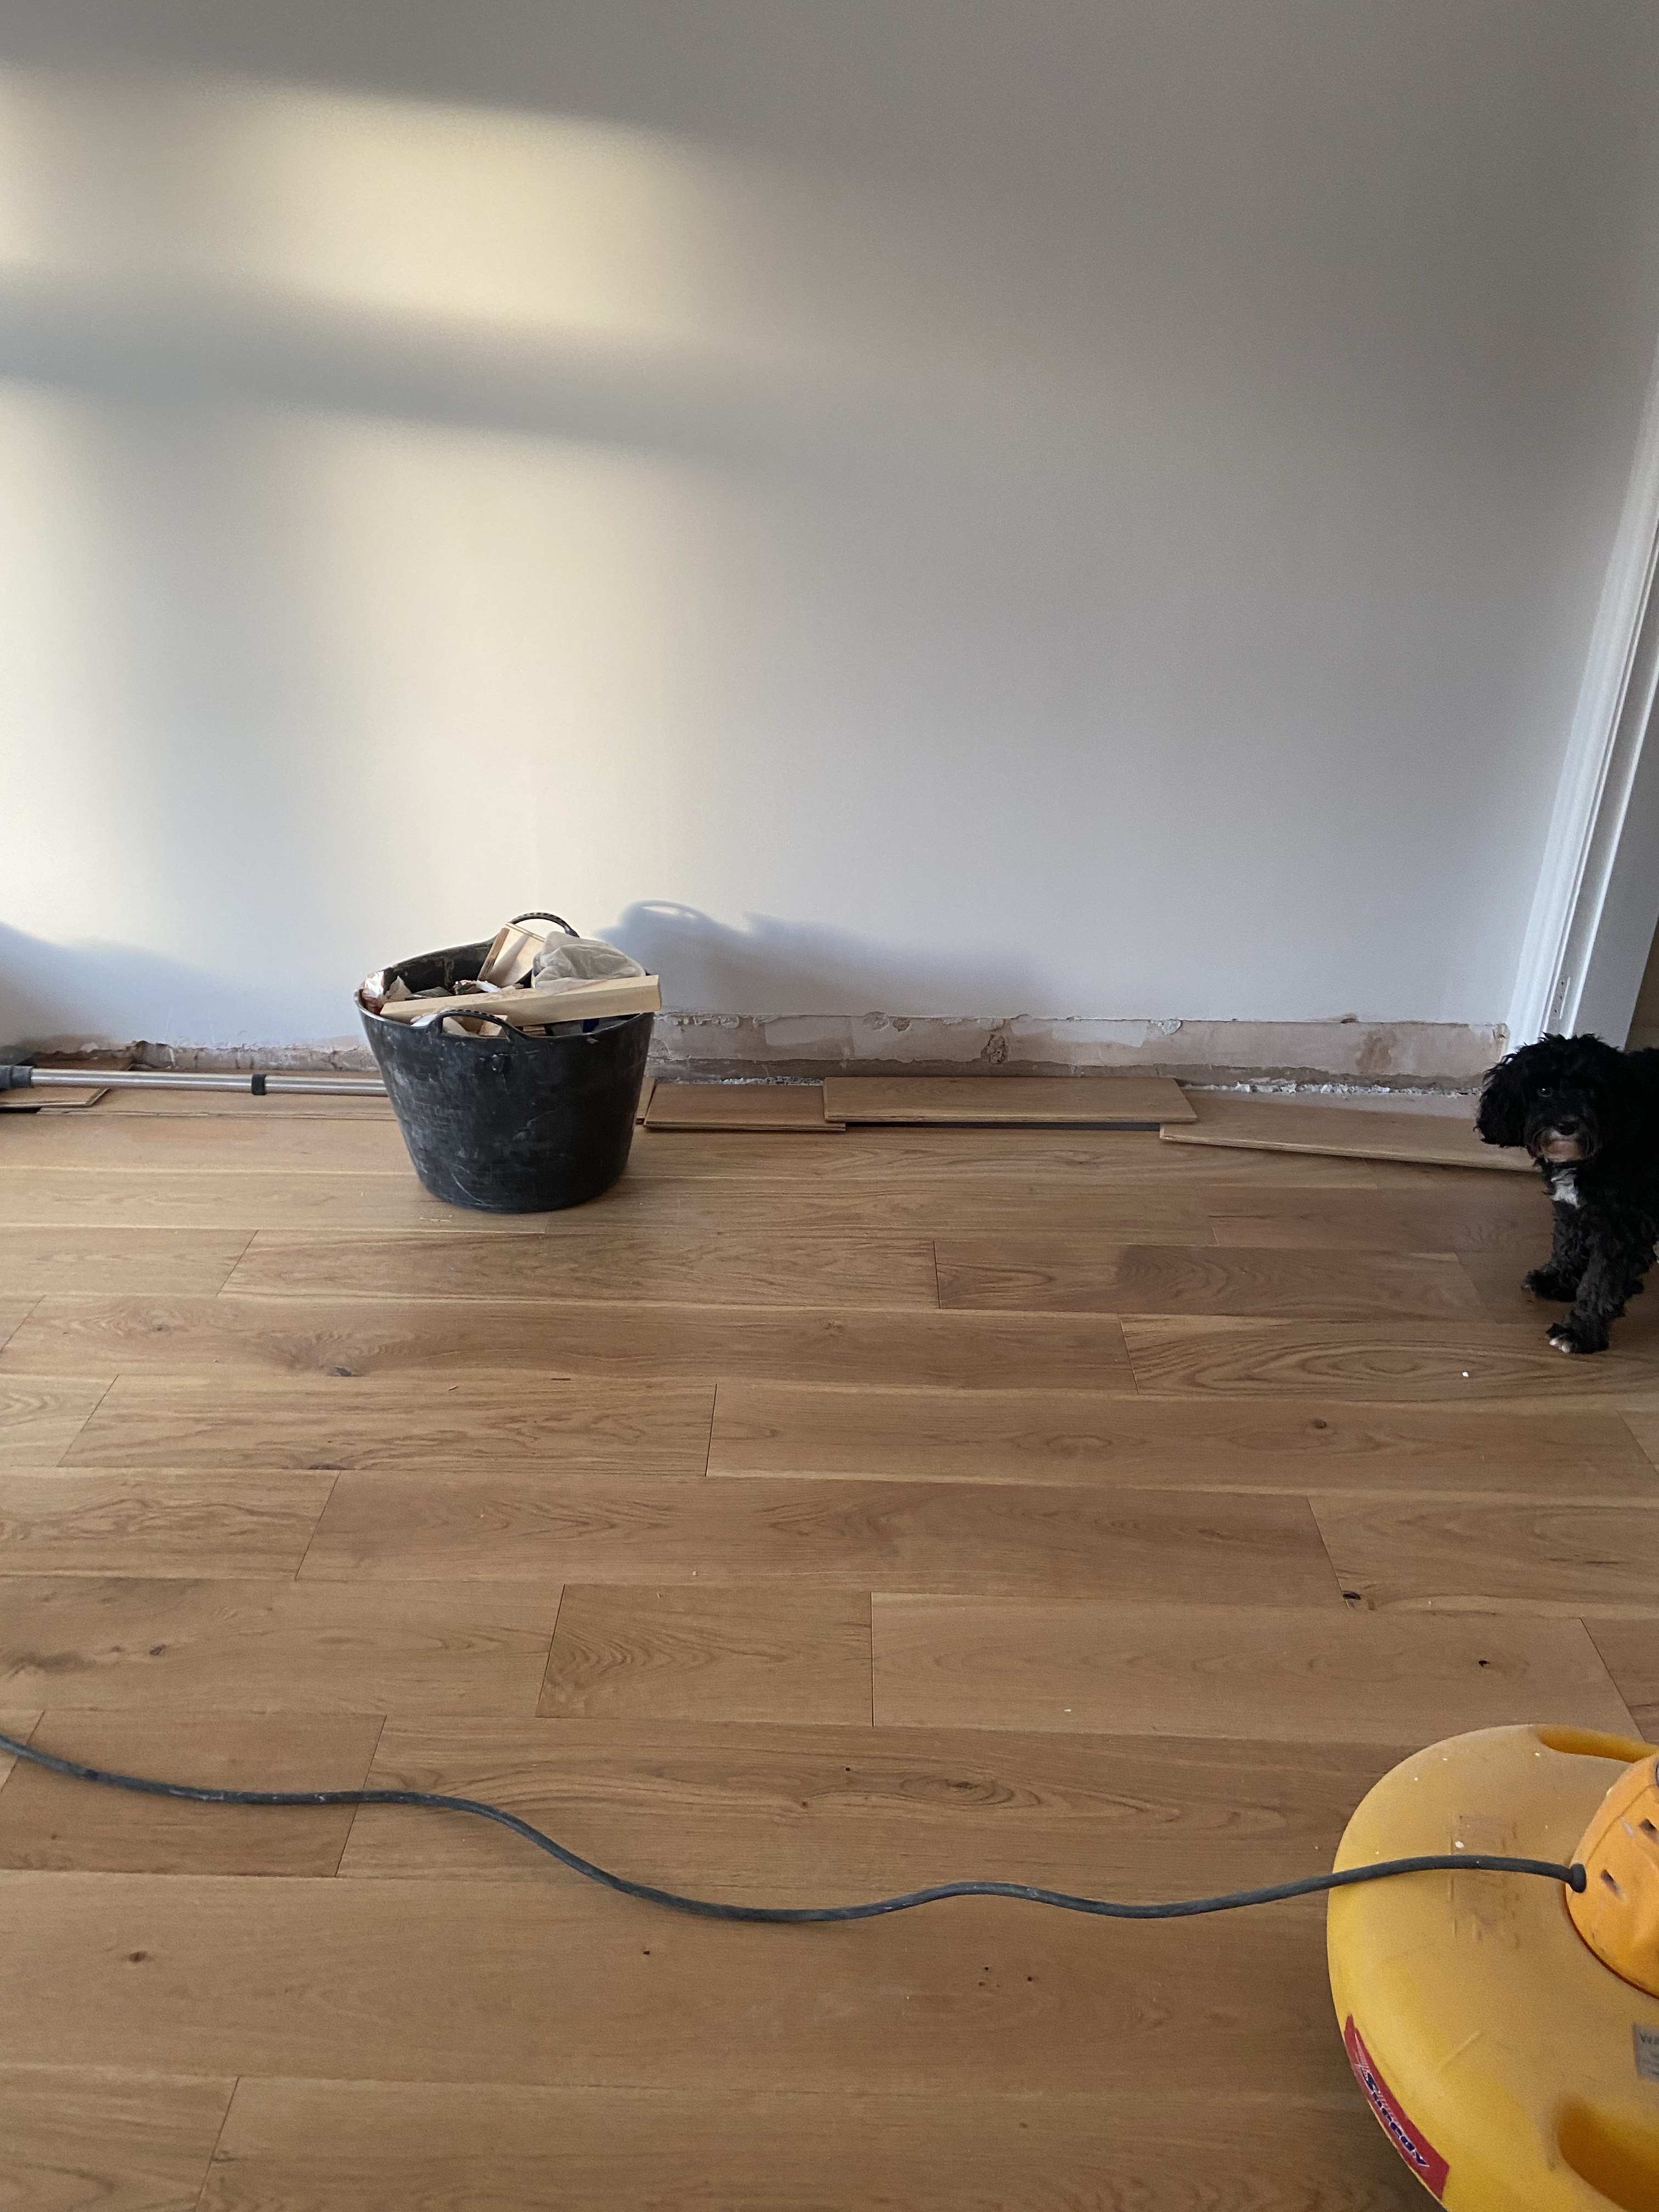
Floorboards were repaired and replaced and plywood was fit to create a smooth finish for the flooring to sit on top of.
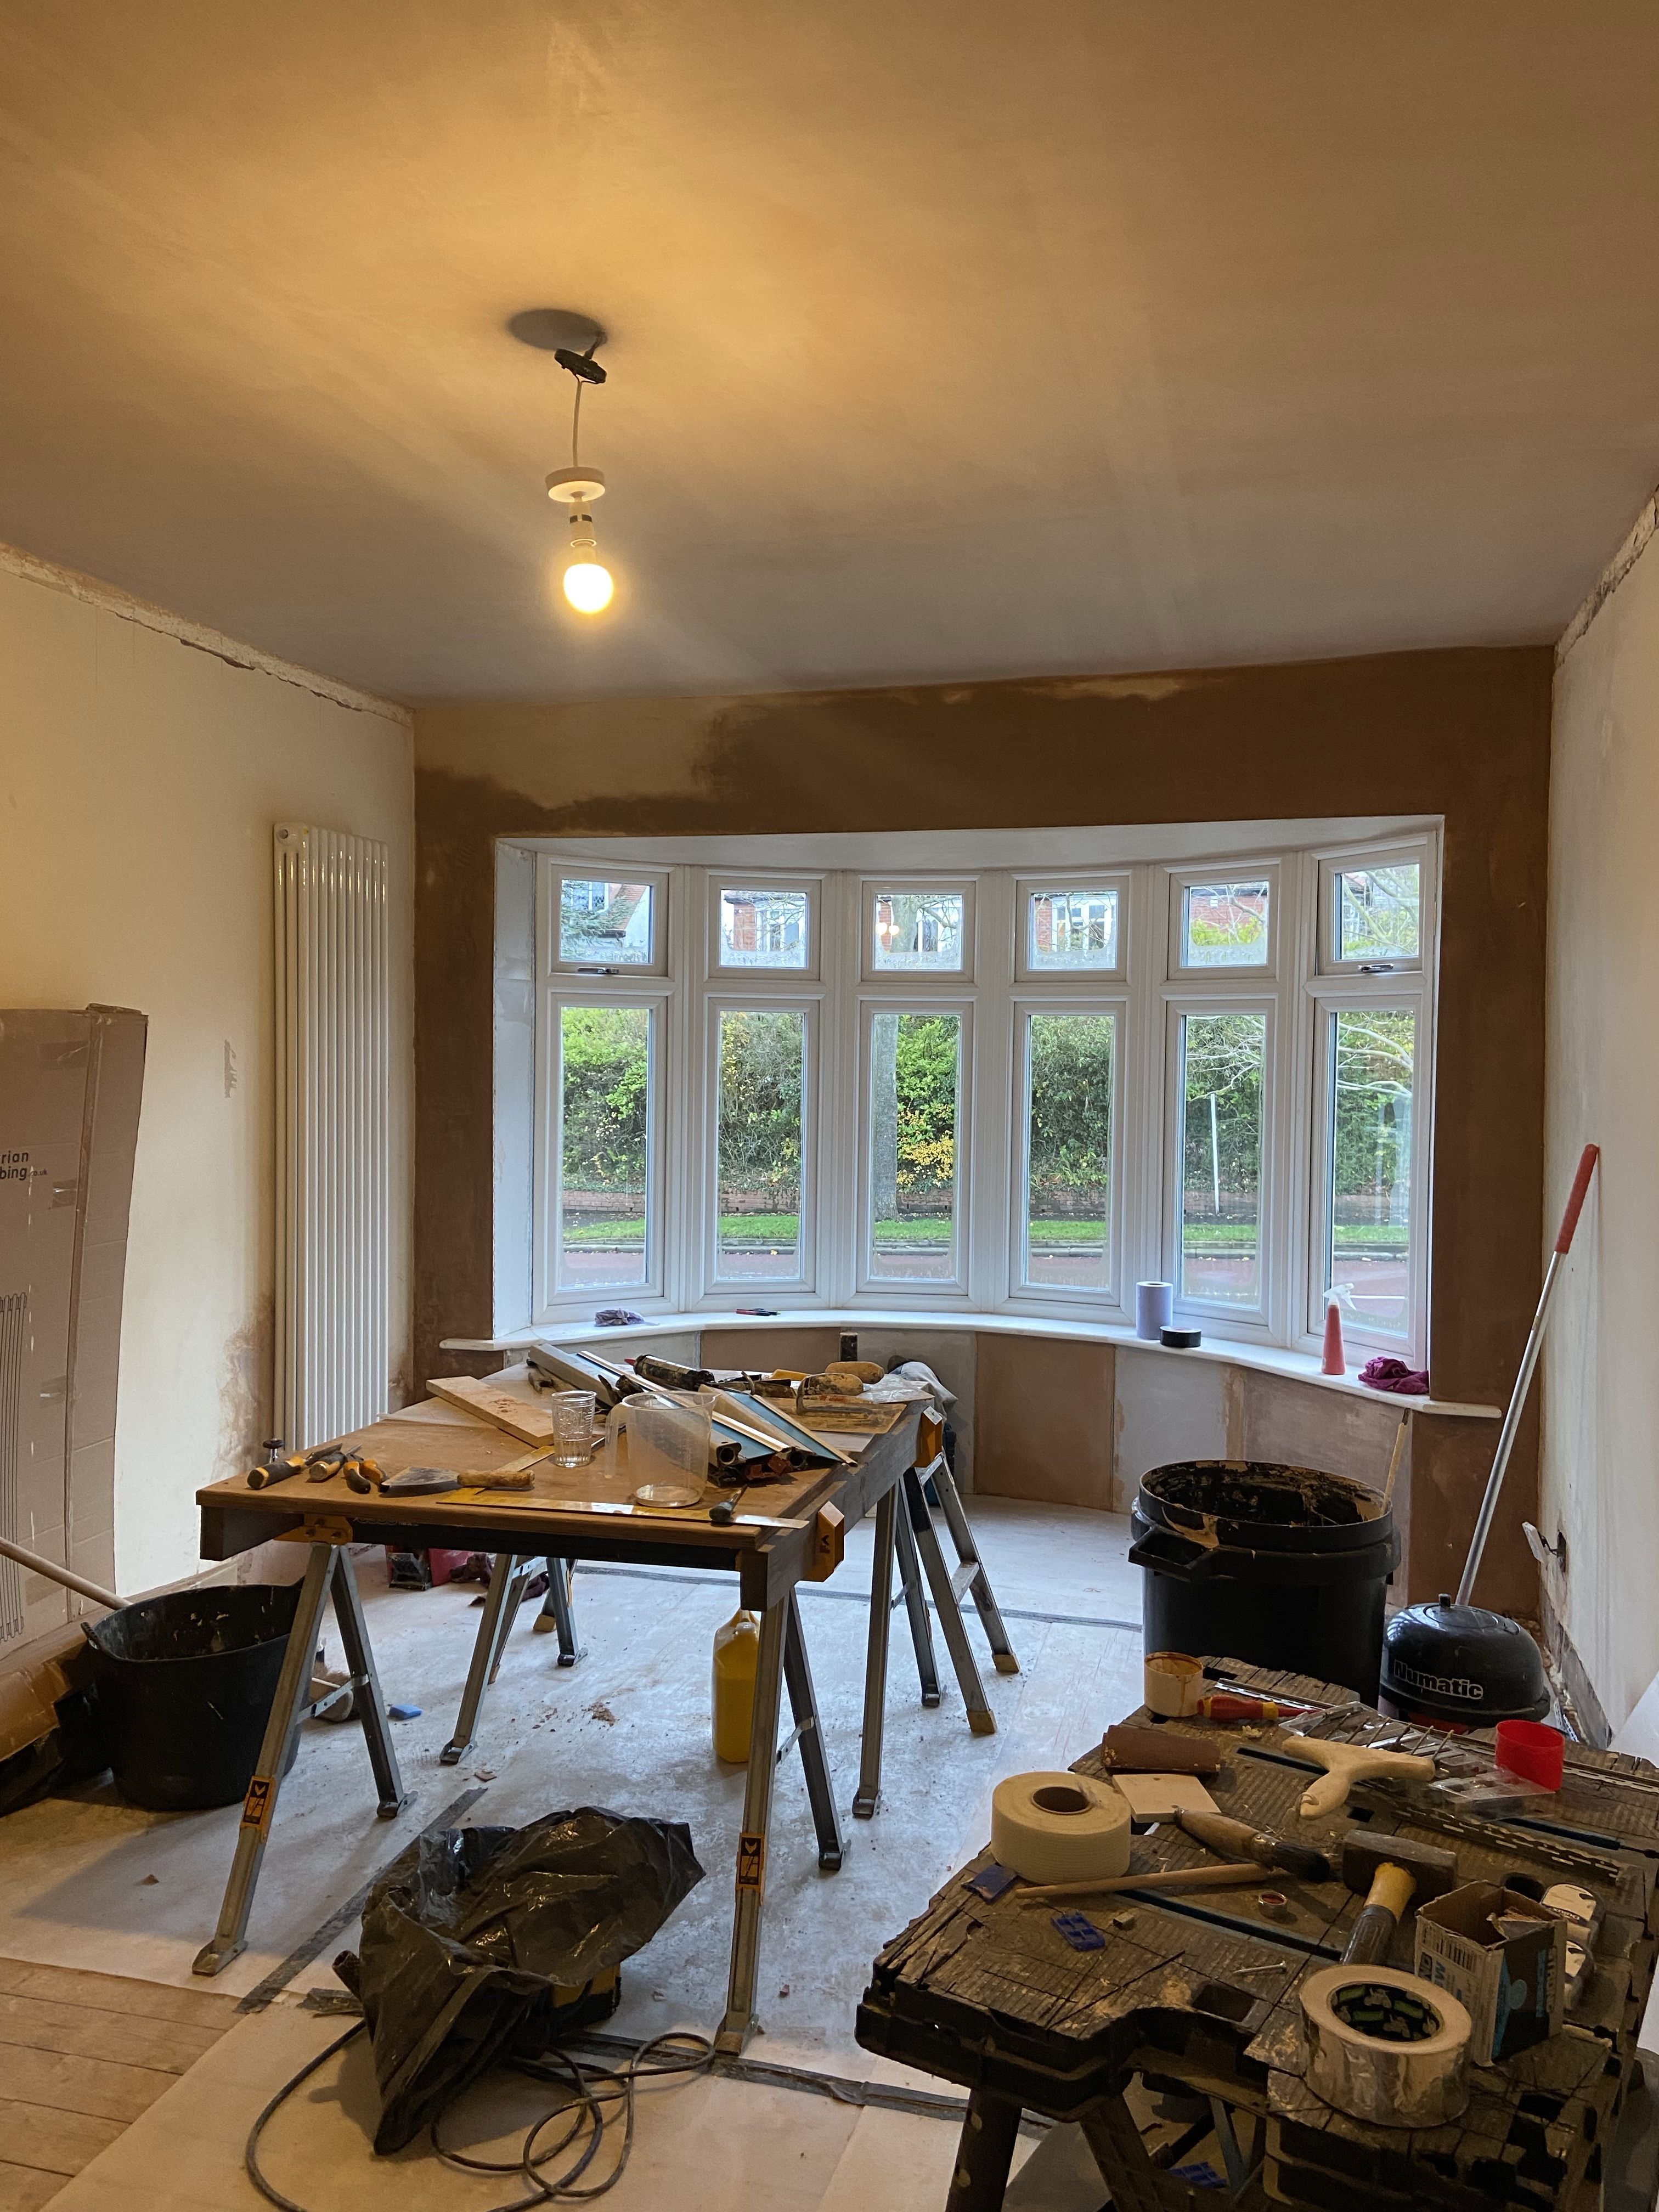
The bay window was plastered and the door was removed. A new door frame was added as well as a temporary door.

Freshly plastered and mist coated, the ceiling was painted before the new rose went on.
The walls were also filled, sanded and painted and new coving was also added.
The flooring was fitted.
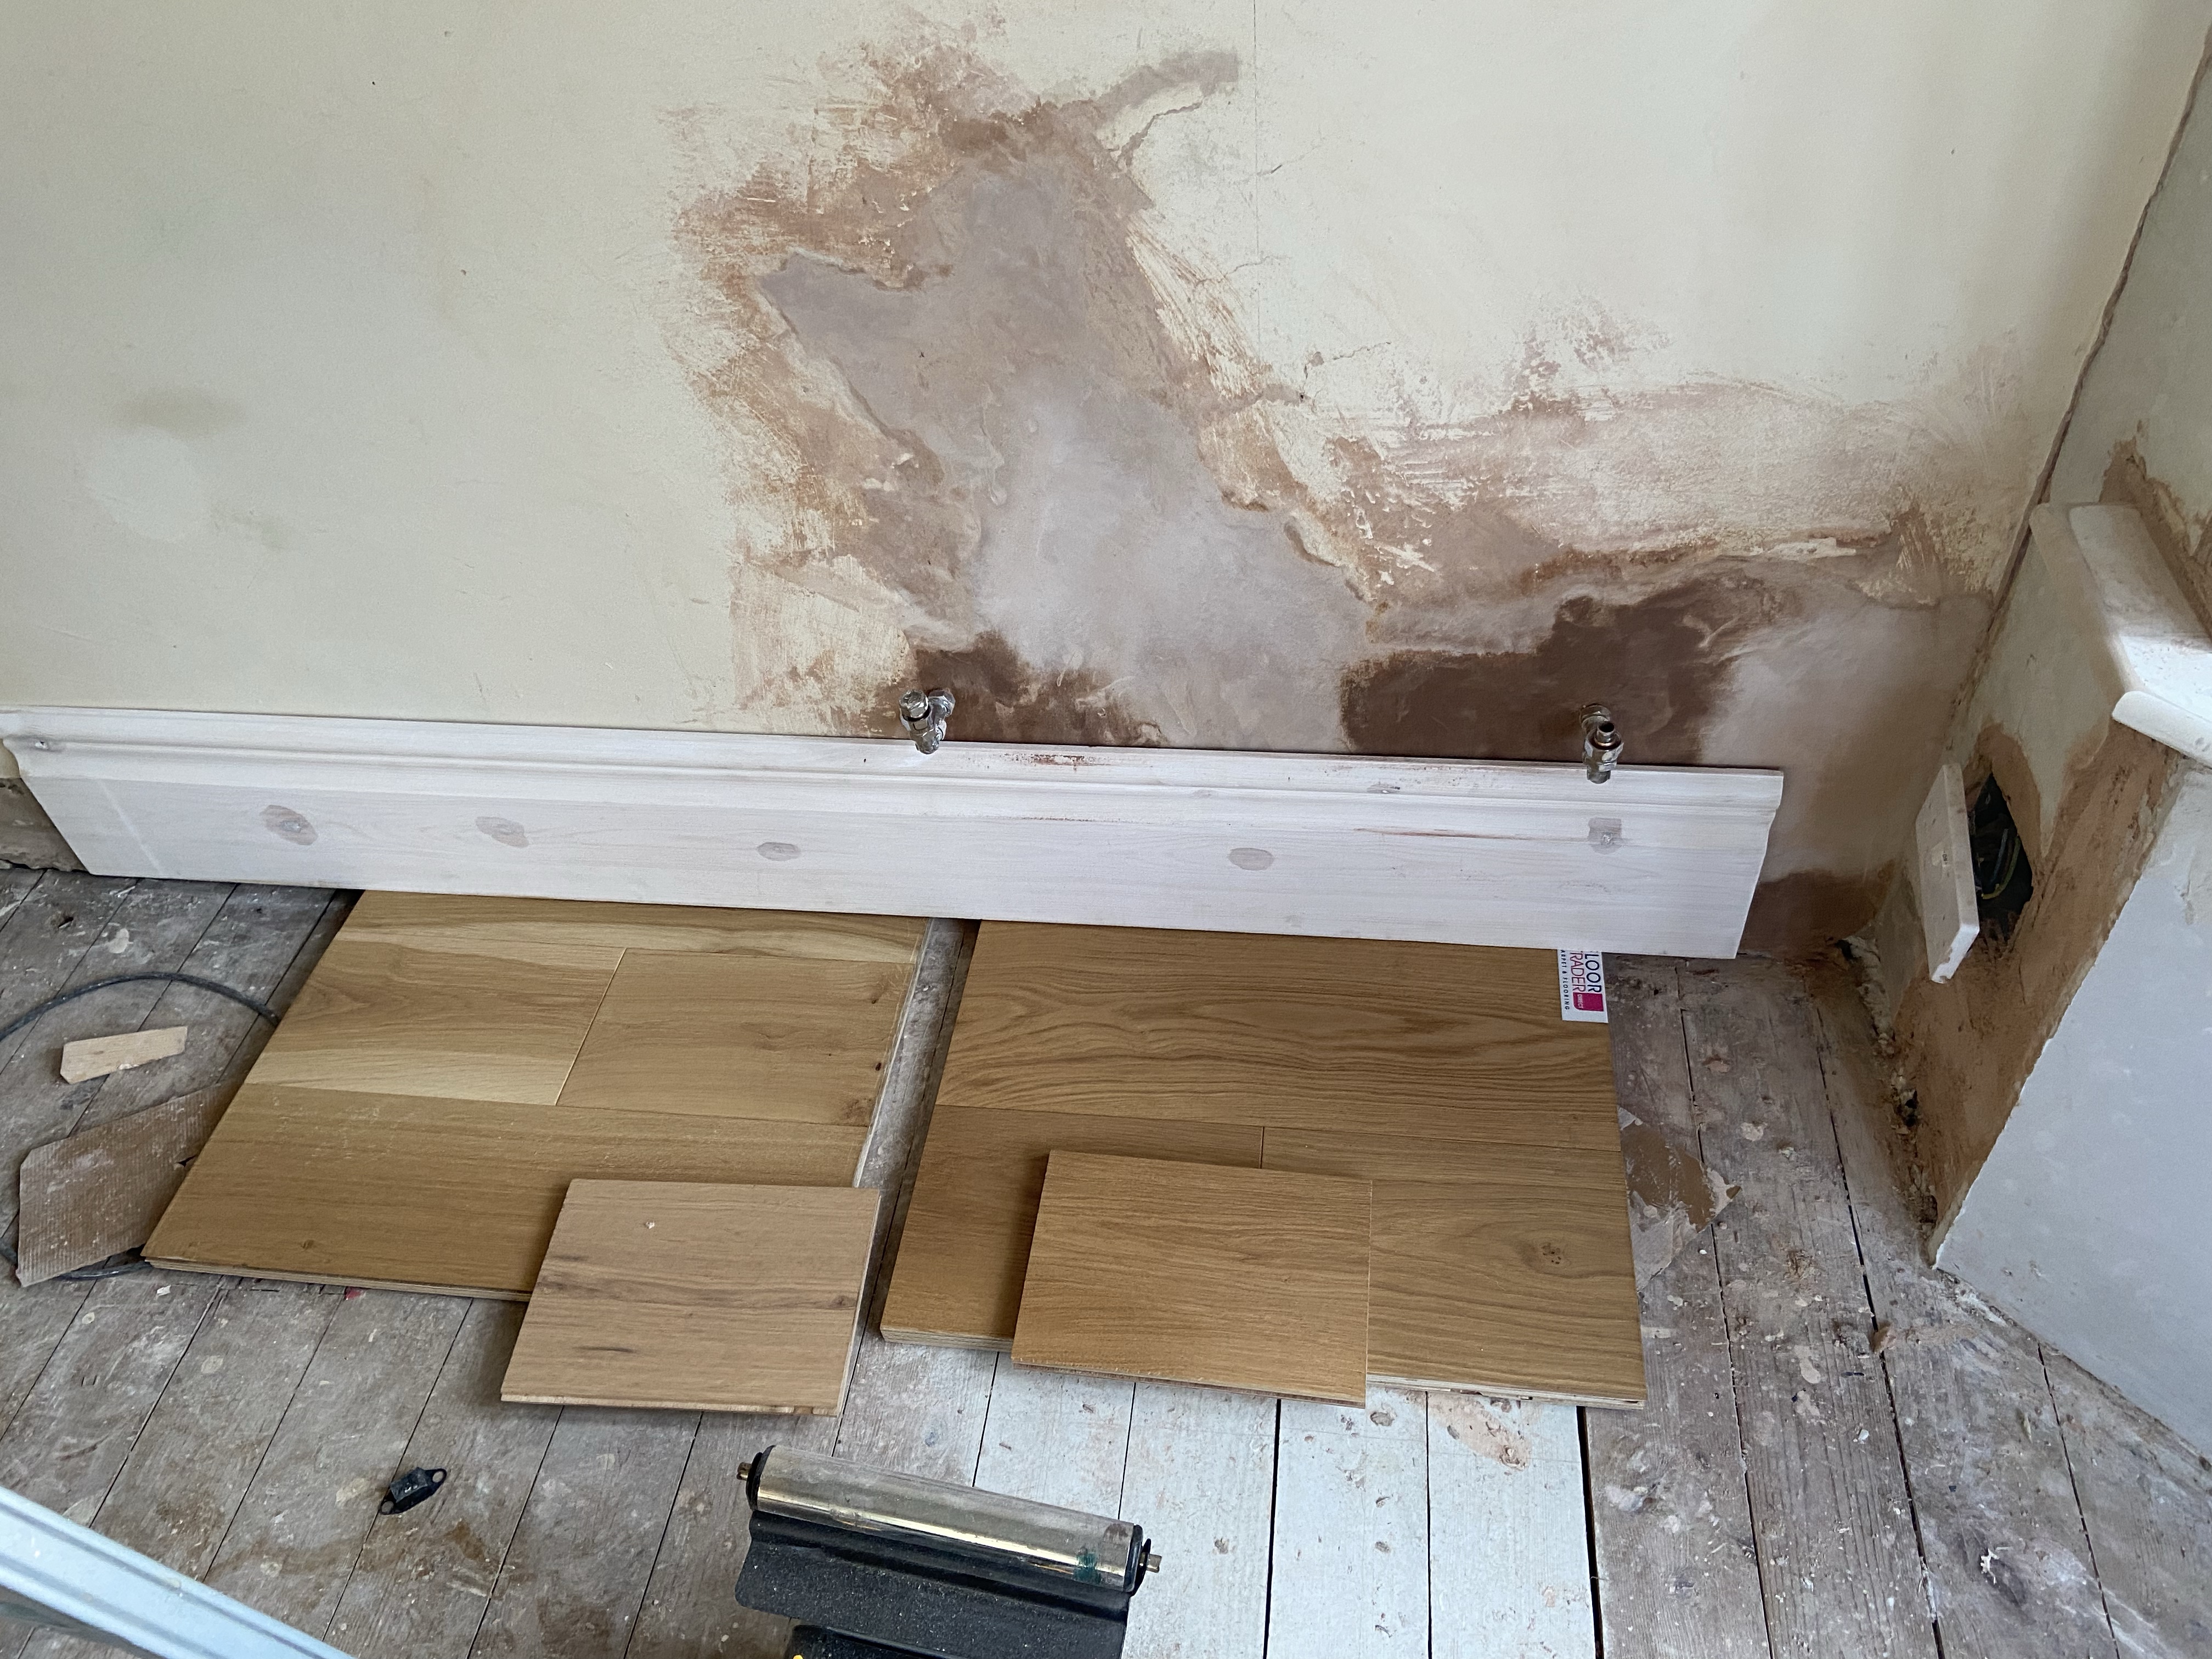
The new skirting boards were primed, undercoated, fitted and painted. I don’t have a photo of this stage, but below is a photo of one piece of skirting board after it had been primed sitting against the flooring samples.
Finally plug sockets / switches were added and final paint touch ups were done.
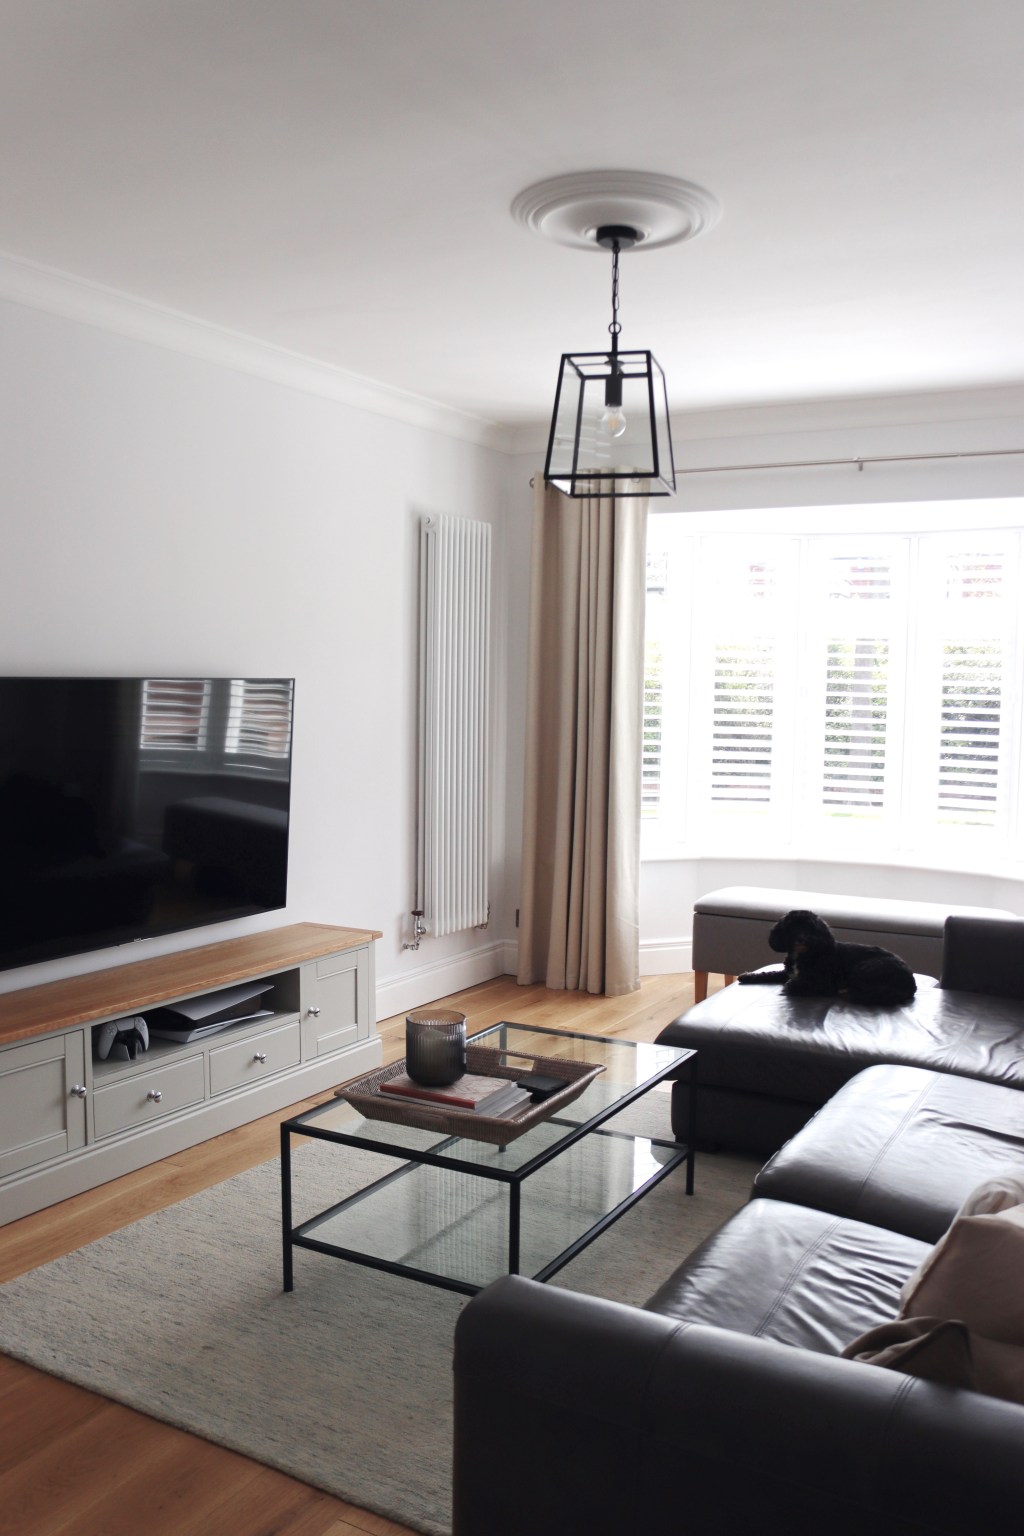
We added in all our furniture then, a few months down the line, our shutters were fitted!
I’m still adding little bits and pieces to this room and have plans to purchase an armchair for the corner, but this room for the most part is DONE (and you can view all the pics of it here)!

Until next time!
